HP Pavilion 15-au600 Maintenance and Service Guide - Page 67
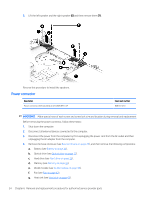
Remove the TouchPad, Power button board see
 |
View all HP Pavilion 15-au600 manuals
Add to My Manuals
Save this manual to your list of manuals |
Page 67 highlights
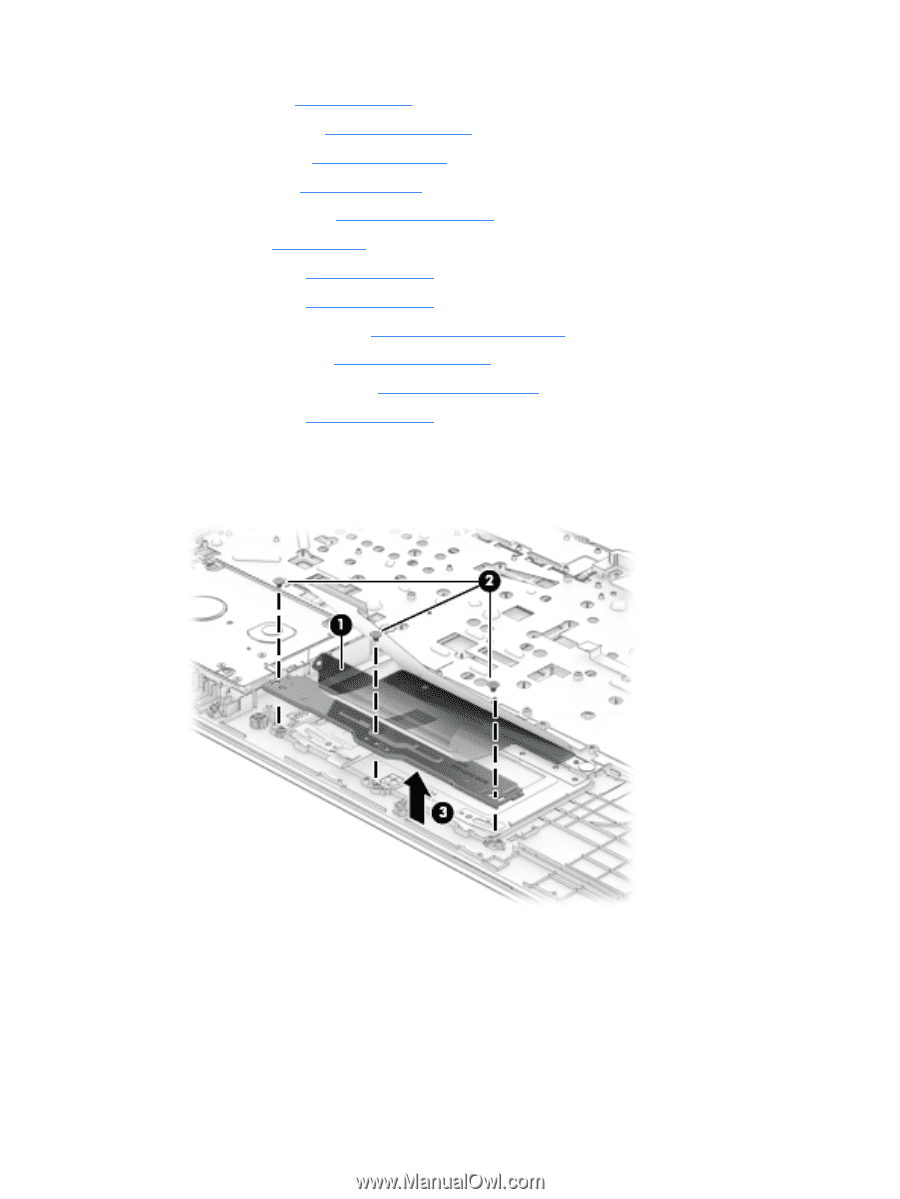
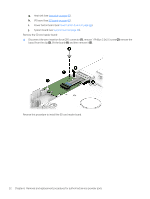
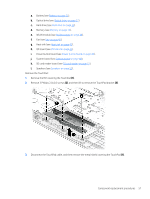
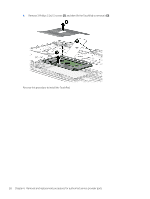
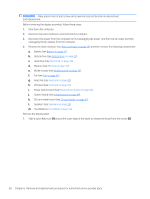
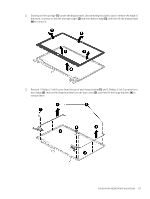
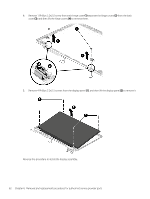
a. Battery (see Battery on page 31). b. Optical drive (see Optical drive on page 27). c. Hard drive (see Hard drive on page 32). d. Memory (see Memory on page 35). e. WLAN module (see WLAN module on page 38). f. Fan (see Fan on page 42). g. Heat sink (see Heat sink on page 43). h. I/O board (see I/O board on page 45). i. Power button board (see Power button board on page 46). j. System board (see System board on page 48). k. SD card reader board (see SD card reader on page 51). l. Speakers (see Speakers on page 53). Remove the TouchPad: 1. Remove the film covering the TouchPad (1). 2. Remove 3 Phillips 2.0x2.0 screws (2), and then lift to remove the TouchPad bracket (3). 3. Disconnect the TouchPad cable, and then remove the metal shield covering the TouchPad (1). Component replacement procedures 57
-
 1
1 -
2
-
3
-
4
-
5
-
6
-
7
-
8
-
9
-
10
-
11
-
12
-
13
-
14
-
15
-
16
-
17
-
18
-
19
-
20
-
21
-
22
-
23
-
24
-
25
-
26
-
27
-
28
-
29
-
30
-
31
-
32
-
33
-
34
-
35
-
36
-
37
-
38
-
39
-
40
-
41
-
42
-
43
-
44
-
45
-
46
-
47
-
48
-
49
-
50
-
51
-
52
-
53
-
54
-
55
-
56
-
57
-
58
-
59
-
60
-
61
-
 62
62 -
 63
63 -
 64
64 -
 65
65 -
 66
66 -
 67
67 -
 68
68 -
 69
69 -
 70
70 -
 71
71 -
 72
72 -
73
-
74
-
75
-
76
-
77
-
78
-
79
-
80
-
81
-
82
-
83
-
84
-
85
-
86
-
87
-
88
-
89
-
90
-
91
-
92
-
93
-
94
 |
 |