HP Photosmart 8400 HP Photosmart 8400 series Reference Guide - Page 19
Printing with your new printer, Quick start - series ink
 |
View all HP Photosmart 8400 manuals
Add to My Manuals
Save this manual to your list of manuals |
Page 19 highlights
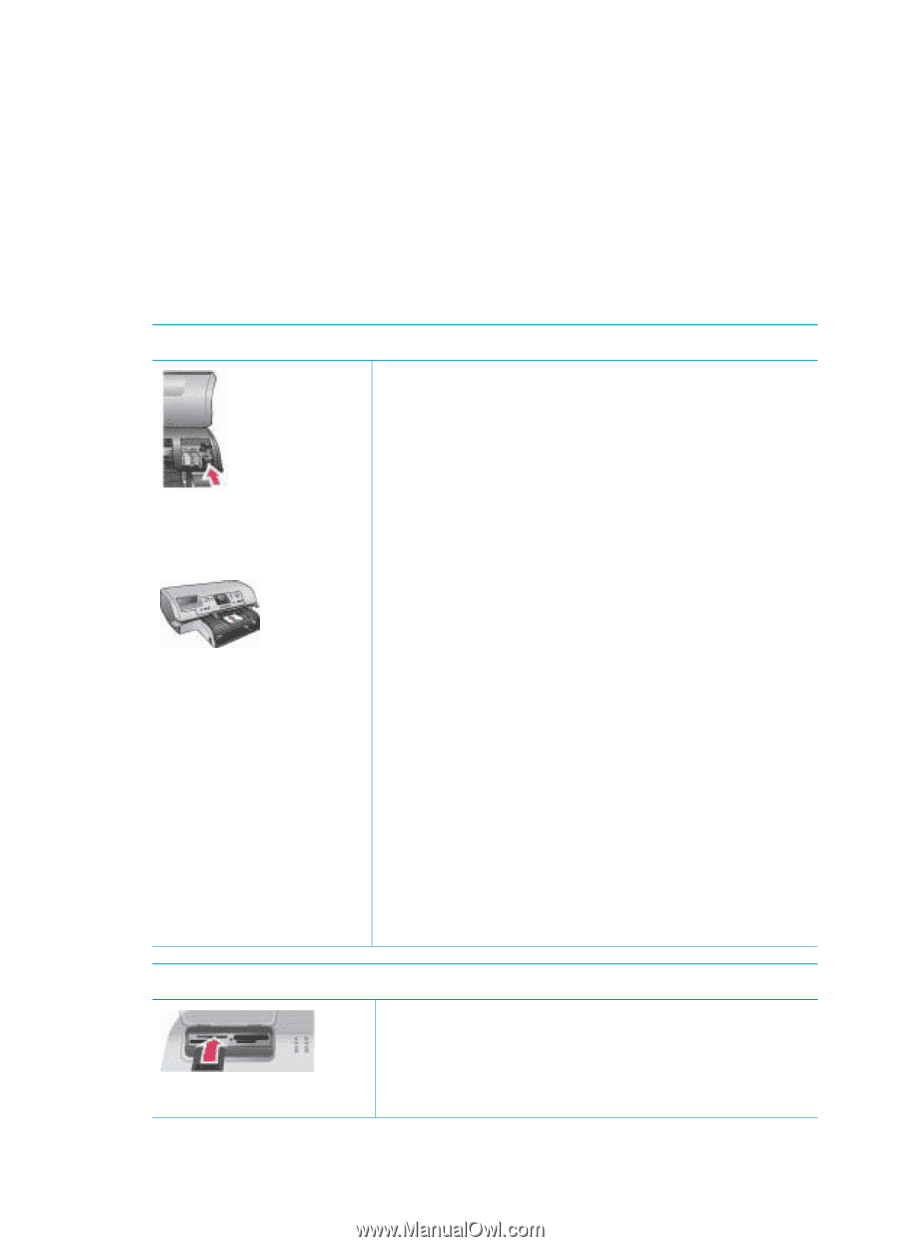
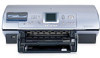
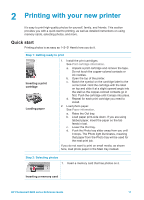
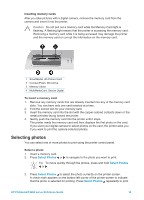
2 Printing with your new printer It's easy to print high-quality photos for yourself, family, and friends. This section provides you with a quick start to printing, as well as detailed instructions on using memory cards, selecting photos, and more. Quick start Printing photos is as easy as 1-2-3! Here's how you do it. Step 1: Getting ready to print Inserting a print cartridge Loading paper 1. Install the print cartridges. See Print cartridge information. a. Unpack a print cartridge and remove the tape. Do not touch the copper-colored contacts or ink nozzles. b. Open the top of the printer. c. Match the symbol on the cartridge label to the correct stall. Hold the cartridge with the label on top and slide it at a slight upward angle into the stall so the copper-colored contacts go in first. Push the cartridge until it snaps into place. d. Repeat for each print cartridge you need to install. 2. Load photo paper. See Paper information. a. Raise the Out tray. b. Load paper print-side down. If you are using tabbed paper, insert the paper so the tab feeds in last. c. Lower the Out tray. d. Push the Photo tray slider away from you until it stops. The Photo light illuminates, meaning that paper from the Photo tray will be used for the next print job. If you do not want to print on small media, as shown here, load photo paper in the Main tray instead. Step 2: Selecting photos 1. Insert a memory card that has photos on it. Inserting a memory card HP Photosmart 8400 series Reference Guide 17
-
 1
1 -
2
-
3
-
4
-
5
-
6
-
7
-
8
-
9
-
10
-
11
-
12
-
13
-
 14
14 -
 15
15 -
 16
16 -
 17
17 -
 18
18 -
 19
19 -
 20
20 -
 21
21 -
 22
22 -
 23
23 -
 24
24 -
25
-
26
-
27
-
28
-
29
-
30
-
31
-
32
-
33
-
34
-
35
-
36
-
37
-
38
-
39
-
40
-
41
-
42
-
43
-
44
-
45
-
46
-
47
-
48
-
49
 |
 |