HP Surestore Disk Array 12h HP SureStore E Disk Array 12H User's and Service M - Page 239
Installation, Installation Strategy
 |
View all HP Surestore Disk Array 12h manuals
Add to My Manuals
Save this manual to your list of manuals |
Page 239 highlights
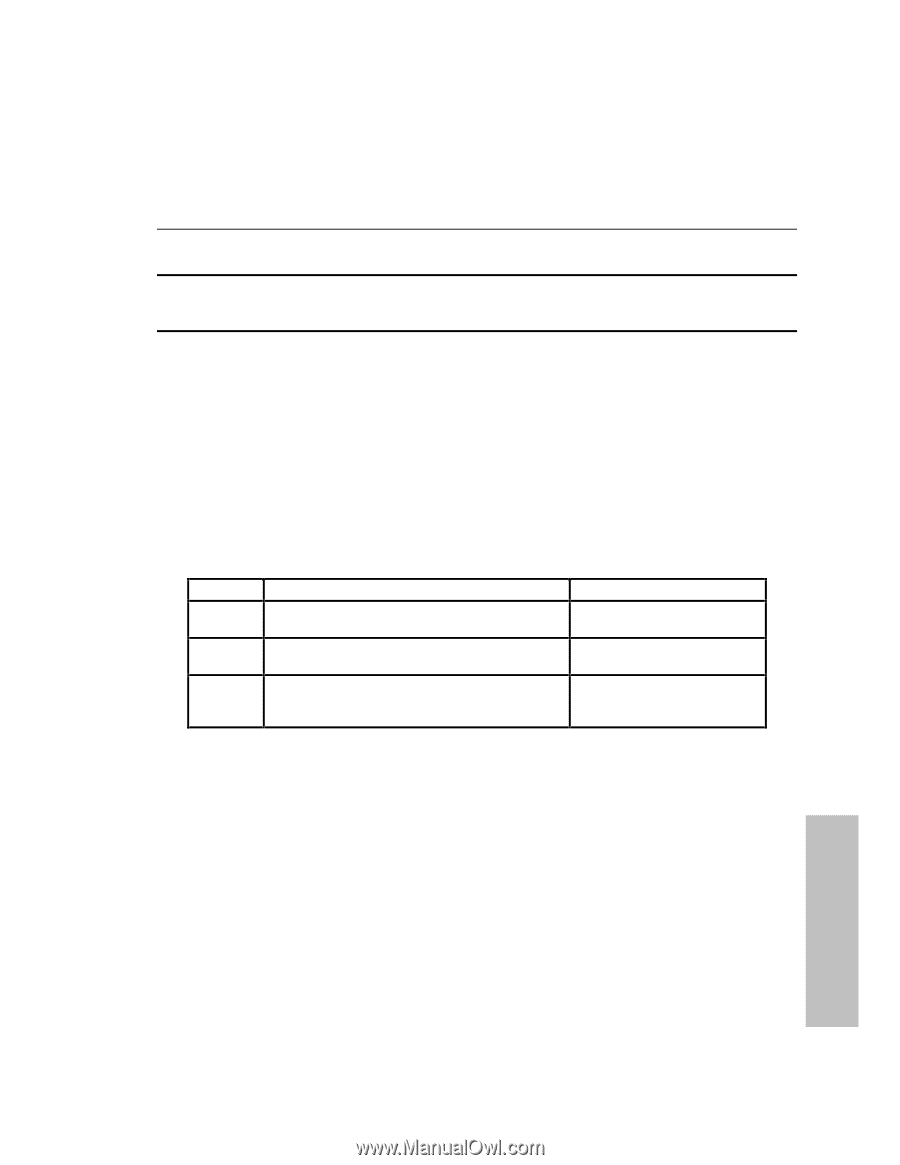
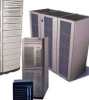
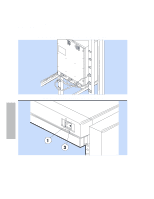
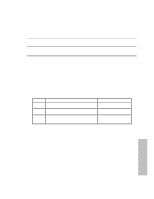
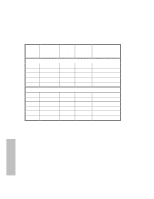
Appendix D. Back-to-Back Racking Installation Installation WARNING! Back-to-back rack mounting of the HP AutoRAID Disk Array should be performed by factory-trained personnel only. Customers should not attempt to perform this procedure. Installation Strategy The following general information and strategy applies to both the 1.6-meter and 2.0 meter racks. To determine detailed components required for installation, refer to the "Installation Procedures" section later in this appendix. 1. Upgrade the rack's power The HP A4915A SureStore E Disk Array 12H Power Upgrade kit is supported only for 240 VAC power systems. This upgrade provides three 10-receptacle 240 VAC PDUs. PDUs for non-US installations must be ordered with the appropriate plugs, refer to the Table 20 below. Table 20. A4915A Power Upgrade Kit, Power Options PDU A4915A Opt ABA A4915A Opt ABB A4915A Opt 024 Description 200-240 VAC North American PDU 10 IEC-320 receptacles line cord is unterminated 200-240 VAC International PDU 10 IEC-320 receptacles line cord is unterminated 200-240 VAC UPS PDU 10 IEC-320 receptacles 4.5M line cord is unterminated Use US installations; PDUs for High Availability Non-US installations; PDUs for High Availability US or Non-US installations; UPS PDUs for High availability 2. Upgrade the rack's cooling capacity Back-to-Back racking requires that the cooling capacity of the rack be upgraded. The cooling upgrade requires installation of a new Exhaust Fan Assembly (product E7687A). This assembly contains three fans, an LED fault indication circuit and a 1- EIA unit air scoop. This is required to promote maximum airflow through the center of the rack. Also, to promote additional air flow, the rear cabinet door will be removed and set aside. To maintain cooling efficiency, filler panels should be installed in any unfilled spaces in the front and back of the rack (see Table 19). Racking 239
-
 1
1 -
2
-
3
-
4
-
5
-
6
-
7
-
8
-
9
-
10
-
11
-
12
-
13
-
14
-
15
-
16
-
17
-
18
-
19
-
20
-
21
-
22
-
23
-
24
-
25
-
26
-
27
-
28
-
29
-
30
-
31
-
32
-
33
-
34
-
35
-
36
-
37
-
38
-
39
-
40
-
41
-
42
-
43
-
44
-
45
-
46
-
47
-
48
-
49
-
50
-
51
-
52
-
53
-
54
-
55
-
56
-
57
-
58
-
59
-
60
-
61
-
62
-
63
-
64
-
65
-
66
-
67
-
68
-
69
-
70
-
71
-
72
-
73
-
74
-
75
-
76
-
77
-
78
-
79
-
80
-
81
-
82
-
83
-
84
-
85
-
86
-
87
-
88
-
89
-
90
-
91
-
92
-
93
-
94
-
95
-
96
-
97
-
98
-
99
-
100
-
101
-
102
-
103
-
104
-
105
-
106
-
107
-
108
-
109
-
110
-
111
-
112
-
113
-
114
-
115
-
116
-
117
-
118
-
119
-
120
-
121
-
122
-
123
-
124
-
125
-
126
-
127
-
128
-
129
-
130
-
131
-
132
-
133
-
134
-
135
-
136
-
137
-
138
-
139
-
140
-
141
-
142
-
143
-
144
-
145
-
146
-
147
-
148
-
149
-
150
-
151
-
152
-
153
-
154
-
155
-
156
-
157
-
158
-
159
-
160
-
161
-
162
-
163
-
164
-
165
-
166
-
167
-
168
-
169
-
170
-
171
-
172
-
173
-
174
-
175
-
176
-
177
-
178
-
179
-
180
-
181
-
182
-
183
-
184
-
185
-
186
-
187
-
188
-
189
-
190
-
191
-
192
-
193
-
194
-
195
-
196
-
197
-
198
-
199
-
200
-
201
-
202
-
203
-
204
-
205
-
206
-
207
-
208
-
209
-
210
-
211
-
212
-
213
-
214
-
215
-
216
-
217
-
218
-
219
-
220
-
221
-
222
-
223
-
224
-
225
-
226
-
227
-
228
-
229
-
230
-
231
-
232
-
233
-
 234
234 -
 235
235 -
 236
236 -
 237
237 -
 238
238 -
 239
239 -
 240
240 -
 241
241 -
 242
242 -
 243
243 -
 244
244 -
245
-
246
-
247
-
248
-
249
-
250
-
251
-
252
-
253
-
254
-
255
-
256
-
257
-
258
-
259
-
260
-
261
-
262
-
263
-
264
-
265
-
266
-
267
-
268
-
269
-
270
-
271
-
272
-
273
-
274
-
275
-
276
 |
 |