HP dc73 HP Blade Workstation Client series - Embedded OS Version 10.xx - Page 43
Local Settings screen, Enter, Network Settings
 |
View all HP dc73 manuals
Add to My Manuals
Save this manual to your list of manuals |
Page 43 highlights
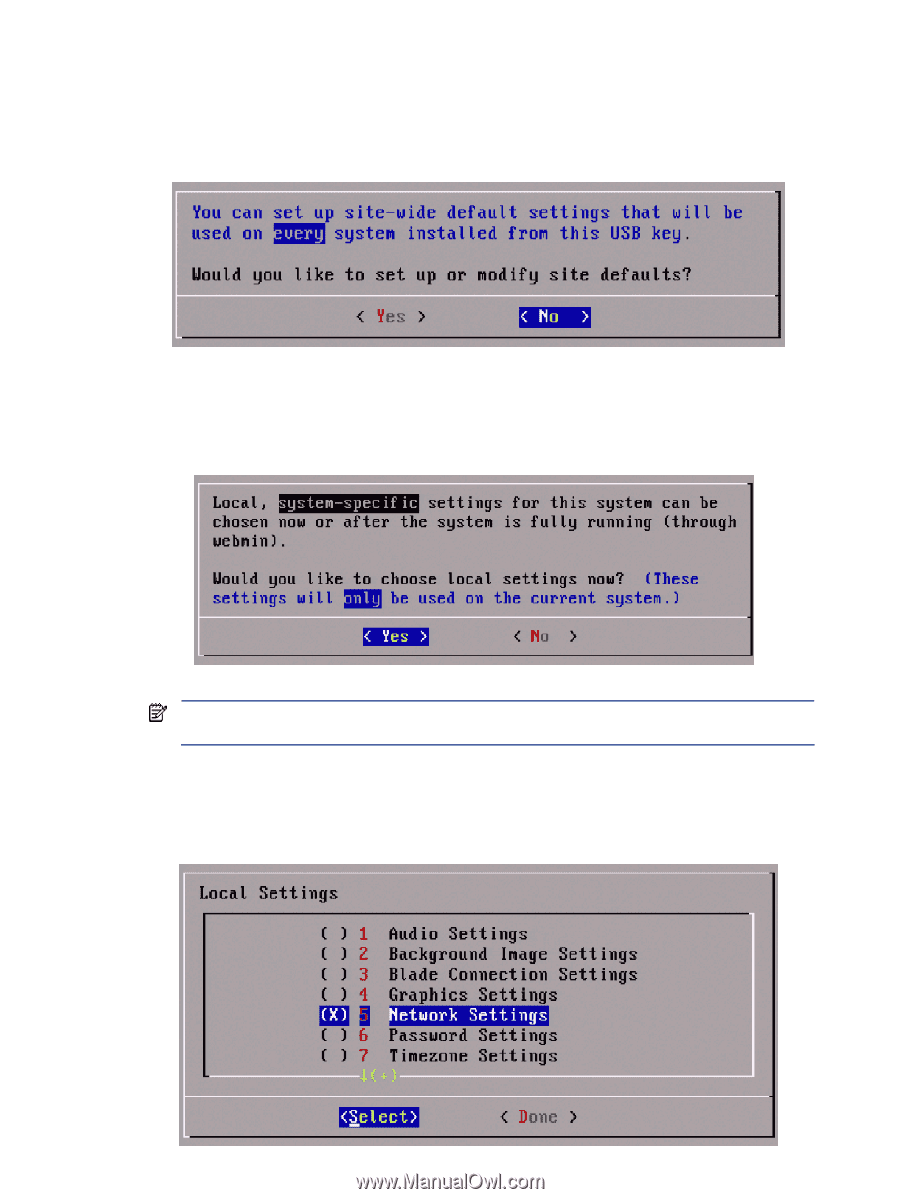
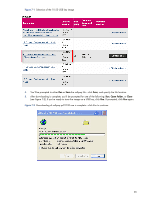
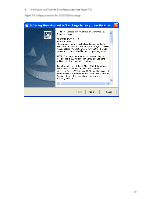
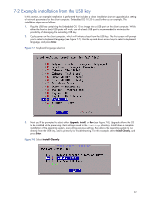
4. The next screen will give you the option to set site-wide default settings that will be used on every client installed from this USB key (see Figure 7-9). If you select Yes, the settings that you set on this client will be written to the USB key for use on subsequent installations. For this example, use the arrow keys to select No, and press Enter. Figure 7-9 Select No for site-wide default settings 5. The next screen will give you the option of setting local, system-specific settings for this particular client (see Figure 7-10). For illustration purposes and because Network Settings often need to be set, use the arrow keys to select Yes, and press Enter. Figure 7-10 Select Yes to set local, system-specific settings NOTE: Independent of whether or not you set local settings on the client at this time, you'll have the option of modifying the local settings subsequently using Webmin. 6. The Local Settings screen is displayed next (see Figure 7-11). Use the up and down arrow keys to select Network Settings, and press Enter. Figure 7-11 Local Settings screen 43
-
 1
1 -
2
-
3
-
4
-
5
-
6
-
7
-
8
-
9
-
10
-
11
-
12
-
13
-
14
-
15
-
16
-
17
-
18
-
19
-
20
-
21
-
22
-
23
-
24
-
25
-
26
-
27
-
28
-
29
-
30
-
31
-
32
-
33
-
34
-
35
-
36
-
37
-
 38
38 -
 39
39 -
 40
40 -
 41
41 -
 42
42 -
 43
43 -
 44
44 -
 45
45 -
 46
46 -
 47
47 -
 48
48 -
49
-
50
-
51
-
52
-
53
-
54
-
55
-
56
-
57
-
58
-
59
-
60
-
61
-
62
 |
 |