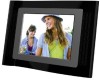
HP sd828a1 User Manual - Page 25
Photo Viewing Options, Printing a Photo, Setup, Local Settings, Options, Copy File, USB Mode, Printer
 |
UPC - 844149050171
View all HP sd828a1 manuals
Add to My Manuals
Save this manual to your list of manuals |
Page 25 highlights
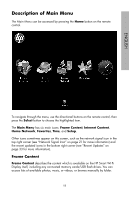
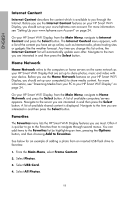
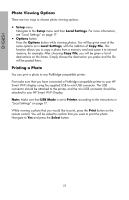
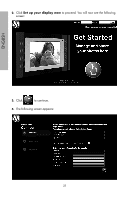
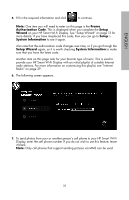
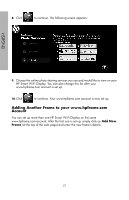
ENGLISH Photo Viewing Options There are two ways to choose photo viewing options: • Setup menu Navigate to the Setup menu and then Local Settings. For more information, see "Local Settings" on page 17. • Options button Press the Options button while viewing photos. You will be given most of the same options as in Local Settings, with the addition of Copy File. This function allows you to copy a photo from a memory card and paste it to internal memory, for example. After choosing Copy File, you will be given a list of destinations on the frame. Simply choose the destination you prefer and the file will be pasted there. Printing a Photo You can print a photo to any PictBridge-compatible printer. First make sure that you have connected a PictBridge-compatible printer to your HP Smart Wi-Fi display using the supplied USB to mini-USB connector. The USB connector should be attached to the printer, and the mini-USB connector should be attached to your HP Smart Wi-Fi Display. Note: Make sure that USB Mode is set to Printer, according to the instructions in "Local Settings" on page 17. While viewing a photo that you would like to print, press the Print button on the remote control. You will be asked to confirm that you want to print the photo. Navigate to Yes and press the Select button. 23
-
 1
1 -
2
-
3
-
4
-
5
-
6
-
7
-
8
-
9
-
10
-
11
-
12
-
13
-
14
-
15
-
16
-
17
-
18
-
19
-
 20
20 -
 21
21 -
 22
22 -
 23
23 -
 24
24 -
 25
25 -
 26
26 -
 27
27 -
 28
28 -
 29
29 -
 30
30 -
31
-
32
-
33
-
34
-
35
-
36
-
37
-
38
-
39
-
40
-
41
-
42
-
43
-
44
-
45
-
46
-
47
-
48
-
49
-
50
-
51
-
52
-
53
-
54
-
55
-
56
-
57
-
58
-
59
-
60
-
61
-
62
-
63
-
64
-
65
-
66
-
67
-
68
-
69
-
70
-
71
-
72
-
73
-
74
-
75
-
76
-
77
-
78
-
79
-
80
-
81
-
82
-
83
-
84
-
85
-
86
-
87
-
88
-
89
-
90
-
91
-
92
-
93
-
94
-
95
-
96
-
97
-
98
-
99
-
100
 |
 |