Konica Minolta bizhub C3100P bizhub C3100P Applied Functions User Guide - Page 71
If the [Additional Port Information Required] or [More Port Information Required] dialog box appears
 |
View all Konica Minolta bizhub C3100P manuals
Add to My Manuals
Save this manual to your list of manuals |
Page 71 highlights
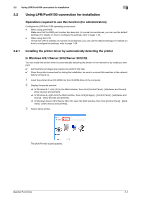
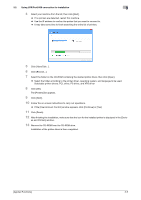
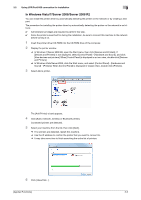
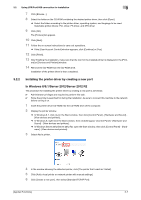
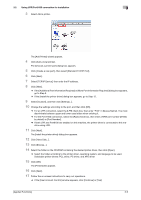
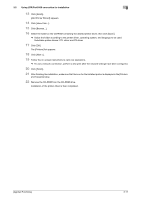
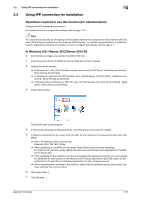
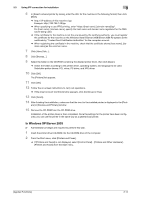
3.2 Using LPR/Port9100 connection for installation 3 3 Select Add a printer. The [Add Printer] wizard appears. 4 Click [Add a local printer]. The [Choose a printer port] dialog box appears. 5 Click [Create a new port:], then select [Standard TCP/IP Port]. 6 Click [Next]. 7 Select [TCP/IP Device], then enter the IP address. 8 Click [Next]. % If the [Additional Port Information Required] or [More Port Information Required] dialog box appears, go to Step 9. % If the [Install the printer driver] dialog box appears, go to Step 12. 9 Select [Custom], and then click [Settings...]. 10 Change the settings according to the port, and then click [OK]. % For an LPR connection, select the [LPR] check box, then enter "Print" in [Queue Name:]. You must discriminate between upper and lower case letters when entering it. % For the Port 9100 connection, select the [Raw] check box, then enter a RAW port number ([9100] by default) in [Port Number:]. % If both LPR and Port9100 are enabled on this machine, the printer driver is connected to this machine using LPR. 11 Click [Next]. The [Install the printer driver] dialog box appears. 12 Click [Have Disk...]. 13 Click [Browse...]. 14 Select the folder on the CD-ROM containing the desired printer driver, then click [Open]. % Select the folder according to the printer driver, operating system, and language to be used. Selectable printer drivers: PCL driver, PS driver, and XPS driver 15 Click [OK]. The [Printers] list appears. 16 Click [Next]. 17 Follow the on-screen instructions to carry out operations. % If the [User Account Control] window appears, click [Continue] or [Yes]. [Applied Functions] 3-9
-
 1
1 -
2
-
3
-
4
-
5
-
6
-
7
-
8
-
9
-
10
-
11
-
12
-
13
-
14
-
15
-
16
-
17
-
18
-
19
-
20
-
21
-
22
-
23
-
24
-
25
-
26
-
27
-
28
-
29
-
30
-
31
-
32
-
33
-
34
-
35
-
36
-
37
-
38
-
39
-
40
-
41
-
42
-
43
-
44
-
45
-
46
-
47
-
48
-
49
-
50
-
51
-
52
-
53
-
54
-
55
-
56
-
57
-
58
-
59
-
60
-
61
-
62
-
63
-
64
-
65
-
 66
66 -
 67
67 -
 68
68 -
 69
69 -
 70
70 -
 71
71 -
 72
72 -
 73
73 -
 74
74 -
 75
75 -
 76
76 -
77
-
78
-
79
-
80
-
81
-
82
-
83
-
84
-
85
-
86
-
87
-
88
-
89
-
90
-
91
-
92
-
93
-
94
-
95
-
96
-
97
-
98
-
99
-
100
-
101
-
102
-
103
-
104
-
105
-
106
 |
 |
