Lantronix MPS100 EPS Reference Manual - Page 87
Installing a Print Queue Using PCONSOLE
 |
View all Lantronix MPS100 manuals
Add to My Manuals
Save this manual to your list of manuals |
Page 87 highlights
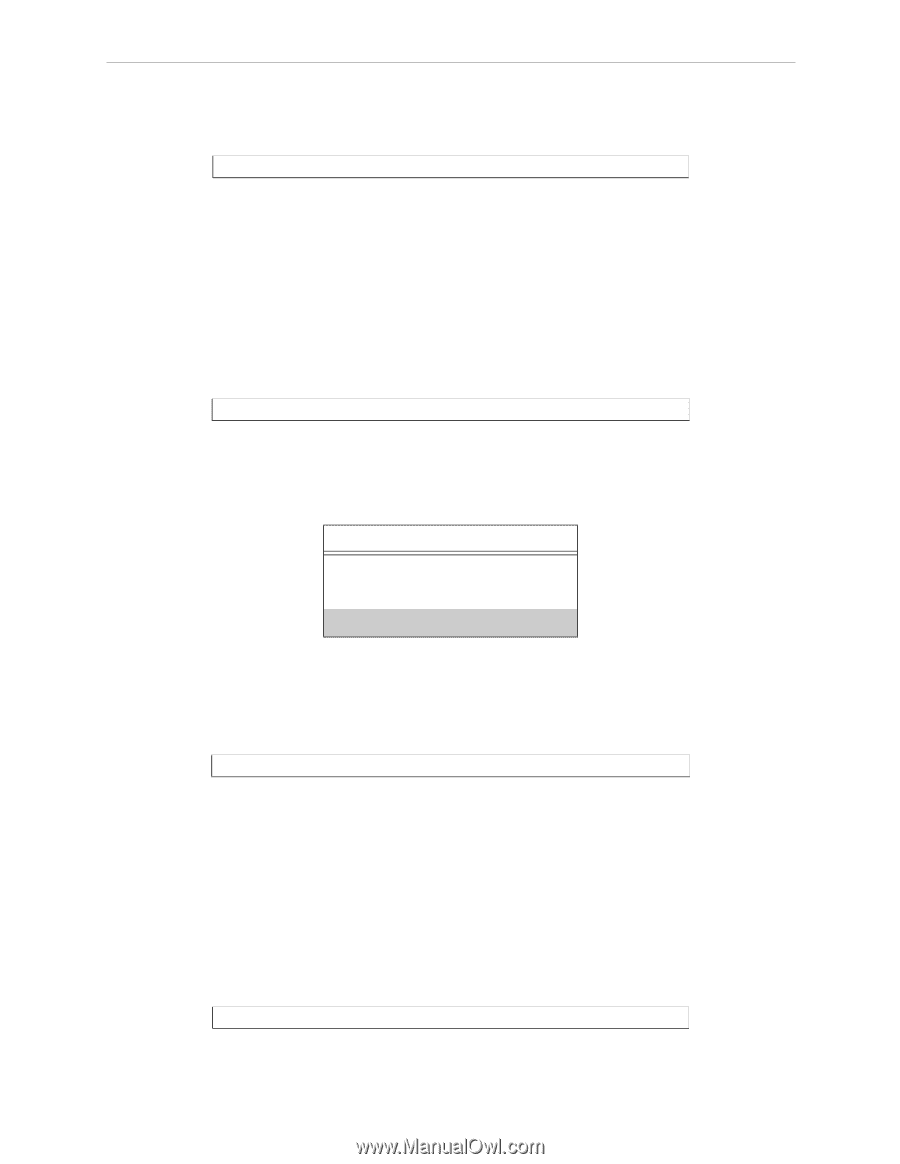
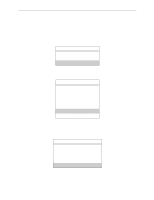
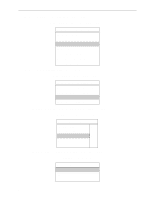
NetWare Host Setup Printing 5 Use the nprint command to print a job to the Server. Figure 8-12: NPRINT Command F:\> nprint C:\AUTOEXEC.BAT /queue=Server_PRT 8.3.4 Installing a Print Queue Using PCONSOLE The following detailed steps refer to NetWare v3.11, but are similar for v2.x. Be sure to note the name of the print server; it is located on the back or underside label. 1 Log in as Supervisor on the file server. 2 Type PCONSOLE at the F: prompt and press Enter to start the utility. Figure 8-13: Starting PCONSOLE F:> PCONSOLE 3 Using the cursor keys, select Print Server Information from the Available Options menu, then press Enter. Figure 8-14: Print Server Information Option Available Options Change Current File Server Print Queue Information Print Server Information You will see a list of current print servers. 4 Press Insert to create a new entry, add the Server name, and press Enter. Figure 8-15: Entering Server Name Enter Print Server Name: LAB_Server This is the name that the Server will log in as when querying the file server's print queues. If you later change the Server name, you will need to update the file server(s). If you change the login password on the Server, you will need to add a password for the entry you just added. Highlighting the Server name and pressing Enter shows the Print Server Information menu, in which you can change the Server password. 5 Use Insert to add the name of the service on the Server which will service the queue, and press Enter. The example below adds a service named LABPRT_S1. Figure 8-16: Entering Services Enter Print Server Name: LABPRT_S1 8-7
-
 1
1 -
2
-
3
-
4
-
5
-
6
-
7
-
8
-
9
-
10
-
11
-
12
-
13
-
14
-
15
-
16
-
17
-
18
-
19
-
20
-
21
-
22
-
23
-
24
-
25
-
26
-
27
-
28
-
29
-
30
-
31
-
32
-
33
-
34
-
35
-
36
-
37
-
38
-
39
-
40
-
41
-
42
-
43
-
44
-
45
-
46
-
47
-
48
-
49
-
50
-
51
-
52
-
53
-
54
-
55
-
56
-
57
-
58
-
59
-
60
-
61
-
62
-
63
-
64
-
65
-
66
-
67
-
68
-
69
-
70
-
71
-
72
-
73
-
74
-
75
-
76
-
77
-
78
-
79
-
80
-
81
-
 82
82 -
 83
83 -
 84
84 -
 85
85 -
 86
86 -
 87
87 -
 88
88 -
 89
89 -
 90
90 -
 91
91 -
 92
92 -
93
-
94
-
95
-
96
-
97
-
98
-
99
-
100
-
101
-
102
-
103
-
104
-
105
-
106
-
107
-
108
-
109
-
110
-
111
-
112
-
113
-
114
-
115
-
116
-
117
-
118
-
119
-
120
-
121
-
122
-
123
-
124
-
125
-
126
-
127
-
128
-
129
-
130
-
131
-
132
-
133
-
134
-
135
-
136
-
137
-
138
-
139
-
140
-
141
-
142
-
143
-
144
-
145
-
146
-
147
-
148
-
149
-
150
-
151
-
152
-
153
-
154
-
155
-
156
-
157
-
158
-
159
-
160
-
161
-
162
-
163
-
164
-
165
-
166
-
167
-
168
-
169
-
170
-
171
-
172
-
173
-
174
-
175
-
176
-
177
-
178
-
179
-
180
-
181
-
182
-
183
-
184
-
185
-
186
-
187
-
188
-
189
-
190
-
191
-
192
-
193
-
194
-
195
-
196
-
197
-
198
-
199
-
200
-
201
-
202
-
203
-
204
-
205
-
206
-
207
-
208
-
209
-
210
-
211
-
212
-
213
-
214
-
215
-
216
-
217
-
218
-
219
-
220
-
221
-
222
-
223
 |
 |