Lexmark Network Printer Device Getting Started - Page 6
Step 1, Select a location for, your adapter, Unpack your adapter
 |
View all Lexmark Network Printer Device manuals
Add to My Manuals
Save this manual to your list of manuals |
Page 6 highlights
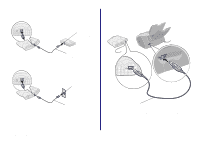
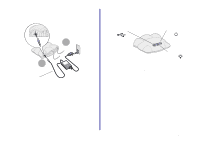
Step 1: Select a location for your adapter Choosing the correct location for your new adapter is vital to ensuring that it provides you with the quality of service you expect. Make sure the location is: • Firm, level, and stable • Accessible to a network wall connection or network hub connection • Large enough to accommodate a printer attached to the adapter • Away from the direct airflow of air conditioners, heaters, or ventilators • Free of temperature or humidity extremes and fluctuations • Clean, dry, and free of dust • Away from direct sunlight Step 2: Unpack your adapter Lexmark N1 Ethernet adapter Power supply USB cable Getting Started (this book) If any items are missing, contact Lexmark (see page 29). Getting Started 2
-
 1
1 -
 2
2 -
 3
3 -
 4
4 -
 5
5 -
 6
6 -
 7
7 -
 8
8 -
 9
9 -
 10
10 -
 11
11 -
 12
12 -
13
-
14
-
15
-
16
-
17
-
18
-
19
-
20
-
21
-
22
-
23
-
24
-
25
-
26
-
27
-
28
-
29
-
30
-
31
-
32
-
33
-
34
-
35
-
36
-
37
 |
 |
Getting Started
2
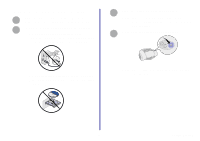
Step 1:
Select a location for
your adapter
Choosing the correct location for your new adapter is vital to
ensuring that it provides you with the quality of service you
expect.
Make sure the location is:
•
Firm, level, and stable
•
Accessible to a network wall connection or network
hub connection
•
Large enough to accommodate a printer attached to
the adapter
•
Away from the direct airflow of air conditioners,
heaters, or ventilators
•
Free of temperature or humidity extremes and
fluctuations
•
Clean, dry, and free of dust
•
Away from direct sunlight
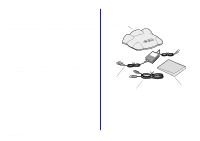
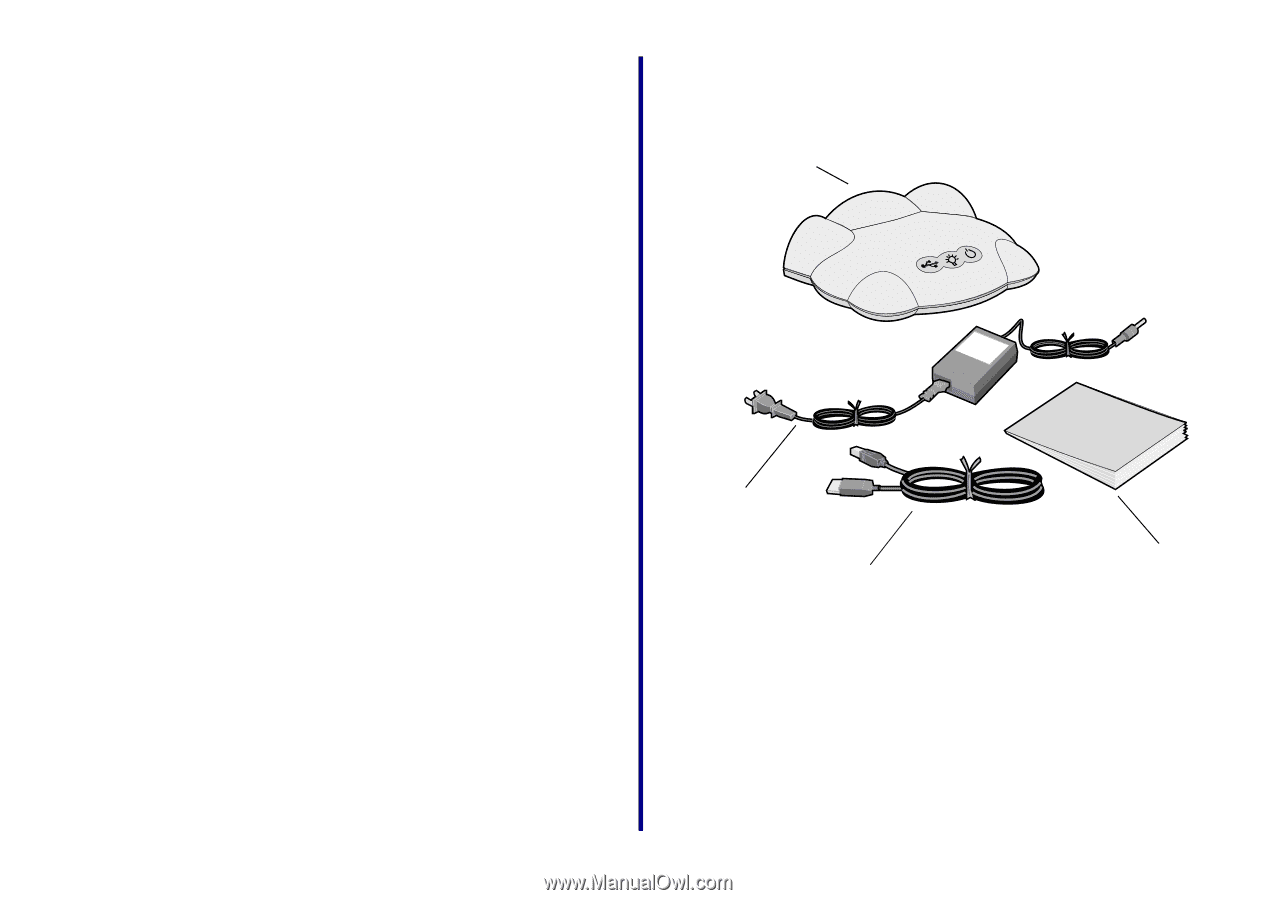
Step 2:
Unpack your adapter
If any items are missing, contact Lexmark (see page 29).
Lexmark N1
Ethernet adapter
Power
supply
USB cable
Getting
Started
(this book)