Lexmark Network Printer Device Getting Started - Page 7
Step 3, Prepare your printer
 |
View all Lexmark Network Printer Device manuals
Add to My Manuals
Save this manual to your list of manuals |
Page 7 highlights
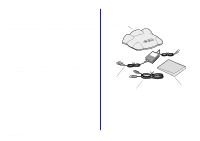
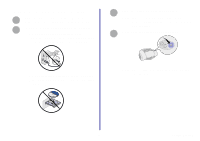
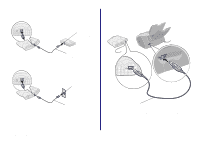
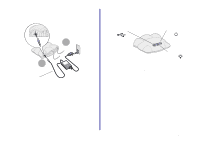
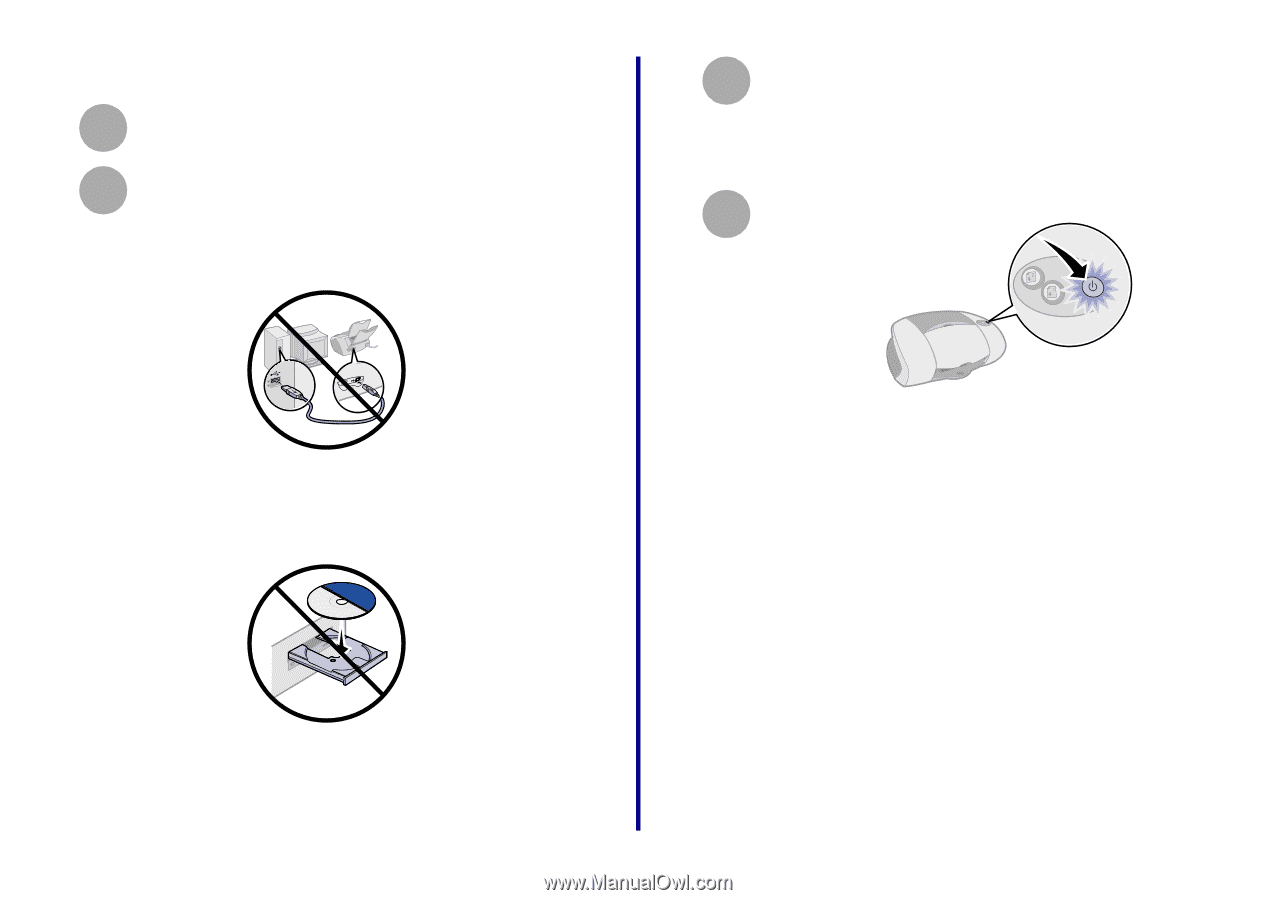
Step 3: Prepare your printer 1 Unpack and set up your printer. For help, refer to the instructions that came with your printer. 2 To help configure your printer on the network, - Do not connect your printer to your computer, however, if you have already done so, disconnect the USB or parallel cable. 3 Place the printer next to your adapter. Note: If necessary, disconnect the printer power supply, and then reconnect it at its new location. 4 Make sure the printer power light is on. - Do not install the printer software, however, if you have already done so, you do not need to uninstall it. Note: Your printer may look different from the one shown. 3 Getting Started
-
 1
1 -
 2
2 -
 3
3 -
 4
4 -
 5
5 -
 6
6 -
 7
7 -
 8
8 -
 9
9 -
 10
10 -
 11
11 -
 12
12 -
13
-
14
-
15
-
16
-
17
-
18
-
19
-
20
-
21
-
22
-
23
-
24
-
25
-
26
-
27
-
28
-
29
-
30
-
31
-
32
-
33
-
34
-
35
-
36
-
37
 |
 |
Getting Started
3
Step 3:
Prepare your printer
Unpack and set up your printer. For help, refer
to the instructions that came with your printer.
To help configure your printer on the network,
–
Do
not
connect your printer to your
computer, however, if you have already done
so, disconnect the USB or parallel cable.
–
Do
not
install the printer software, however,
if you have already done so, you do
not
need
to uninstall it.
Place the printer next to your adapter.
Note:
If necessary, disconnect the printer
power supply, and then reconnect it at its
new location.
Make sure the printer power light is on.
Note:
Your printer may look different from the
one shown.
1
2
3
4