Lexmark Z601 User's Guide for Mac OS X - Page 30
Printing your document in reverse order, Step 3: Print your transparencies, Step 1: Load the paper
 |
View all Lexmark Z601 manuals
Add to My Manuals
Save this manual to your list of manuals |
Page 30 highlights
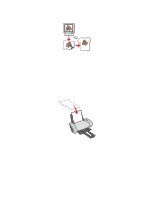
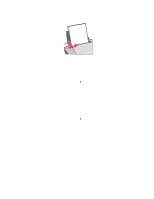
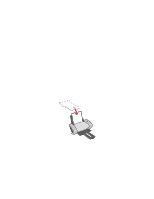
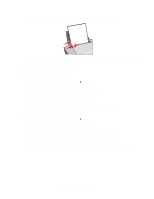
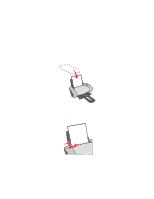
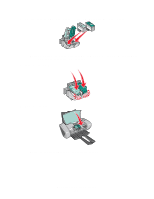
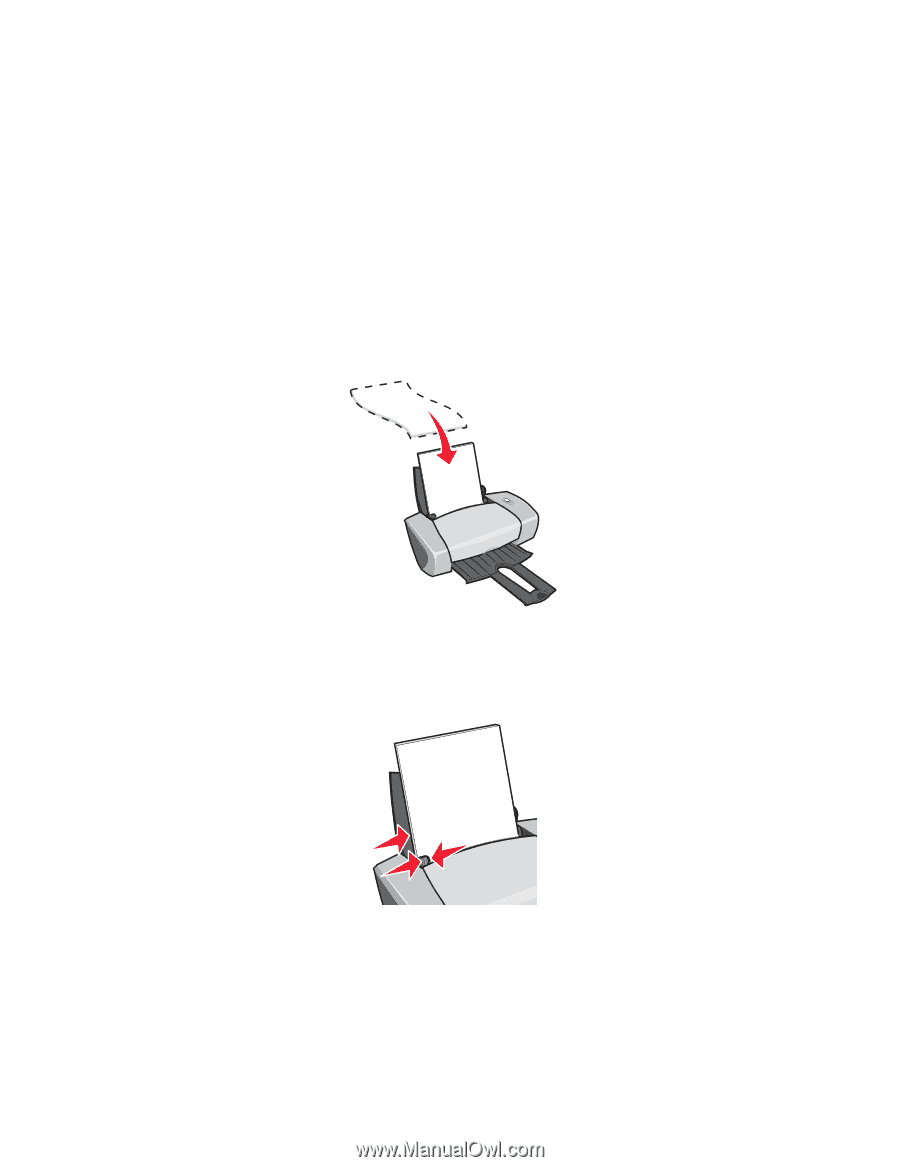
Step 3: Print your transparencies Click Print. Note: To prevent smudging, remove each transparency as it exits the printer, and then let it dry before stacking. Transparencies may require up to 15 minutes to dry. Printing your document in reverse order Step 1: Load the paper • Load the paper vertically against the right side of the paper support. • Make sure the print side is facing you. • Do not force the paper into the printer. • Squeeze and slide the paper guide to the left edge of the paper. Note: If you are using Letter size paper, adjusting the paper guide may not be necessary. Printing your document in reverse order 30
-
 1
1 -
2
-
3
-
4
-
5
-
6
-
7
-
8
-
9
-
10
-
11
-
12
-
13
-
14
-
15
-
16
-
17
-
18
-
19
-
20
-
21
-
22
-
23
-
24
-
 25
25 -
 26
26 -
 27
27 -
 28
28 -
 29
29 -
 30
30 -
 31
31 -
 32
32 -
 33
33 -
 34
34 -
 35
35 -
36
-
37
-
38
-
39
-
40
-
41
-
42
-
43
-
44
-
45
-
46
-
47
-
48
-
49
-
50
-
51
-
52
-
53
-
54
-
55
-
56
-
57
-
58
-
59
-
60
-
61
-
62
-
63
 |
 |
Printing your document in reverse order
30
Step 3: Print your transparencies
Click
Print
.
Note:
To prevent smudging, remove each transparency as it exits the printer, and then let
it dry before stacking. Transparencies may require up to 15 minutes to dry.
Printing your document in reverse order
Step 1: Load the paper
•
Load the paper vertically against the right side of the paper support.
•
Make sure the print side is facing you.
•
Do not force the paper into the printer.
•
Squeeze and slide the paper guide to the left edge of the paper.
Note:
If you are using Letter size paper, adjusting the paper guide may not be necessary.