Linksys WPS54GU2 User Guide - Page 10
Getting to Know the PrintServer - reset
 |
UPC - 745883557806
View all Linksys WPS54GU2 manuals
Add to My Manuals
Save this manual to your list of manuals |
Page 10 highlights
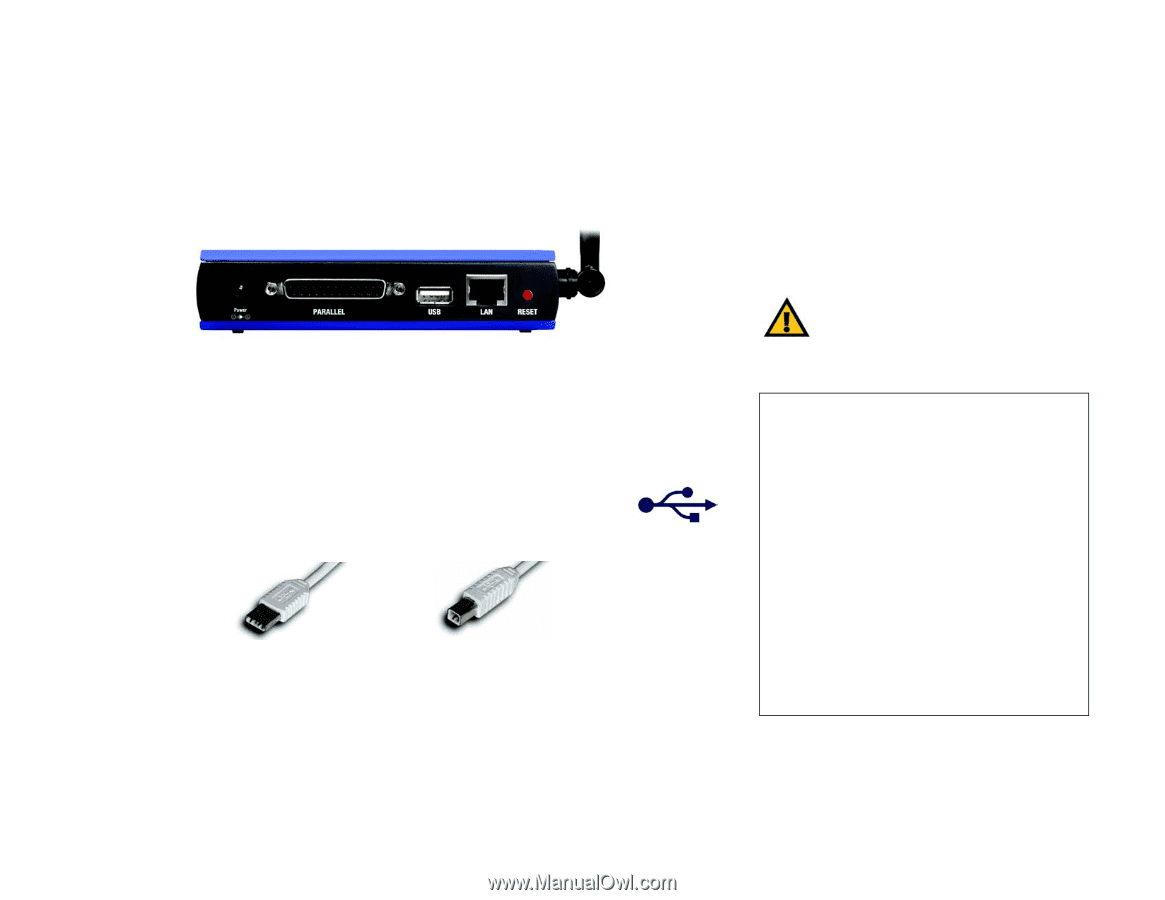
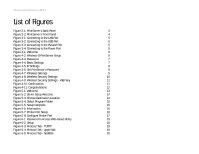
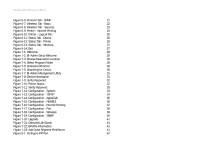
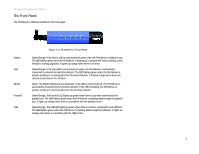
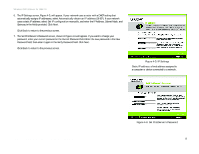
Wireless-G PrintServer for USB 2.0 Chapter 2: Getting to Know the PrintServer The Back Panel The PrintServer's ports are located on the back panel. Power Parallel USB Figure 2-1: PrintServer's Back Panel The Power port is where you will connect the power adapter. The Parallel port is where you will connect the parallel printer to the PrintServer. The USB port is where you will connect the USB printer to the PrintServer. The USB icon (right) designates a USB port. The PrintServer comes with a USB cable. One end has a rectangular connector called Type A. The other end has a square connector called Type B. The USB cable's Type A end connects to the PrintServer, and the Type B end connects to the printer. LAN Reset Button USB Connector-Type A USB Connector-Type B The LAN port is where you will connect the PrintServer to your wired network. Use the Reset Button to reset the PrintServer to its factory defaults or print a test page. The instructions are provided on the right side of this page. Chapter 2: Getting to Know the PrintServer The Back Panel Important: Resetting the PrintServer will erase all of your settings and replace them with the factory defaults. Do not reset the PrintServer if you want to retain the settings. To reset the factory default settings 1. Unplug the PrintServer. 2. Press and hold the Reset button. While pressing the button, plug in the PrintServer. 3. If you continue pressing the button for 10 seconds, the PrintServer will be reset to factory defaults. To generate a diagnostic print-out 1. Ensure that both the PrintServer and the printer attached to the Printer port are ON. 2. Press the Reset button, and hold it in for 2 seconds. 3. The test page, which lists the current settings, will be printed. PostScript printers are unable to print this page. If you have a PostScript printer on the Printer port, the test page will not be printed. LAN (Local Area Network): the computers and networking products that make up the network in your home or office. 3
-
 1
1 -
2
-
3
-
4
-
 5
5 -
 6
6 -
 7
7 -
 8
8 -
 9
9 -
 10
10 -
 11
11 -
 12
12 -
 13
13 -
 14
14 -
 15
15 -
16
-
17
-
18
-
19
-
20
-
21
-
22
-
23
-
24
-
25
-
26
-
27
-
28
-
29
-
30
-
31
-
32
-
33
-
34
-
35
-
36
-
37
-
38
-
39
-
40
-
41
-
42
-
43
-
44
-
45
-
46
-
47
-
48
-
49
-
50
-
51
-
52
-
53
-
54
-
55
-
56
-
57
-
58
-
59
-
60
-
61
-
62
-
63
-
64
-
65
-
66
-
67
-
68
-
69
-
70
-
71
-
72
-
73
-
74
-
75
-
76
 |
 |