Linksys WPS54GU2 User Guide - Page 50
Access IPP Server via Proxy Server, Select Device Port, Add New Printer, Installation is now complete. - setup windows 7
 |
UPC - 745883557806
View all Linksys WPS54GU2 manuals
Add to My Manuals
Save this manual to your list of manuals |
Page 50 highlights
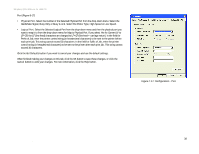
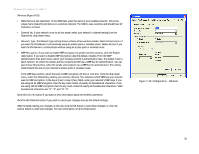
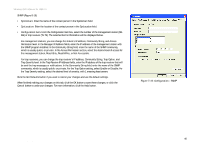
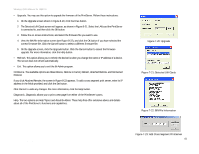
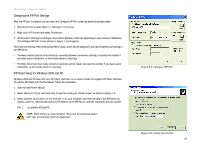
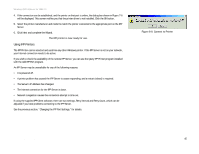
Wireless-G PrintServer for USB 2.0 2. Enter the IP Address or URL of the IPP Server. 3. If Internet access from your location is via a Proxy Server, check Access IPP Server via Proxy Server, and enter details of your Proxy Server. (This will be the same as your browser configuration.) 4. Click Select Device Port to view the available ports on the IPP Server, and select the appropriate port. (See Figure 7-2.) A connection to the IPP Server will be established at this time. 5. Click OK to create the IPP port on your system. You will see a message confirming that the port has been created, and then you will see Figure 7-3. 6. Perform one of these steps. Select an existing printer to use the new port, and click OK. OR Click the Add New Printer button to create a new printer that will use the IPP port. This will start the Add Printer Wizard. Follow the prompts to complete the process. Make sure that the new printer uses the IPP port. Installation is now complete. • To create additional IPP ports, repeat the entire procedure. • The Proxy Server and other options are set individually for each IPP port. Figure 8-2: Output Select Figure 8-3: AddPort Chapter 7: Internet Printing Protocol (IPP) 43 Windows IPP Client Setup
-
 1
1 -
2
-
3
-
4
-
5
-
6
-
7
-
8
-
9
-
10
-
11
-
12
-
13
-
14
-
15
-
16
-
17
-
18
-
19
-
20
-
21
-
22
-
23
-
24
-
25
-
26
-
27
-
28
-
29
-
30
-
31
-
32
-
33
-
34
-
35
-
36
-
37
-
38
-
39
-
40
-
41
-
42
-
43
-
44
-
 45
45 -
 46
46 -
 47
47 -
 48
48 -
 49
49 -
 50
50 -
 51
51 -
 52
52 -
 53
53 -
 54
54 -
 55
55 -
56
-
57
-
58
-
59
-
60
-
61
-
62
-
63
-
64
-
65
-
66
-
67
-
68
-
69
-
70
-
71
-
72
-
73
-
74
-
75
-
76
 |
 |
