Linksys WPS54GU2 User Guide - Page 51
Changing the IPP Port Settings, IPP Client Setup for Windows 2000 and XP - setup wizard software
 |
UPC - 745883557806
View all Linksys WPS54GU2 manuals
Add to My Manuals
Save this manual to your list of manuals |
Page 51 highlights
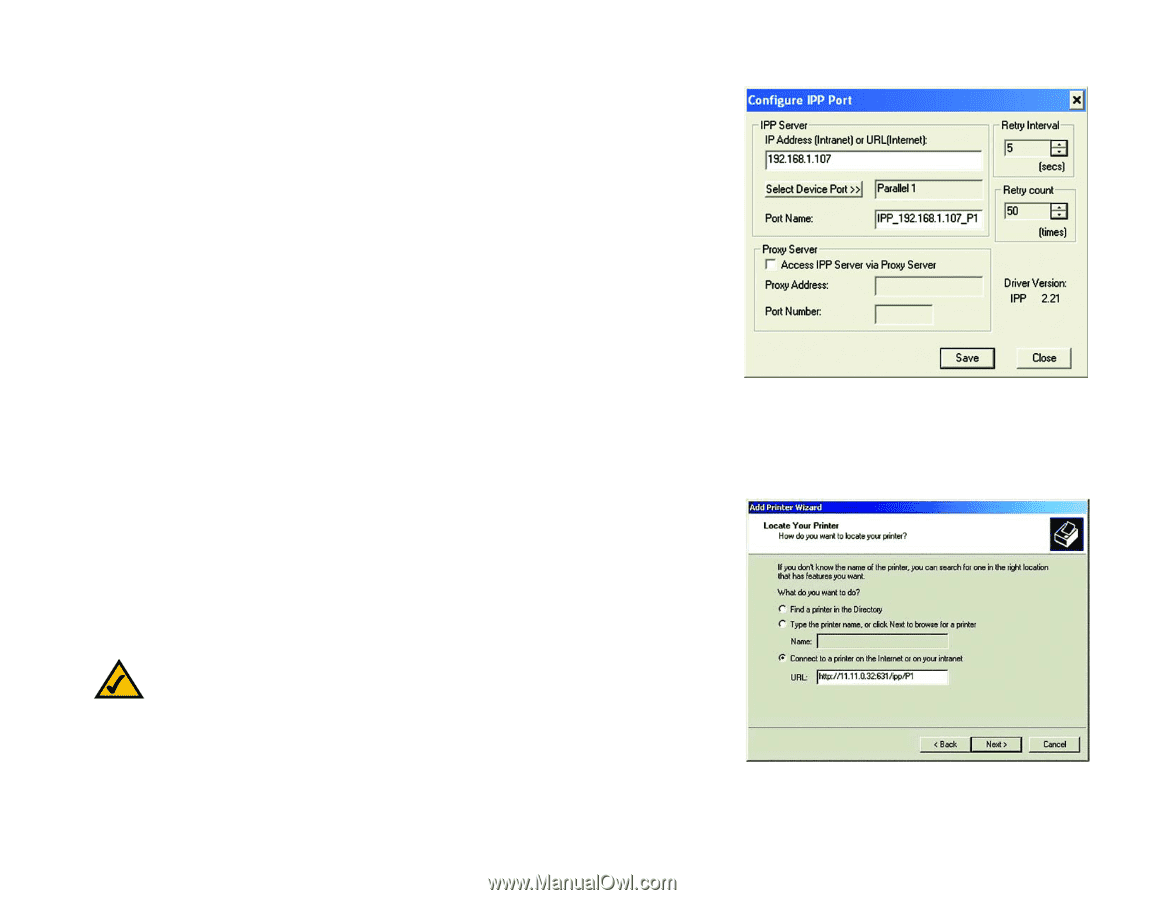
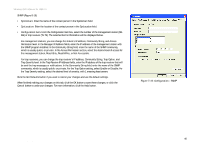
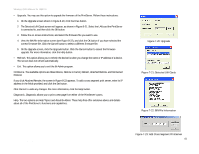
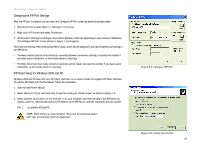
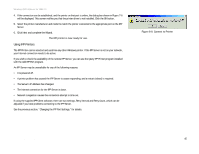
Wireless-G PrintServer for USB 2.0 Changing the IPP Port Settings After the IPP port is created, you can reach the Configure IPP Port screen by performing these steps: 1. Open the Printers folder (Start => Settings => Printers). 2. Right-click IPP Printer and select Properties. 3. Click the Port Settings or Configure Port button (Details or Port tab, depending on your version of Windows). The Configure IPP Port screen (shown in Figure 7-4) will appear. There are two settings, Retry Interval and Retry Count, which can be adjusted if you have problems connecting to the IPP Server. • The Retry Interval sets the time interval (in seconds) between connection attempts. Increase this number if you have a poor connection, or the remote server is very busy. • The Retry Count sets how many connection attempts will be made. Increase this number if you have a poor connection, or the remote server is very busy. IPP Client Setup for Windows 2000 and XP Windows 2000 and XP have their own IPP Client, and there is no need to install the supplied IPP Client Software. To use this IPP Client with the PrintServer, follow this procedure: 1. Start the Add Printer Wizard. 2. Select Network Printer and click Next to see the Locate your Printer screen, as shown in Figure 7-5. 3. Select Connect to a printer on the Internet or on your intranet, and enter the URL of the IPP Server as follows, where ip_address represents the IP Address of the IPP Server, and 631 represents the port number. Port 1 ip_address:631/ipp/P1 NOTE: These entries are case-sensitive. They must be entered as shown, with "ipp" in lowercase and P1 in uppercase. Chapter 7: Internet Printing Protocol (IPP) Windows IPP Client Setup Figure 8-4: Configure IPP Port Figure 8-5: Locate Your Printer 44
-
 1
1 -
2
-
3
-
4
-
5
-
6
-
7
-
8
-
9
-
10
-
11
-
12
-
13
-
14
-
15
-
16
-
17
-
18
-
19
-
20
-
21
-
22
-
23
-
24
-
25
-
26
-
27
-
28
-
29
-
30
-
31
-
32
-
33
-
34
-
35
-
36
-
37
-
38
-
39
-
40
-
41
-
42
-
43
-
44
-
45
-
 46
46 -
 47
47 -
 48
48 -
 49
49 -
 50
50 -
 51
51 -
 52
52 -
 53
53 -
 54
54 -
 55
55 -
 56
56 -
57
-
58
-
59
-
60
-
61
-
62
-
63
-
64
-
65
-
66
-
67
-
68
-
69
-
70
-
71
-
72
-
73
-
74
-
75
-
76
 |
 |