Maytag MAH5500BWW Service Manual - Page 28
Motor & Motor Contr, Motor & Motor Control T, ol Test, Motor Phase T, Motor Phase Test - problems
 |
View all Maytag MAH5500BWW manuals
Add to My Manuals
Save this manual to your list of manuals |
Page 28 highlights
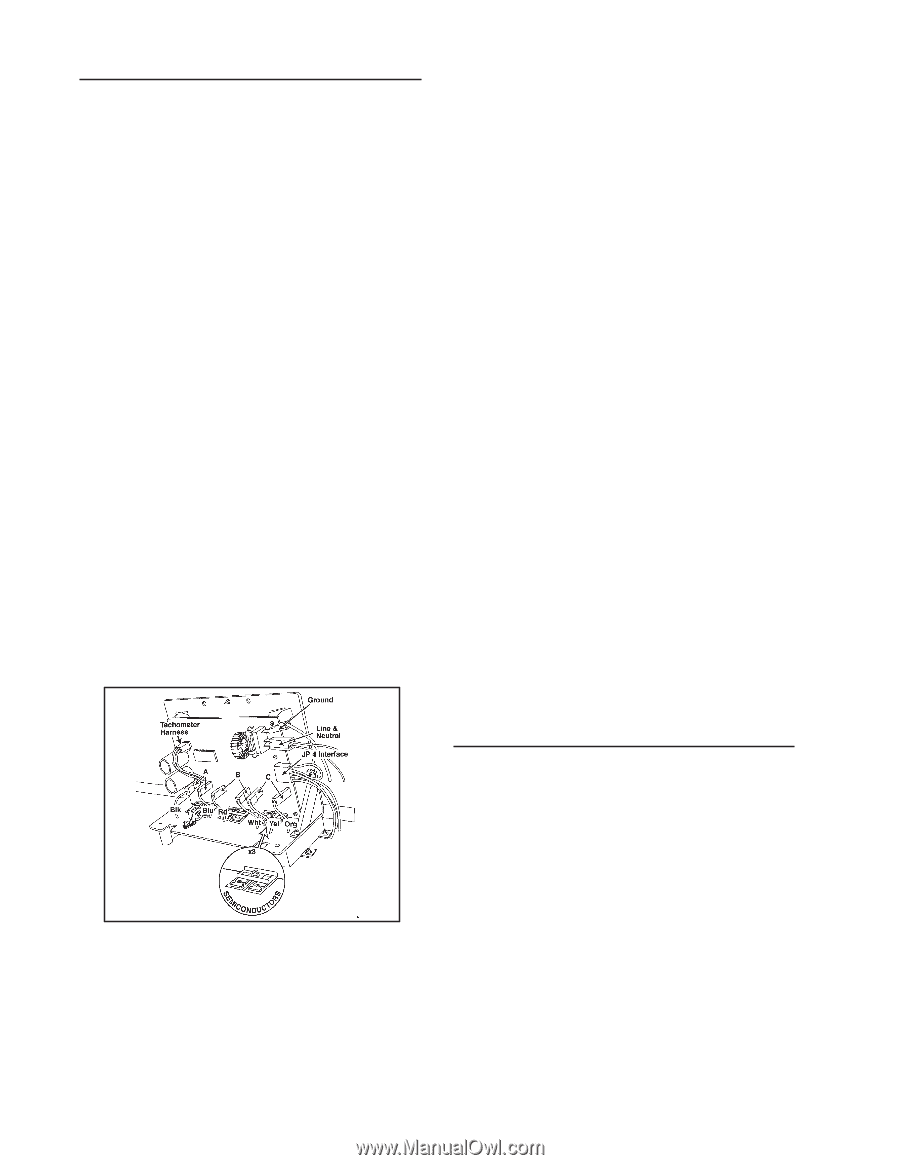
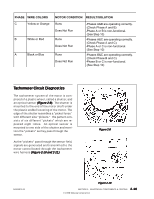
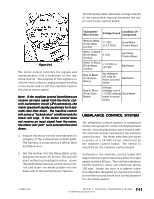
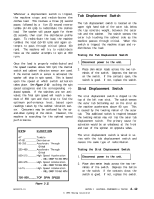
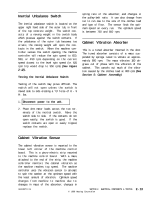
Motor & Motor Control Test 1. Set the timer knob into the delay increments. 2. Press the push-to-start switch to start the washer in the delay mode. Confirm the delay light is ON. 3. Check for 120 VAC between the L and N terminals (black wire no.27 and white wire no. 13) on the motor control board. If not present, check wiring between the machine control and the motor control boards. 4. Unplug the washer power cord. Test cord to the same board terminals. 5. Remove JP4 Interface connector wire harness on front end of motor control board. 6. Plug the washer power cord into a 120 VAC power source. The motor control will immediately execute a test routine and the motor should run, rotating the spinner at 50 rpm. 6. If the motor runs, and the spinner rotates at the proper RPM speed, the problem lies outside of the motor and motor control circuit. Disconnect power to the washer and reconnect the JP4 Interface connector to the motor control. 7. If the motor does not run: A. Check the 10-amp fuse located on the control board, either visually or with an ohm meter. If bad, completely replace motor control/wire harness assembly (Figure 2-6). B. If the fuse is functioning, visually check the six semiconductors on the heat sink for any damage. If damaged, replace motor control/wire harness assembly complete and check motor windings for damage (See Drive Motor). Replace motor if necessary(Figure 2-6) . C. If fuse and semiconductors show no visible damage, perform the motor phase test. 8. Unplug the washer power cord and replace motor control board connector JP4 when finished. Figure 2-6 Motor Phase Test It is possible for the motor to still run under light loads when one of the phases of the motor is nonfunctional. One possible symptom would be a "growling" noise from the motor. Torque is decreased when the motor is out of phase. This could result in a customer complaint that the load is not spinning out properly or it does not tumble consistently with a large load (See Section 3: Troubleshooting). 16008373-01 SECTION 2. ELECTRICAL COMPONENTS & TESTING 2 - 8 © 1998 Maytag Corporation
-
 1
1 -
2
-
3
-
4
-
5
-
6
-
7
-
8
-
9
-
10
-
11
-
12
-
13
-
14
-
15
-
16
-
17
-
18
-
19
-
20
-
21
-
22
-
 23
23 -
 24
24 -
 25
25 -
 26
26 -
 27
27 -
 28
28 -
 29
29 -
 30
30 -
 31
31 -
 32
32 -
 33
33 -
34
-
35
-
36
-
37
-
38
-
39
-
40
-
41
-
42
-
43
-
44
-
45
-
46
-
47
-
48
-
49
-
50
-
51
-
52
-
53
-
54
-
55
-
56
-
57
-
58
-
59
-
60
-
61
-
62
-
63
-
64
-
65
-
66
-
67
-
68
-
69
-
70
-
71
-
72
-
73
-
74
-
75
-
76
-
77
-
78
-
79
-
80
-
81
-
82
-
83
-
84
-
85
-
86
-
87
-
88
-
89
-
90
-
91
-
92
-
93
-
94
-
95
-
96
-
97
-
98
-
99
-
100
-
101
-
102
-
103
-
104
-
105
-
106
-
107
-
108
-
109
-
110
-
111
-
112
-
113
-
114
-
115
-
116
-
117
-
118
-
119
-
120
-
121
-
122
-
123
-
124
-
125
-
126
-
127
-
128
-
129
-
130
-
131
-
132
-
133
-
134
-
135
-
136
-
137
-
138
-
139
-
140
-
141
-
142
-
143
-
144
-
145
-
146
-
147
-
148
-
149
-
150
-
151
-
152
-
153
-
154
-
155
-
156
-
157
 |
 |