Netgear A6210 User Manual - Page 17
For more information about Windows WLAN Autoconfig or the Wireless Zero
 |
View all Netgear A6210 manuals
Add to My Manuals
Save this manual to your list of manuals |
Page 17 highlights
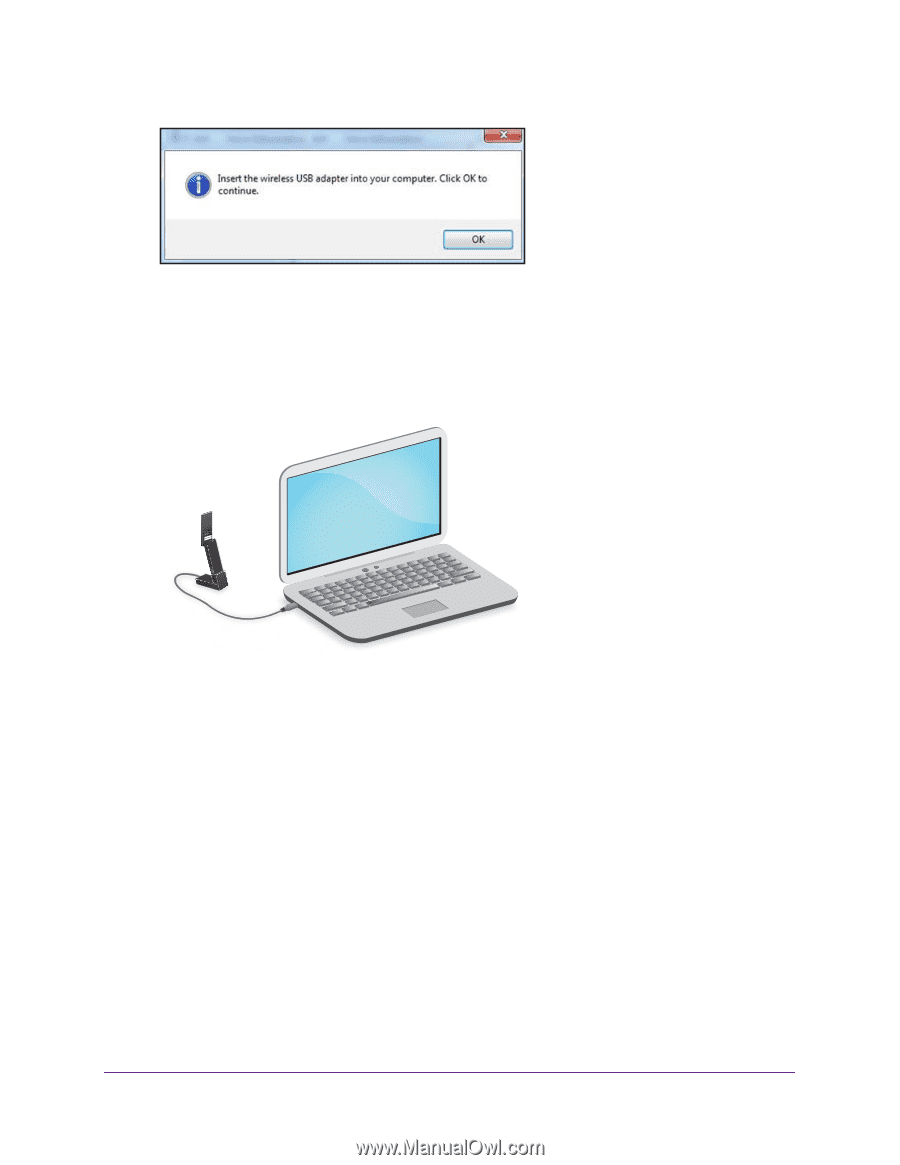
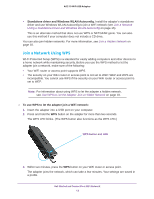
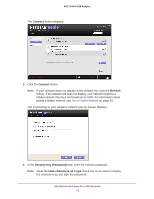
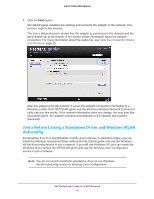
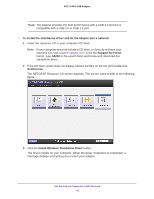
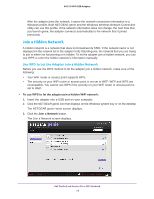
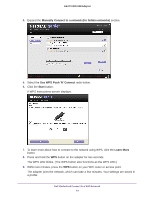
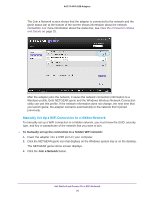
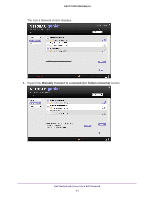
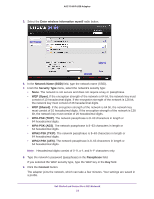
A6210 WiFi USB Adapter 4. Insert the adapter into a USB port on your computer. Note: NETGEAR does not recommend that you use another cable to connect the adapter to the USB port on your computer. Use the desktop dock with the attached cable that is supplied in the package. Using another USB cable might affect the performance and correct functioning of the adapter. Note: When the adapter is placed in the desktop dock, you can fold out the adapter to its maximum angle for increased WiFi performance. 5. Click the OK button. The driver finishes installing. 6. Click the Finish button. A pop-up screen displays when the diver finishes installing. 7. Click the OK button. 8. Use a Windows utility to connect the adapter to a WiFi network: • For Windows 8 (or 8.1) and Windows 7 (and-if you still use it-Windows Vista), use the Windows WLAN Autoconfig service. • If you still use Windows XP, use the Wireless Zero Configuration service. For more information about Windows WLAN Autoconfig or the Wireless Zero Configuration service, see your computer's documentation. Get Started and Connect to a WiFi Network 17
-
 1
1 -
2
-
3
-
4
-
5
-
6
-
7
-
8
-
9
-
10
-
11
-
 12
12 -
 13
13 -
 14
14 -
 15
15 -
 16
16 -
 17
17 -
 18
18 -
 19
19 -
 20
20 -
 21
21 -
 22
22 -
23
-
24
-
25
-
26
-
27
-
28
-
29
-
30
-
31
-
32
-
33
-
34
-
35
-
36
-
37
-
38
-
39
 |
 |