Netgear WPNT511 WPNT511 User Manual - Page 29
Network Connections and Wireless Security, Understanding the WPNT511 Smart Wizard
 |
UPC - 606449044799
View all Netgear WPNT511 manuals
Add to My Manuals
Save this manual to your list of manuals |
Page 29 highlights
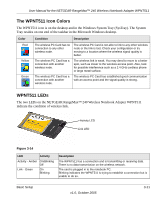
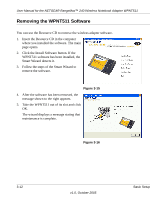
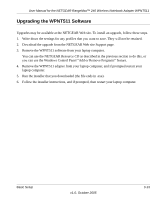
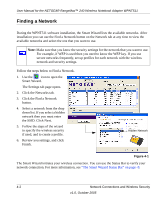
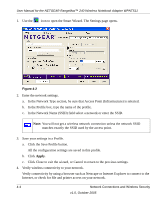
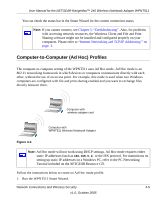
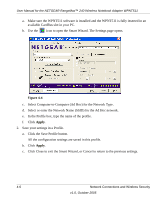
Chapter 4 Network Connections and Wireless Security This chapter explains how to use your NETGEAR RangeMax™ 240 Wireless Notebook Adapter WPNT511 to connect to your Wireless Local Area Network (WLAN) and how to set up wireless security for the WPNT511 so that it matches the wireless security settings for your network. Understanding the WPNT511 Smart Wizard Note: These instructions explain how to use the NETGEAR WPNT511 Smart Wizard to change the WPNT511 wireless settings. If you use Windows XP, and chose the Windows XP configuration utility during installation, then you must disable it now. Open the network connections from the system tray icon, click the Properties button, click the Wireless Networks tab and then clear the "Use Windows to configure my wireless network settings" check box. When you have installed the WPNT511 software from the NETGEAR CD, the icon appears on your desktop and in the Windows system tray. The Windows system tray is located on the Windows taskbar. You can either double click this icon on the desktop, or click it in the system tray at any time, to use the Smart Wizard. This software automatically restarts when you reboot your computer. The Smart Wizard provides a complete and easy to use set of tools to: • Choose the network that you want to use • Configure wireless settings for your wireless notebook adapter • Monitor wireless network connections • Save your settings in profiles • Remove or reinstall the wireless adapter software The following sections in this chapter explain how to use the Smart Wizard. 4-1 v1.0, October 2005
-
 1
1 -
2
-
3
-
4
-
5
-
6
-
7
-
8
-
9
-
10
-
11
-
12
-
13
-
14
-
15
-
16
-
17
-
18
-
19
-
20
-
21
-
22
-
23
-
 24
24 -
 25
25 -
 26
26 -
 27
27 -
 28
28 -
 29
29 -
 30
30 -
 31
31 -
 32
32 -
 33
33 -
 34
34 -
35
-
36
-
37
-
38
-
39
-
40
-
41
-
42
-
43
-
44
-
45
-
46
-
47
-
48
-
49
-
50
-
51
-
52
-
53
-
54
-
55
-
56
 |
 |