Nokia N93 User Guide - Page 23
Camera, Record videos
 |
View all Nokia N93 manuals
Add to My Manuals
Save this manual to your list of manuals |
Page 23 highlights
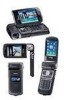
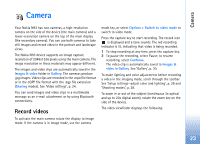
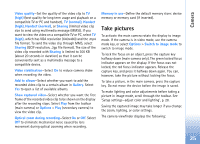
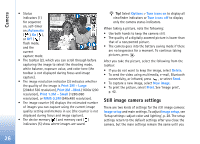
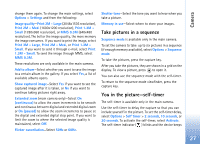
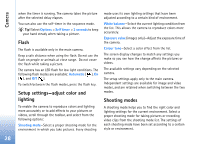
Camera Camera Your Nokia N93 has two cameras, a high-resolution camera on the side of the device (the main camera) and a lower-resolution camera on the top of the main display (the secondary camera). You can use both cameras to take still images and record video in the portrait and landscape views. The Nokia N93 device supports an image capture resolution of 2048x1536 pixels using the main camera. The image resolution in these materials may appear different. The images and video clips are automatically saved in the Images & video folder in Gallery. The cameras produce .jpg images. Video clips are recorded in the .mp4 file format or in the 3GPP file format with the .3gp file extension (Sharing modes). See 'Video settings', p. 24. You can send images and video clips in a multimedia message as an e-mail attachment or by using Bluetooth connectivity. Record videos To activate the main camera rotate the display to image mode. If the camera is in image mode, use the camera mode key, or select Options > Switch to video mode to switch to video mode. Press the capture key to start recording. The record icon is displayed and a tone sounds. The red recording indicator is lit, indicating that video is being recorded. 1 To stop recording at any time, press the capture key. 2 To pause the recording, select Pause; to resume recording, select Continue. The video clip is automatically saved to Images & video in Gallery. See 'Gallery', p. 30. To make lighting and color adjustments before recording a video in the imaging mode, scroll through the toolbar. See 'Setup settings-adjust color and lighting', p. 28 and 'Shooting modes', p. 28. To zoom in or out of the subject (continuous 3x optical and up to 20x digital zoom), rotate the zoom key on the side of the device. The video viewfinder displays the following: 23
-
 1
1 -
2
-
3
-
4
-
5
-
6
-
7
-
8
-
9
-
10
-
11
-
12
-
13
-
14
-
15
-
16
-
17
-
 18
18 -
 19
19 -
 20
20 -
 21
21 -
 22
22 -
 23
23 -
 24
24 -
 25
25 -
 26
26 -
 27
27 -
 28
28 -
29
-
30
-
31
-
32
-
33
-
34
-
35
-
36
-
37
-
38
-
39
-
40
-
41
-
42
-
43
-
44
-
45
-
46
-
47
-
48
-
49
-
50
-
51
-
52
-
53
-
54
-
55
-
56
-
57
-
58
-
59
-
60
-
61
-
62
-
63
-
64
-
65
-
66
-
67
-
68
-
69
-
70
-
71
-
72
-
73
-
74
-
75
-
76
-
77
-
78
-
79
-
80
-
81
-
82
-
83
-
84
-
85
-
86
-
87
-
88
-
89
-
90
-
91
-
92
-
93
-
94
-
95
-
96
-
97
-
98
-
99
-
100
-
101
-
102
-
103
-
104
-
105
-
106
-
107
-
108
-
109
-
110
-
111
-
112
-
113
-
114
-
115
-
116
-
117
-
118
-
119
-
120
-
121
-
122
-
123
-
124
-
125
-
126
-
127
-
128
-
129
-
130
-
131
 |
 |