Onkyo TX-DS595 Owner Manual - Page 16
Connecting the power - protect
 |
View all Onkyo TX-DS595 manuals
Add to My Manuals
Save this manual to your list of manuals |
Page 16 highlights
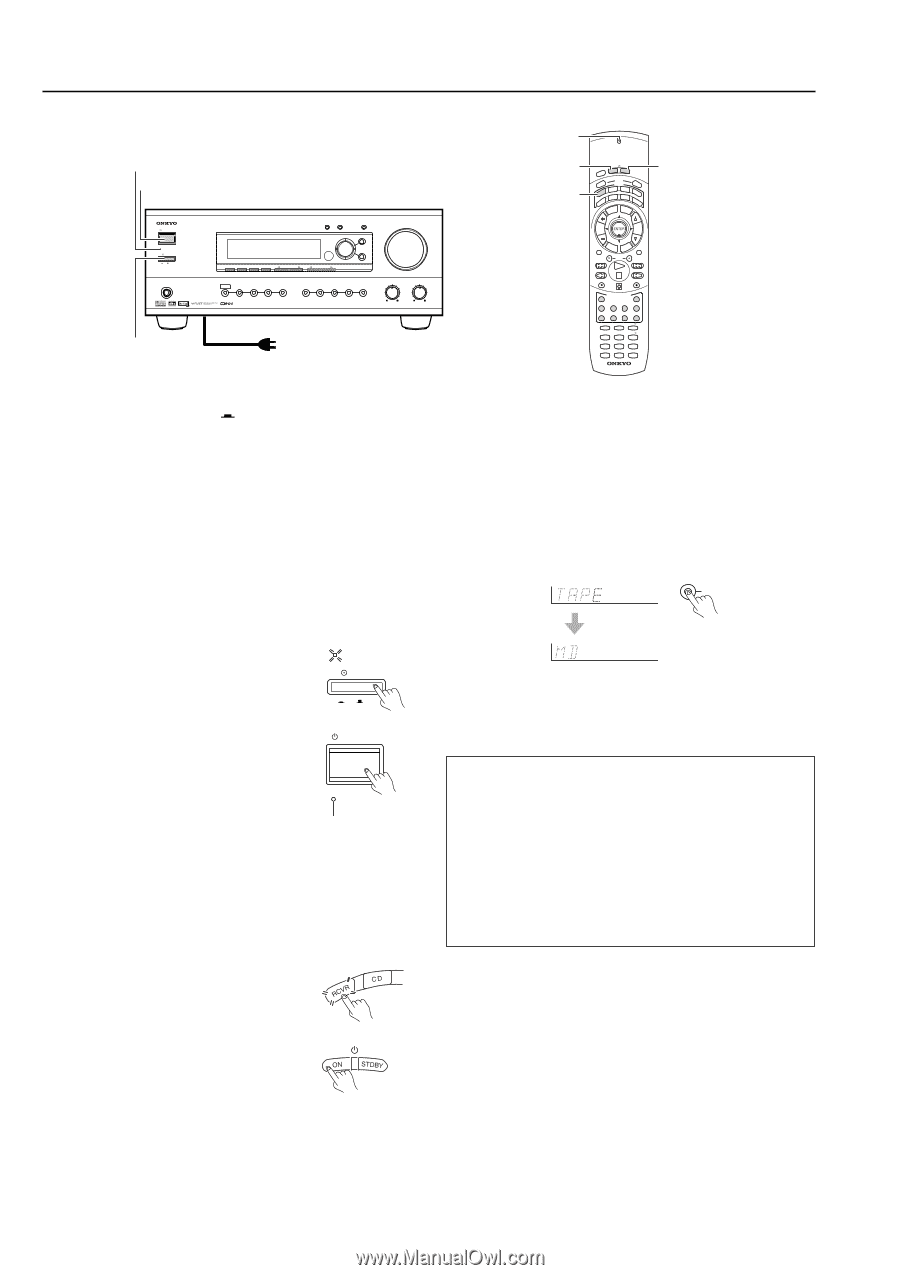
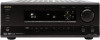
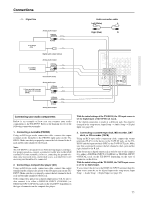
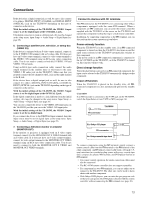
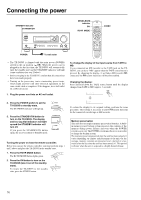
Connecting the power STANDBY indicator STANDBY/ON STANDBY/ON STANDBY POWER ON OFF PHONES DISPLAY RT/PTY/TP FM MODE PRESET MEMORY TUNING A SPEAKERS B CH LEVEL DSP/MODE ADJ SETUP PRESET RETURN PUSH TO ENTER SMART SCAN NAVIGATOR AUDIO SELECTOR DVD VIDEO 1 VIDEO 2 VIDEO 3 VCR TAPE FM AM PHONO C D MASTER VOLUME BASS TREBLE AV RECEIVER TX-DS595 POWER To wall outlet SEND/LEARN indicator ON RCVR MODE SEND / LEARN PREPROGRAMMED & LEARNING CAPABILITY SLEEP ON STDBY DIRECT RCVR SAT MACRO MODE CD DVD CABLE VCR RETURN SETUP MODE MD TV C H DISC VOL AUDIO TOCPHMSEENLU TMEESNTU MUTING ANGLE SUBTITLE TV / VCR LEVEL STDBY RANDOM REC OPEN / CLOSE INPUT SELECTOR DVD C D V 1 V 2 T 1 T 2 V 3 V 4 TUN P H STEREO 1 SURR 4 SP A 7 DISPLAY +10 -- / --- DIRECT 2 A.ST 5 SP B 8 DIMMER 0 DSP 3 DSP 6 Re-EQ 9 ZONE 2 SEARCH ENTER HOME THEATER CONTROLLER RC-447M • The TX-DS595 is shipped with the main power (POWER) switch in the on position ( ON). When the power cord is plugged in for the first time, the TX-DS595 will automatically enter the standby state and the STANDBY indicator will light (same condition after step 2 below). • Before you plug in the TX-DS595, confirm that all connections have been made properly. • Turning on the power may cause a momentary power surge, which might interfere with other electrical equipment on the same circuit, such as computers. If this happens, use a wall outlet on a different circuit. 1. Plug the power cord into an AC wall outlet. To change the display of the input source from TAPE to MD: If you connected an MD recorder to the TAPE jack on the TXDS595, you can have "MD" appear when the TAPE source button is pressed. By changing the display, if an Onkyo MD recorder zconnected, the z system functions will become enabled. Changing the display: Press and hold down the TAPE source button until the display changes from TAPE to MD (approx. 3 seconds). TAPE 2. Press the POWER switch to set the TX-DS595 to standby state. The STANDBY indicator will light up. STANDBY POWER ON OFF 3. Press the STANDBY/ON button to turn on the TX-DS595. The display and four jog dial indicators will light up and the STANDBY indicator will turn off. If you press the STANDBY/ON button again, the receiver returns to Standby mode. STANDBY/ON STANDBY Turn off Turning the power on from the remote controller: Before you can use the remote controller, you must perform steps 1 and 2 above and place the TX-DS595 in the standby state. 1. Press the RCVR MODE button. The RCVR MODE button lights green. 2. Press the ON button to turn on the TX-DS595 (take it out of the standby state). To return the TX-DS595 to the standby state, press the STDBY button. To return the display to its original setting, perform the same procedure. This setting is necessary to allow z system functions for the connected cassette tape or MD recorder. Memory preservation This unit does not require memory preservation batteries. A builtin memory power backup system preserves the contents of the memory during power failures and even when the POWER switch is set to off. The POWER switch must be set to on in order to charge the backup system. The memory preservation period after the unit has been turned off varies depending on climate and placement of the unit. On the average, memory contents are protected over a period of a few weeks after the last time the unit has been turned off. This period is shorter when the unit is exposed to a highly humid climate. 16
-
 1
1 -
2
-
3
-
4
-
5
-
6
-
7
-
8
-
9
-
10
-
 11
11 -
 12
12 -
 13
13 -
 14
14 -
 15
15 -
 16
16 -
 17
17 -
 18
18 -
 19
19 -
 20
20 -
 21
21 -
22
-
23
-
24
-
25
-
26
-
27
-
28
-
29
-
30
-
31
-
32
-
33
-
34
-
35
-
36
-
37
-
38
-
39
-
40
-
41
-
42
-
43
-
44
-
45
-
46
-
47
-
48
-
49
-
50
-
51
-
52
 |
 |