Pfaff hobby 541 Owner's Manual - Page 27
Pfaff hobby 541 Manual
 |
View all Pfaff hobby 541 manuals
Add to My Manuals
Save this manual to your list of manuals |
Page 27 highlights
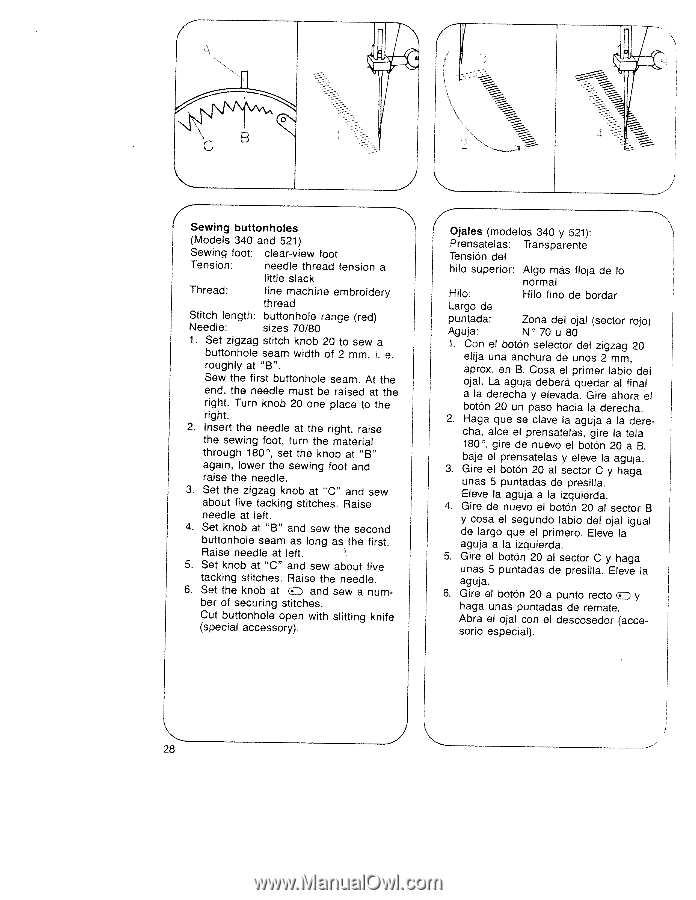
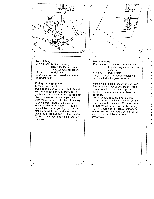
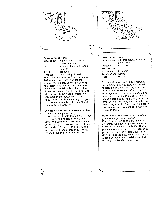
4 \ Ill - - - UI -"I :iI .:. j 4 Sewing buttonholes (Models 340 and 521) Sewing foot: clear-view foot Tension: needle thread tension a little slack Thread: fine machine embroidery thread Stitch length: buttonhole range (red) Needle: sizes 70/80 1. Set zigzag stitch knob 20 to sew a buttonhole seam width of 2 mm, i. e. roughly at 'B'. Sew the first buttonhole seam. At the end, the needle must be raised at the right. Turn knob 20 one place to the right. 2. Insert the needle at the right, raise the sewing foot, turn the material through 180°, set the knob at "B" again, lower the sewing foot and raise the needle. 3. Set the zigzag knob at "C" and sew about five tacking stitches. Raise needle at left. 4. Set knob at "B" and sew the second buttonhole seam as long as the first. Raise needle at left. 5. Set knob at "C" and sew about five tacking stitches. Raise the needle. 6. Set the knob at ED and sew a num ber of securing stitches. Cut buttonhole open with slitting knife (special accessory). Ojales (modelos 340 y 521): Prensatelas: Transparente TensiOn del hilo superior: Algo más floja de lo normal Hilo: Largo de Hilo fino de bordar puntada: Zona del ojal (sector rojo) Aguja: N° 70 u 80 1. Con el botón selector del zigzag 20 elija una anchura de unos 2 mm, aprox. en B. Cosa el primer labio del ojal. La aguja deberã quedar al final a Ia derecha y elevada. Gire ahora el botOn 20 un paso hacia Ia derecha. 2. Haga que se dave Ia aguja a Ia dere cha, alce el prensatelas. gire a tela 180°, gire de nuevo el botOn 20 a B. baje el prensatelas y eleve Ia aguja. 3. Gire el botOn 20 al sector C y haga unas 5 puntadas de presilla. Eleve Ia aguja a Ia izquierda. 4. Gire de nuevo el botón 20 al sector B y cosa el segundo Iabio del ojal igual de largo que el primero. Eleve Ia aguja a Ia izquierda. 5. Gire el botOn 20 al sector C y haga unas 5 puntadas de presilla. Eleve Ia aguja. 6. Gire el botón 20 a punto recto y haga unas puntadas de remate. Abra el ojal con el descosedor (acce sorio especial). 28
-
 1
1 -
2
-
3
-
4
-
5
-
6
-
7
-
8
-
9
-
10
-
11
-
12
-
13
-
14
-
15
-
16
-
17
-
18
-
19
-
20
-
21
-
 22
22 -
 23
23 -
 24
24 -
 25
25 -
 26
26 -
 27
27 -
 28
28 -
 29
29 -
 30
30 -
 31
31 -
 32
32 -
33
-
34
-
35
-
36
-
37
-
38
-
39
-
40
-
41
-
42
 |
 |