Ricoh IS330DC User Manual - Page 37
Setting Procedure
 |
UPC - 026649006722
View all Ricoh IS330DC manuals
Add to My Manuals
Save this manual to your list of manuals |
Page 37 highlights
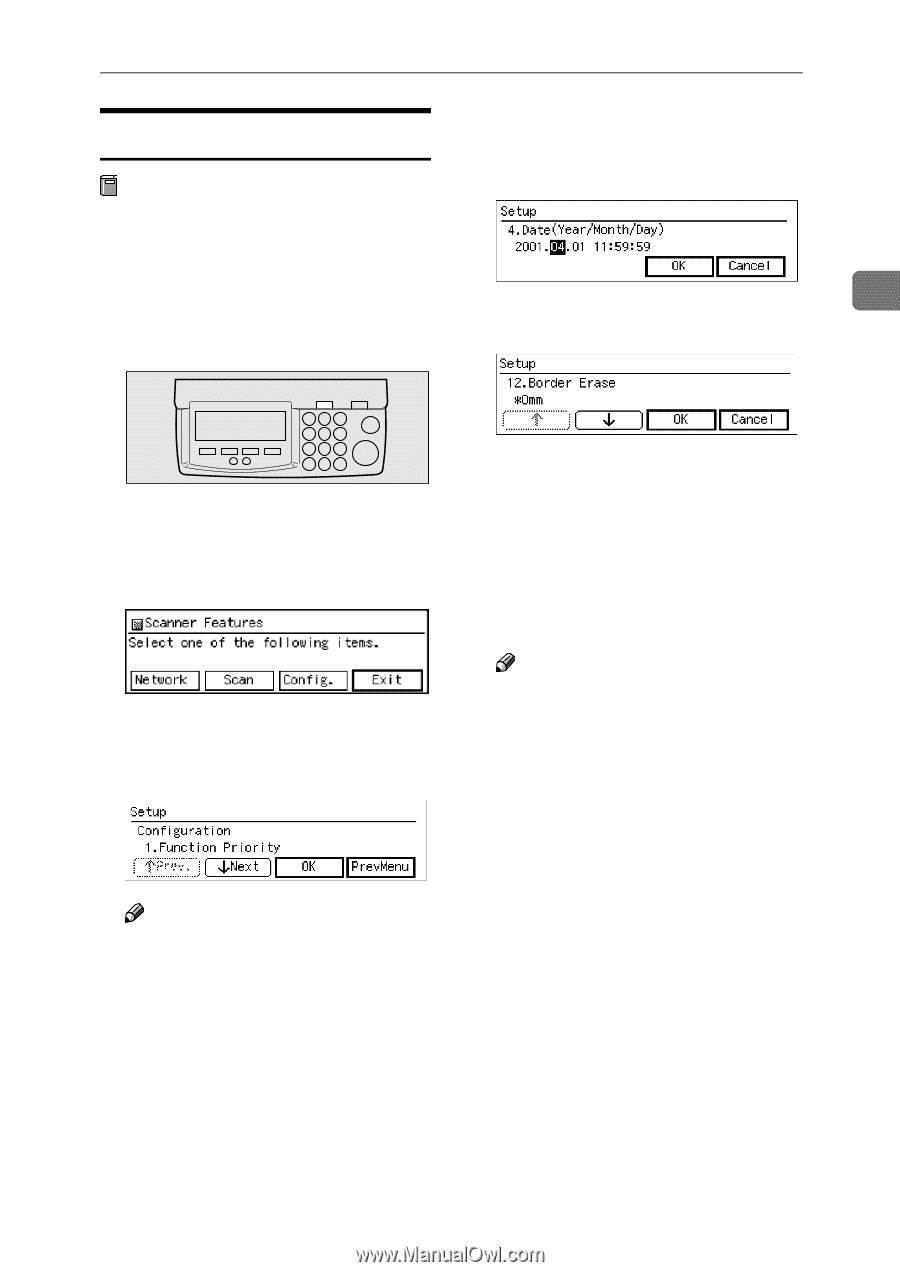
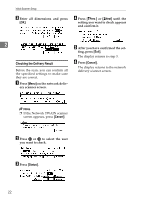
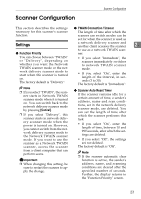
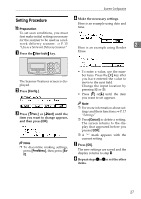
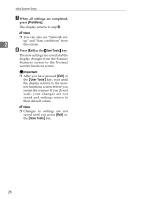
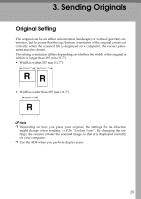
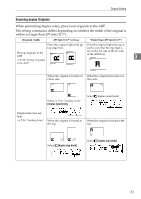
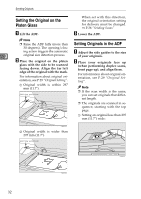
Scanner Configuration Setting Procedure D Make the necessary settings. Here is an example using date and Preparation time. To set scan conditions, you must first make initial settings necessary for the scanner to be used as a network delivery scanner. ⇒ P.15 "Use as a Network Delivery Scanner" 2 Here is an example using Border A Press the {User tools} key. Erase. ZDLH470 The Scanner Features screen is displayed. B Press [Config.]. C Press [↑Prev.] or [↓Next] until the item you want to change appears, and then press [OK]. Note ❒ To discontine making settings, press [PrevMenu], then press [Exit]. • To enter a value, use the number keys. Press the {#} key after you have entered the value to move to the next field. Change the input location by pressing 0 or 1. • Press [↑] or[↓] until the item you want to set appears. Note ❒ For more information about set- tings and their functions,⇒ P.17 "Settings" ❒ Press[Cancel] to delete a setting. The screen returns to the display that appeared before you pressed [OK]. ❒ A "*" mark appears with the current setting. E Press [OK]. The new settings are saved and the display returns to step C. F Repeat steps C to E to set the other items. 27
-
 1
1 -
2
-
3
-
4
-
5
-
6
-
7
-
8
-
9
-
10
-
11
-
12
-
13
-
14
-
15
-
16
-
17
-
18
-
19
-
20
-
21
-
22
-
23
-
24
-
25
-
26
-
27
-
28
-
29
-
30
-
31
-
 32
32 -
 33
33 -
 34
34 -
 35
35 -
 36
36 -
 37
37 -
 38
38 -
 39
39 -
 40
40 -
 41
41 -
 42
42 -
43
-
44
-
45
-
46
-
47
-
48
-
49
-
50
-
51
-
52
-
53
-
54
-
55
-
56
-
57
-
58
-
59
-
60
 |
 |