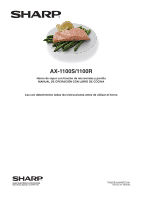
Sharp AX-1100R AX-1100 Operation Manual - Page 46
Touch Guide
 |
View all Sharp AX-1100R manuals
Add to My Manuals
Save this manual to your list of manuals |
Page 46 highlights
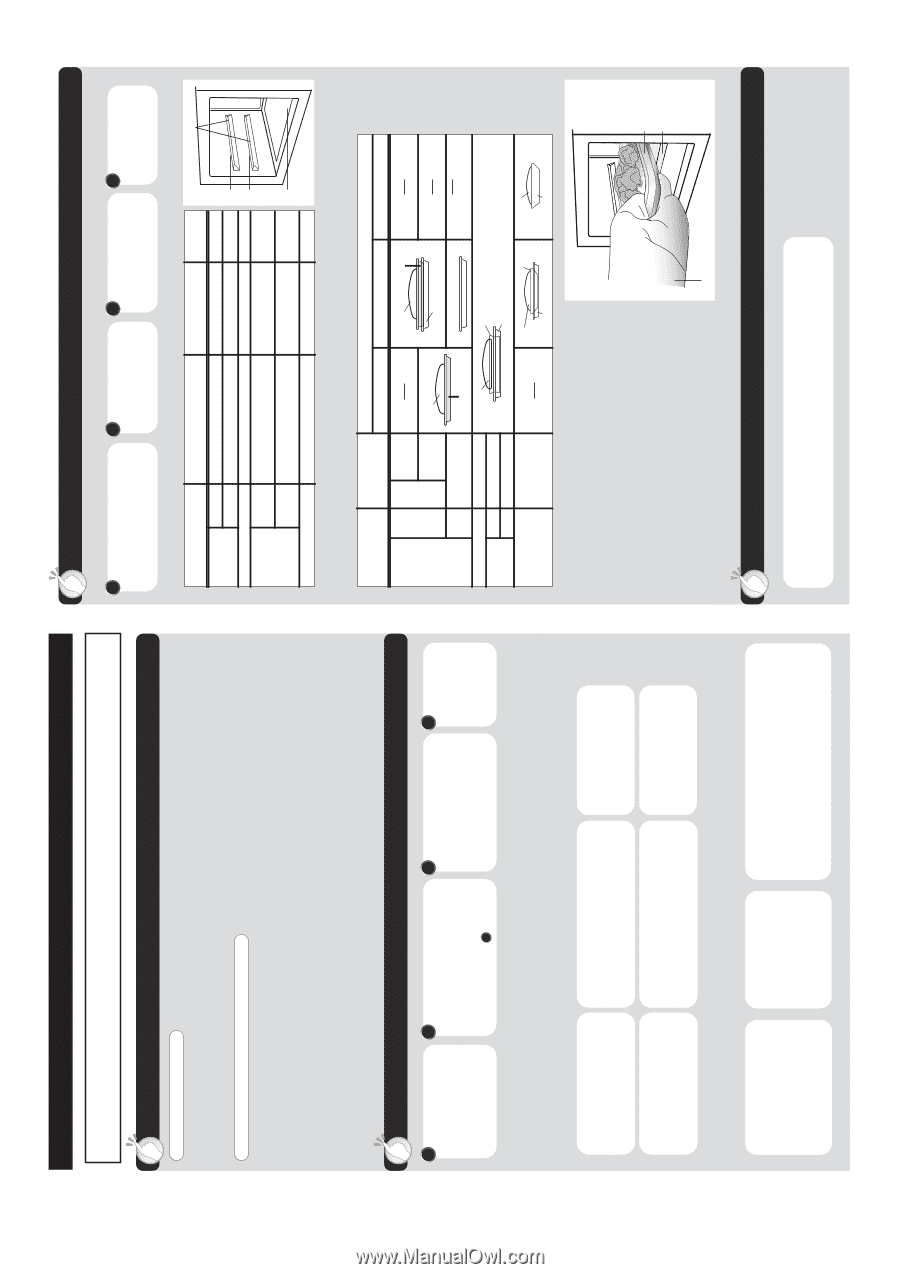
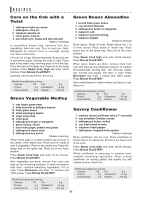
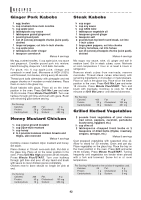
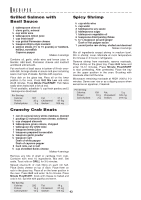
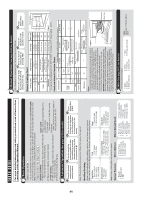
44 TOUCH GUIDE For more detailed information and safety precautions, read all instructions carefully in this Operation Manual. Basic Operation ENERGY SAVE MODE If you do not operate the oven for 3 minutes or more (i.e. after closing the door, or pressing STOP/CLEAR, or at the end of cooking), you will not be able to operate the oven until you open and close the oven door. Note: When you set Clock, Energy Save Mode will be canceled. OPERATION HELP FOR STEAM COOKING BEFORE COOKING: BASIC CARE: 1. Make sure that the water tank is filled to the MAX mark with Please refer to the Operation Manual for fresh cold tap water and is installed properly. complete details. 2. Make sure the drip tray is empty and installed. 1. Drain water Drain water once a day after cooking. AFTER COOKING: 1. After the oven has cooled, remove and empty the water tank. 2. Descale When "DESCALE (flashing)" appears in Wipe the oven cavity dry. 2. Remove and empty the drip tray. the display, descale the oven. Automatic Operation (See page 18-24 for details) 1 Press the desired cooking key and cooking number. 2 Enter the weight by pressing number or ehter the quantity by pressing the same number key that you pressed at 1 . 3 Place food in the oven following the directions in the Cooking Guide or indicator(s) in the display. 4 Press Minute Plus/ START. Note: Procedure for sensor popcorn is different from above. See page 21. Healthy Cooking Steam cooks foods gently while retaining moisture, natural flavours and nutrients. Make sure the water tank filled to the MAX. Automatic options are detailed below. Vegetables 1: Quick cooking 2: Med cooking 3: Long cooking Fish 1: Fish steaks 2: Fish fillets Eggs 1: Poached eggs 2: Hard boiled eggs Steam Defrost 1: Fish steaks 2: Fish fillets Combination Meal 1: Quick veg + Fish/Chicken fillets 2: Med veg + Fish/Chicken fillets 3: Long veg + Fish/Chicken fillets Auto Grill 1: Hamburgers 2: Boneless poultry 3: Chicken pieces Note: Foods in Auto grill are not cooked by steam. Sensor Popcorn Micro Defrost Micro Reheat/Cook 1: Regular 2: Regular light 3: Mini 1: Ground meat 2: Chicken bone-in 3: Chicken boneless 4: Steaks, Chops 1: Sensor reheat 2: Frozen entrees 3: Fresh vegetables: quick cooking 4: Fresh vegetables: longer cooking 5: Frozen vegetables 6: Baked potatoes 7: Beverage 8: Fresh roll, muffin 9: Frozen roll, muffin Manual Operation (See page 25-28 for details) Cook manually when preparing foods that do not have Auto Settings. 1 Select the cooking mode by pressing the desired cooking mode key. 2 Enter the desired cooking time by pressing TIME. 3 Follow the directions in the operation manual. 4 Press Minute Plus/ START. Manual Cooking Chart Cooking mode Temp/power range Time range Water tank Shelf runners Steam Cook Grill High Low Combi High Low Microwave 212 °F 160 - 200 °F * Grill: 50% power Microwave: 50% power Grill: 90% power Microwave: 10% power 0 - 100% power 0 - 35 min. 0 - 60 min. 0 - 99 min. 99 sec. 0 - 99 min. 99 sec. 0 - 99 min. 99 sec. 0 - 99 min. 99 sec. YES YES NO NO NO NO 3 2 1 Figure 1 * You can set the temperature from 160°F to 200°F in multiples of 5°F. (Initial setting : 190°F) Food and Utensil Position Chart Cooking mode 2 layer cooking Food and utensil position (Refer to Figure 1 above.) 3: Upper 2: Lower 1: Oven floor Steam Cook High YES 1 layer 2 layers Food Low NO Steam tray Food Steam tray Glass tray Glass tray (No food) Grill NO High Combi NO Low NO Food Rack or dish Glass tray See NOTE 1. Food Microwave safe container Food Microwave NO Glass tray See NOTE 2. Microwave safe container Notes: 1. Select desired position depending on the food size. Position 2 or position 3 is recommended for most recipes. Place the food and glass tray on position 1 when roasting big portions to prevent touching food to the oven ceiling. Smoke will occur during the cooking if the food touches the grill heating element. 2. For cooking cake, meatloaf and baked potato. 3. Do not leave the steam tray and rack wet after use. Figure 2 Steam tray WARNING for stacking the steam tray and glass tray: After cooking, take out the steam tray first. See Figure 2. Be aware of excess water from steam tray, we recommend you place it directly on a flat dish or tray to avoid spillages. Before taking out the glass tray, make sure that it is cool. Be aware that there may be water on the glass tray, so take care when removing it. Pot holder Glass tray Info (See page 30-31 for details) Info key provides 8 features. 1: Drain 2: Descale 3: Water hardness 4: Demo 5: Child lock 6: Sound on/off 7: Clock 8: Energy save mode Note: See page 17 before setting clock.
-
 1
1 -
2
-
3
-
4
-
5
-
6
-
7
-
8
-
9
-
10
-
11
-
12
-
13
-
14
-
15
-
16
-
17
-
18
-
19
-
20
-
21
-
22
-
23
-
24
-
25
-
26
-
27
-
28
-
29
-
30
-
31
-
32
-
33
-
34
-
35
-
36
-
37
-
38
-
39
-
40
-
 41
41 -
 42
42 -
 43
43 -
 44
44 -
 45
45 -
 46
46 -
 47
47 -
 48
48 -
 49
49 -
 50
50 -
 51
51 -
52
-
53
-
54
-
55
-
56
-
57
-
58
-
59
-
60
-
61
-
62
-
63
-
64
-
65
-
66
-
67
-
68
-
69
-
70
-
71
-
72
-
73
-
74
-
75
-
76
-
77
-
78
-
79
-
80
-
81
-
82
-
83
-
84
-
85
-
86
-
87
-
88
-
89
-
90
-
91
-
92
 |
 |