Sony CHC-CL1 Operating Instructions - Page 7
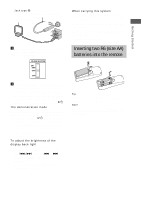
Inserting two R6 (size AA) batteries into the remote - cd
 |
View all Sony CHC-CL1 manuals
Add to My Manuals
Save this manual to your list of manuals |
Page 7 highlights
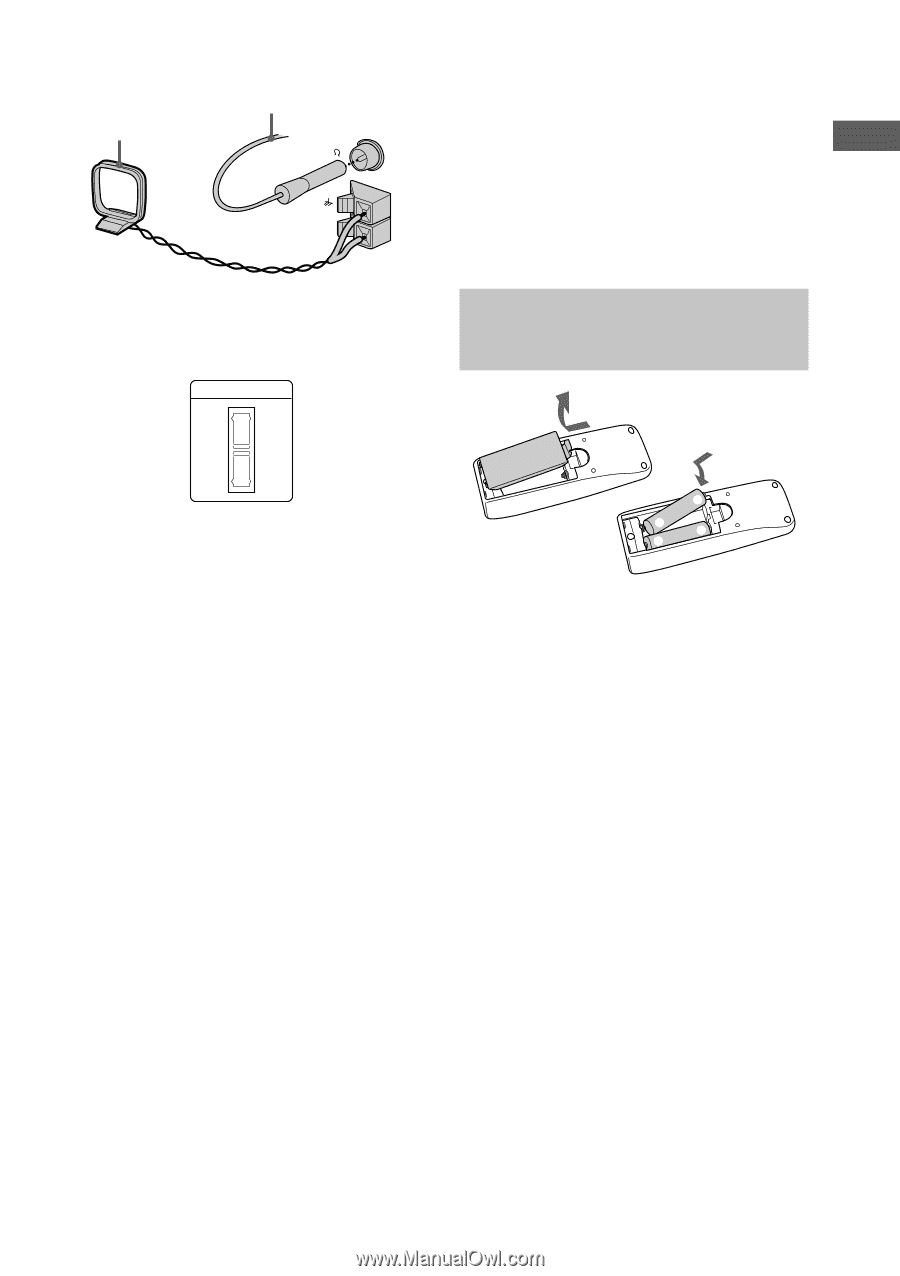
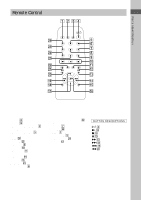
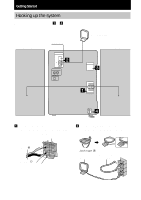
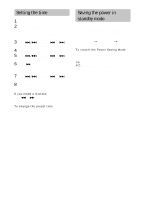
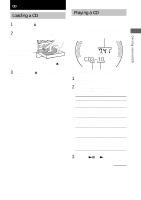
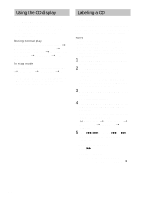
Getting Started Jack type B Extend the FM lead antenna horizontally AM loop antenna CFMOA7X5IAL AM When carrying this system Perform the following procedure to protect the CD mechanism. 1 Make sure that all discs are removed from the system. 2 Press FUNCTION while holding down CD 1 until "LOCK" appears. 3 Unplug the power cord. 3 For models with a voltage selector, set VOLTAGE SELECTOR to the local power line voltage. VOLTAGE SELECTOR 230240V 220V 120V 4 Connect the power cord to a wall outlet. The demonstration appears in the display. If the plug of the power cord does not fit your wall outlet, attach the supplied adapter on to the plug (for models with a plug adapter). To turn on the system, press ?/1. The demonstration mode The demonstration mode appears in the display when you connect the power cord to a wall outlet. When you press ?/1, the system turns on and the demonstration automatically ends. The demonstration is deactivated when you set the time. To activate/deactivate the demonstration again, press DISPLAY while the system is off. To adjust the brightness of the display back light 1 Press DIMMER while the system is on. 2 Turn ./> (or press . or > on the remote) to adjust the back light brightness. You can adjust the back light brightness in 11 steps from -5 to +5. Inserting two R6 (size AA) batteries into the remote e E E e Tip When the remote no longer operates the system, replace both batteries with new ones. Note If you do not use the remote for a long period of time, remove the batteries to avoid possible damage from battery leakage. 7
-
 1
1 -
 2
2 -
 3
3 -
 4
4 -
 5
5 -
 6
6 -
 7
7 -
 8
8 -
 9
9 -
 10
10 -
 11
11 -
 12
12 -
13
-
14
-
15
-
16
-
17
-
18
-
19
-
20
-
21
-
22
-
23
-
24
-
25
-
26
-
27
-
28
-
29
-
30
-
31
-
32
 |
 |