Sony MZ-NF610 Operating Instructions - Page 40
Editing recorded tracks, Before editing, Labeling recordings (Name), Labeling
 |
View all Sony MZ-NF610 manuals
Add to My Manuals
Save this manual to your list of manuals |
Page 40 highlights
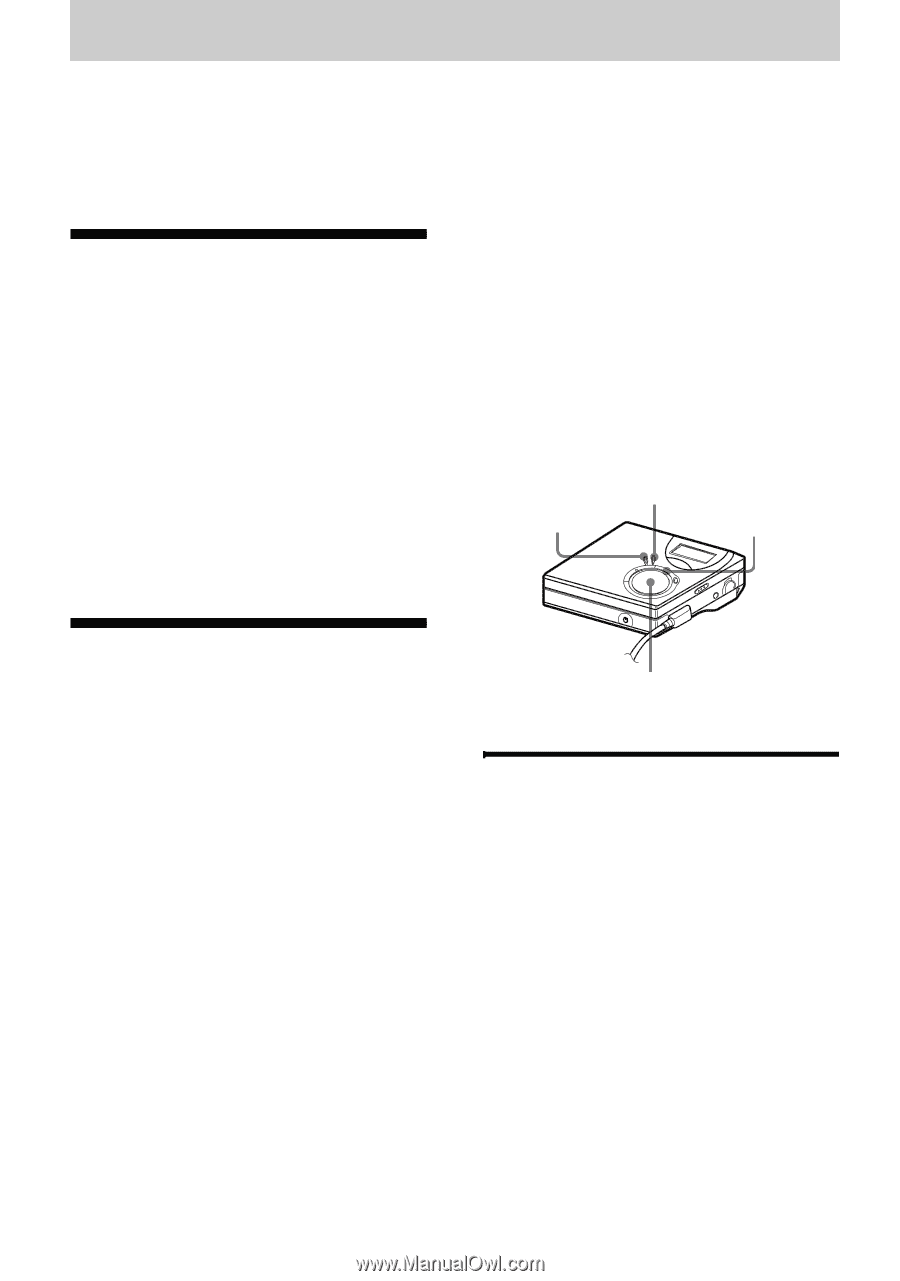
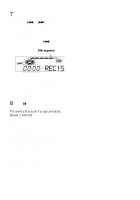
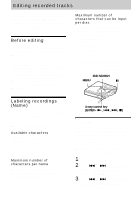
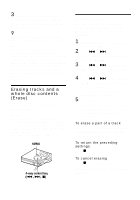
Editing recorded tracks This section explains the operations that are done on the recorder. For details on operations done on the remote control, see the pages indicated for each operation. Before editing You can edit your recordings by adding/ erasing track marks or labeling tracks and MDs. Notes • Premastered MDs cannot be edited. • Close the record-protect tab on the side of the MD before editing. • The recorder is recording editing results while "TOC Edit" is flashing in the display. - Do not move or jog the recorder. - Do not disconnect the power source. - The lid does not open. Maximum number of characters that can be input per disc Alphanumeric characters and symbols only: Approx. 120 titles of about 10 characters each (a maximum of about 1,700 characters) The number of titles that can be stored on a disc depends on the number of characters that are input for track names, group names, and disc name. Note If you enter the symbol "//" between the characters in disc names such as "abc//def", you may be unable to use the group function. END SEARCH MENU X Labeling recordings (Name) You can name tracks and discs using the recorder's character palette. Note When you label a group, see page 50. Available characters • Capital and small letters of the English alphabet • Numbers 0 to 9 space) Maximum number of characters per name Track names, group names, and disc name: Approx. 200 each (containing a mixture of all available characters) 40 4-way control key (ENTER • N, ., >, x) Labeling You can label a track and a disc while the recorder is stopped, recording, or playing. Note that if you lable a track while the recorder is stopped, the track must be the currently selected. For labeling a group, see "Labeling recorded groups" (page 50). 1 Press MENU. 2 Press . or > repeatedly until "EDIT" appears in the display, and then press ENTER. 3 Press . or > repeatedly until "Name" appears in the display, and then press ENTER.
-
 1
1 -
2
-
3
-
4
-
5
-
6
-
7
-
8
-
9
-
10
-
11
-
12
-
13
-
14
-
15
-
16
-
17
-
18
-
19
-
20
-
21
-
22
-
23
-
24
-
25
-
26
-
27
-
28
-
29
-
30
-
31
-
32
-
33
-
34
-
 35
35 -
 36
36 -
 37
37 -
 38
38 -
 39
39 -
 40
40 -
 41
41 -
 42
42 -
 43
43 -
 44
44 -
 45
45 -
46
-
47
-
48
-
49
-
50
-
51
-
52
-
53
-
54
-
55
-
56
-
57
-
58
-
59
-
60
-
61
-
62
-
63
-
64
-
65
-
66
-
67
-
68
-
69
-
70
-
71
-
72
-
73
-
74
-
75
-
76
-
77
-
78
-
79
-
80
-
81
-
82
-
83
-
84
-
85
-
86
-
87
-
88
-
89
-
90
-
91
-
92
-
93
-
94
-
95
-
96
-
97
-
98
-
99
-
100
-
101
-
102
-
103
-
104
-
105
-
106
-
107
-
108
-
109
-
110
-
111
-
112
-
113
-
114
-
115
-
116
-
117
-
118
-
119
-
120
-
121
-
122
-
123
-
124
 |
 |