Symphonic SF225A Owner's Manual - Page 15
Change, Clock, Setting
 |
View all Symphonic SF225A manuals
Add to My Manuals
Save this manual to your list of manuals |
Page 15 highlights
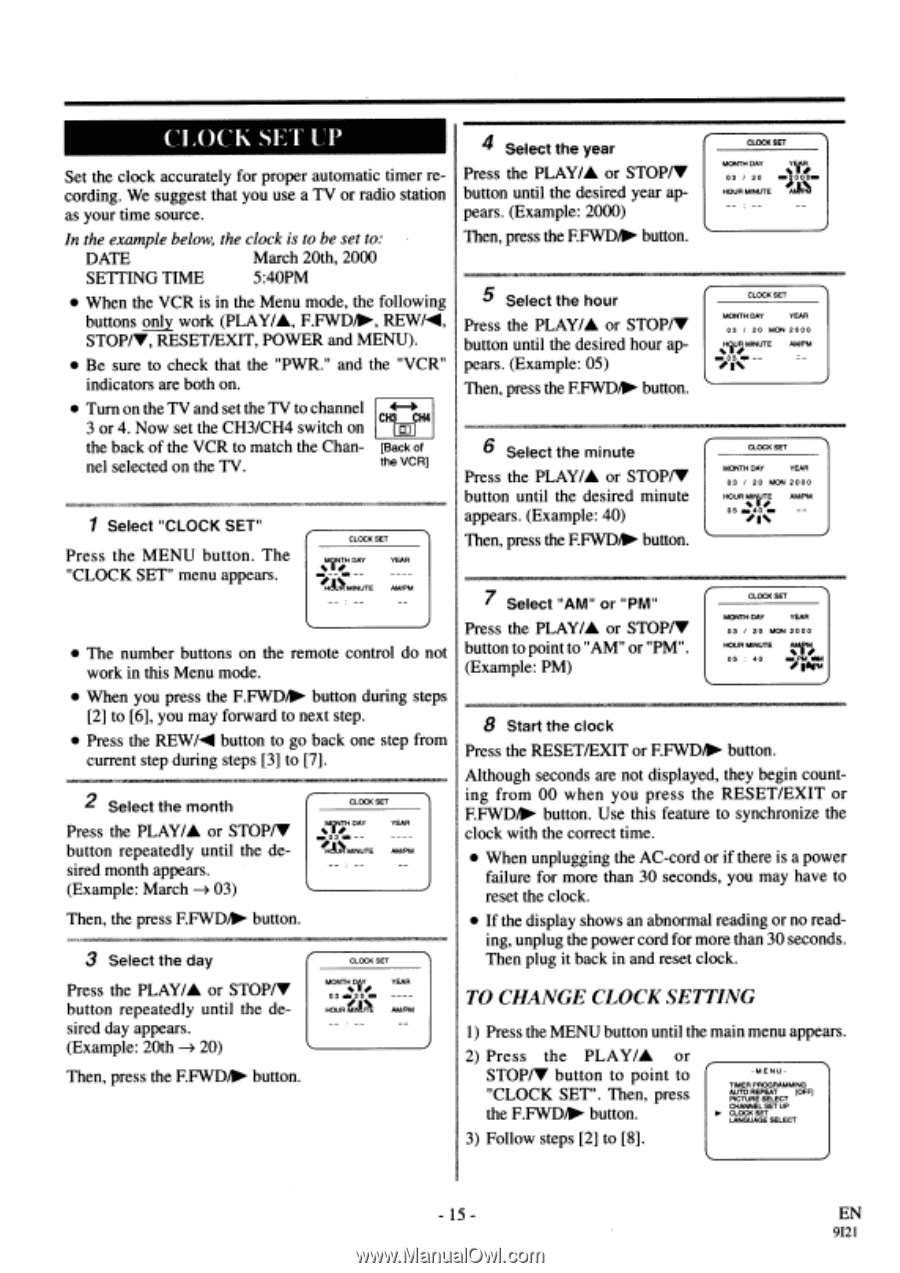
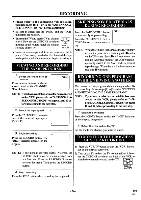
CLOCK SET UP Set the clock accurately for proper automatic timer recording. We suggest that you use a TV or radio station as your time source. In the example below, the clock is to be set to: DATE March 20th, 2000 SETTING TIME 5:40PM • When the VCR is in the Menu mode, the following buttons only work (PLAY/A, F.FWD/I-, STOP/V, RESET/EXIT, POWER and MENU). • Be sure to check that the "PWR." and the "VCR" indicators are both on. • Turn on the TV and set the TV to channel 3 or 4. Now set the CH3/CH4 switch on 4-> CH3 CH4 the back of the VCR to match the Chan- [Back of nel selected on the TV. the VCR] 1 Select "CLOCK SET" Press the MENU button. The "CLOCK SET" menu appears. CLOCK SET YEAR !MFTMINATE AM/PM • The number buttons on the remote control do not work in this Menu mode. • When you press the F.FWD/11 button during steps [2] to [6], you may forward to next step. • Press the REW/l button to go back one step from current step during steps [3] to [7]. Select the month Press the PLAY/A or STOP/V button repeatedly until the desired month appears. (Example: March -> 03) Then, the press F.FWD/I0- button. CLOCK SET YEAR AM/PM 3 Select the day Press the PLAY/A or STOP/V button repeatedly until the desired day appears. (Example: 20th -> 20) Then, press the F.FWD/lis• button. CLOCK SET MONTHs DI Y# ext 03 1420 HOUR YEAR --- AM/PM 4 Select the year Press the PLAY/A or STOP/V button until the desired year appears. (Example: 2000) Then, press the F.FW13/11 button. CLOCK SET MONTH DAY 03 / 20 HOUR MINUTE Y 000.m• AKIP1 5 Select the hour Press the PLAY/A or STOP/V button until the desired hour appears. (Example: 05) Then, press the F.FWD/I- button. CLOCK SET MONTH DAY YEAR 03 / 20 MON 2000 ..HEIU;MINUTE AM/PM 6 Select the minute Press the PLAY/A or STOP/7 button until the desired minute appears. (Example: 40) Then, press the F.FWD/100- button. CLOCK SET MONTH DAY YEAR 03 / 20 MON 2000 HOURI4I414EF AM/PM 05 ra0 r -- II 7 Select "AM" or "PM" Press the PLAY/A or STOP/V button to point to "AM" or "PM". (Example: PM) CLOCK SET MONTH DAY YEAR 03 / 20 MON 2000 HOUR MINUTE 05 40 ON' ow PM OM IAPIA 8 Start the clock Press the RESET/EXIT or F.FWD/1/- button. Although seconds are not displayed, they begin counting from 00 when you press the RESET/EXIT or F.FWD/10- button. Use this feature to synchronize the clock with the correct time. • When unplugging the AC-cord or if there is a power failure for more than 30 seconds, you may have to reset the clock. • If the display shows an abnormal reading or no reading, unplug the power cord for more than 30 seconds. Then plug it back in and reset clock. TO CHANGE CLOCK SETTING 1) Press the MENU button until the main menu appears. 2) Press the PLAY/A or STOP/7 button to point to "CLOCK SET". Then, press the F.FWD/1/0- button. 3) Follow steps [2] to [8]. -MENU- TIMER PROGRAMMING AUTO REPEAT !OFF) PICTURE SELECT CHANNEL SET UP 14 CLOCK SET LANGUAGE SELECT - 15 - EN 9I21
-
 1
1 -
2
-
3
-
4
-
5
-
6
-
7
-
8
-
9
-
 10
10 -
 11
11 -
 12
12 -
 13
13 -
 14
14 -
 15
15 -
 16
16 -
 17
17 -
 18
18 -
 19
19 -
 20
20 -
21
-
22
-
23
-
24
-
25
-
26
-
27
-
28
-
29
-
30
-
31
-
32
-
33
-
34
-
35
-
36
-
37
-
38
-
39
-
40
-
41
-
42
-
43
-
44
 |
 |