Toshiba Portege M780 PPM78C-007006 Users Manual Canada; English - Page 140
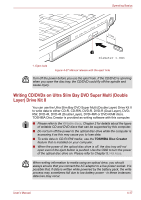
Writing CD/DVDs on Ultra Slim Bay DVD Super Multi (Double Layer) Drive Kit II, TOSHIBA Disc Creator
 |
View all Toshiba Portege M780 PPM78C-007006 manuals
Add to My Manuals
Save this manual to your list of manuals |
Page 140 highlights
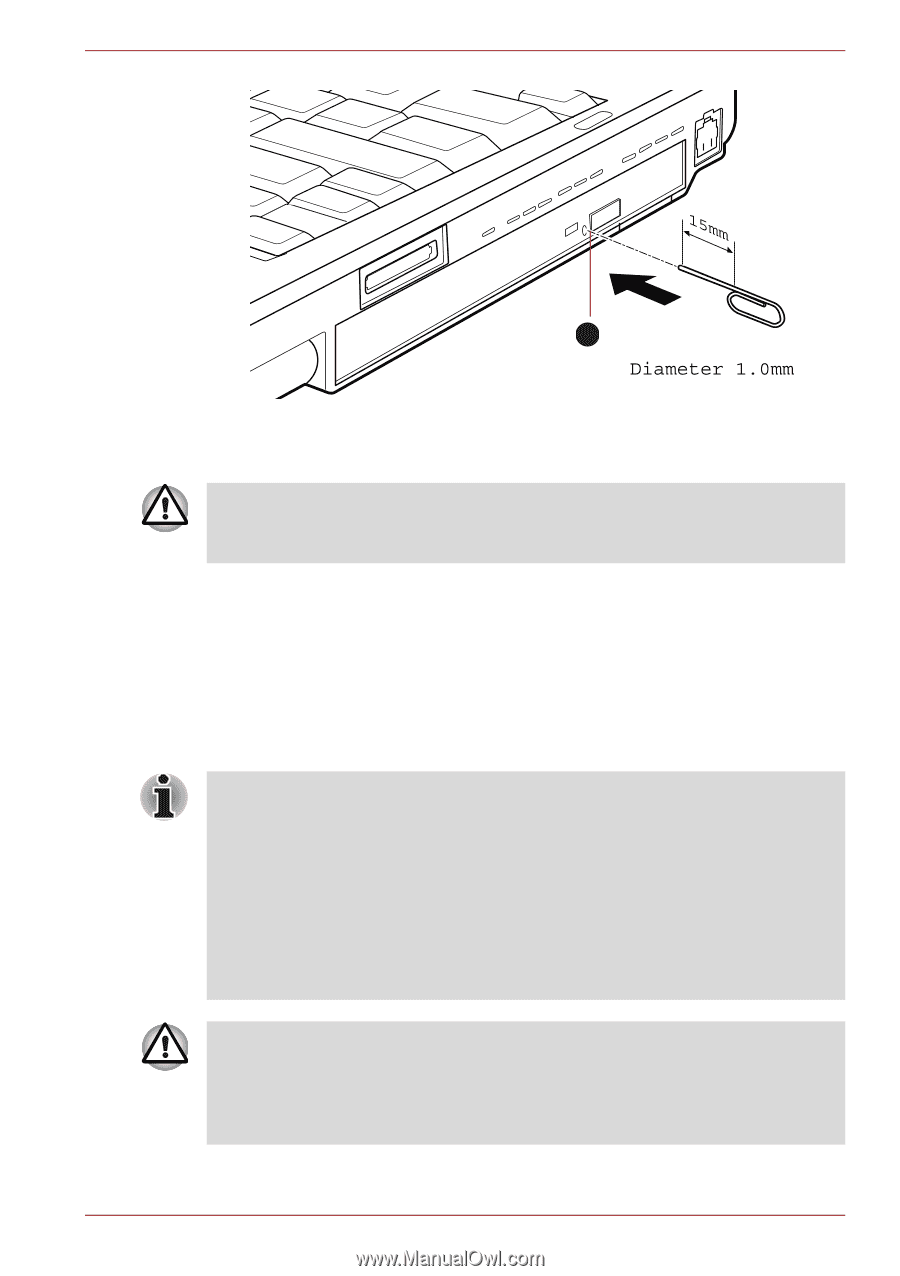
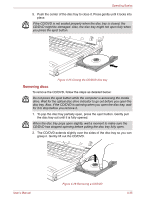
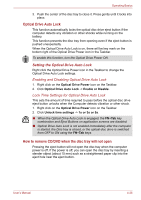
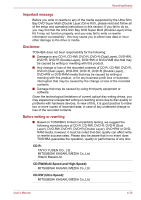
Operating Basics 1 1. Eject hole Figure 4-27 Manual release with the eject hole Turn off the power before you use the eject hole. If the CD/DVD is spinning when you open the disc tray, the CD/DVD could fly off the spindle and cause injury. Writing CD/DVDs on Ultra Slim Bay DVD Super Multi (Double Layer) Drive Kit II You can use the Ultra Slim Bay DVD Super Multi (Double Layer) Drive Kit II to write data to either CD-R, CD-RW, DVD-R, DVD-R (Dual Layer), DVDRW, DVD+R, DVD+R (Double Layer), DVD+RW or DVD-RAM discs. TOSHIBA Disc Creator is provided as writing software with this computer. ■ Please refer to the Writable discs, Chapter 2 for details about the types of writable CD and DVD discs that can be supported by this computer. ■ Do not turn off the power to the optical disc drive while the computer is accessing it as this may cause you to lose data. ■ To write data to CD-R/-RW media, use the TOSHIBA Disc Creator feature that is installed on your computer. ■ When the power of the optical disc drive is off, the disc tray will not open even if the eject button is pushed. Use the ODD to turn the power of the optical disc drive on. Please refer to Chapter 5, Hot keys. When writing information to media using an optical drive, you should always ensure that you connect the AC adaptor to a live power socket. It is possible that, if data is written while powered by the battery pack, the write process may sometimes fail due to low battery power - in these instances data loss may occur. User's Manual 4-37
-
 1
1 -
2
-
3
-
4
-
5
-
6
-
7
-
8
-
9
-
10
-
11
-
12
-
13
-
14
-
15
-
16
-
17
-
18
-
19
-
20
-
21
-
22
-
23
-
24
-
25
-
26
-
27
-
28
-
29
-
30
-
31
-
32
-
33
-
34
-
35
-
36
-
37
-
38
-
39
-
40
-
41
-
42
-
43
-
44
-
45
-
46
-
47
-
48
-
49
-
50
-
51
-
52
-
53
-
54
-
55
-
56
-
57
-
58
-
59
-
60
-
61
-
62
-
63
-
64
-
65
-
66
-
67
-
68
-
69
-
70
-
71
-
72
-
73
-
74
-
75
-
76
-
77
-
78
-
79
-
80
-
81
-
82
-
83
-
84
-
85
-
86
-
87
-
88
-
89
-
90
-
91
-
92
-
93
-
94
-
95
-
96
-
97
-
98
-
99
-
100
-
101
-
102
-
103
-
104
-
105
-
106
-
107
-
108
-
109
-
110
-
111
-
112
-
113
-
114
-
115
-
116
-
117
-
118
-
119
-
120
-
121
-
122
-
123
-
124
-
125
-
126
-
127
-
128
-
129
-
130
-
131
-
132
-
133
-
134
-
 135
135 -
 136
136 -
 137
137 -
 138
138 -
 139
139 -
 140
140 -
 141
141 -
 142
142 -
 143
143 -
 144
144 -
 145
145 -
146
-
147
-
148
-
149
-
150
-
151
-
152
-
153
-
154
-
155
-
156
-
157
-
158
-
159
-
160
-
161
-
162
-
163
-
164
-
165
-
166
-
167
-
168
-
169
-
170
-
171
-
172
-
173
-
174
-
175
-
176
-
177
-
178
-
179
-
180
-
181
-
182
-
183
-
184
-
185
-
186
-
187
-
188
-
189
-
190
-
191
-
192
-
193
-
194
-
195
-
196
-
197
-
198
-
199
-
200
-
201
-
202
-
203
-
204
-
205
-
206
-
207
-
208
-
209
-
210
-
211
-
212
-
213
-
214
-
215
-
216
-
217
-
218
-
219
-
220
-
221
-
222
-
223
-
224
-
225
-
226
-
227
-
228
-
229
-
230
-
231
-
232
-
233
-
234
-
235
-
236
-
237
-
238
-
239
-
240
-
241
-
242
-
243
-
244
-
245
-
246
-
247
-
248
-
249
-
250
-
251
-
252
-
253
-
254
-
255
-
256
-
257
-
258
-
259
-
260
-
261
-
262
-
263
-
264
-
265
-
266
-
267
-
268
 |
 |