ViewSonic N4290p N3290w, N4290p, N4790p User Guide, English. AU Region - Page 31
DCR: Dynamic Contrast Ratio
 |
UPC - 766907300215
View all ViewSonic N4290p manuals
Add to My Manuals
Save this manual to your list of manuals |
Page 31 highlights
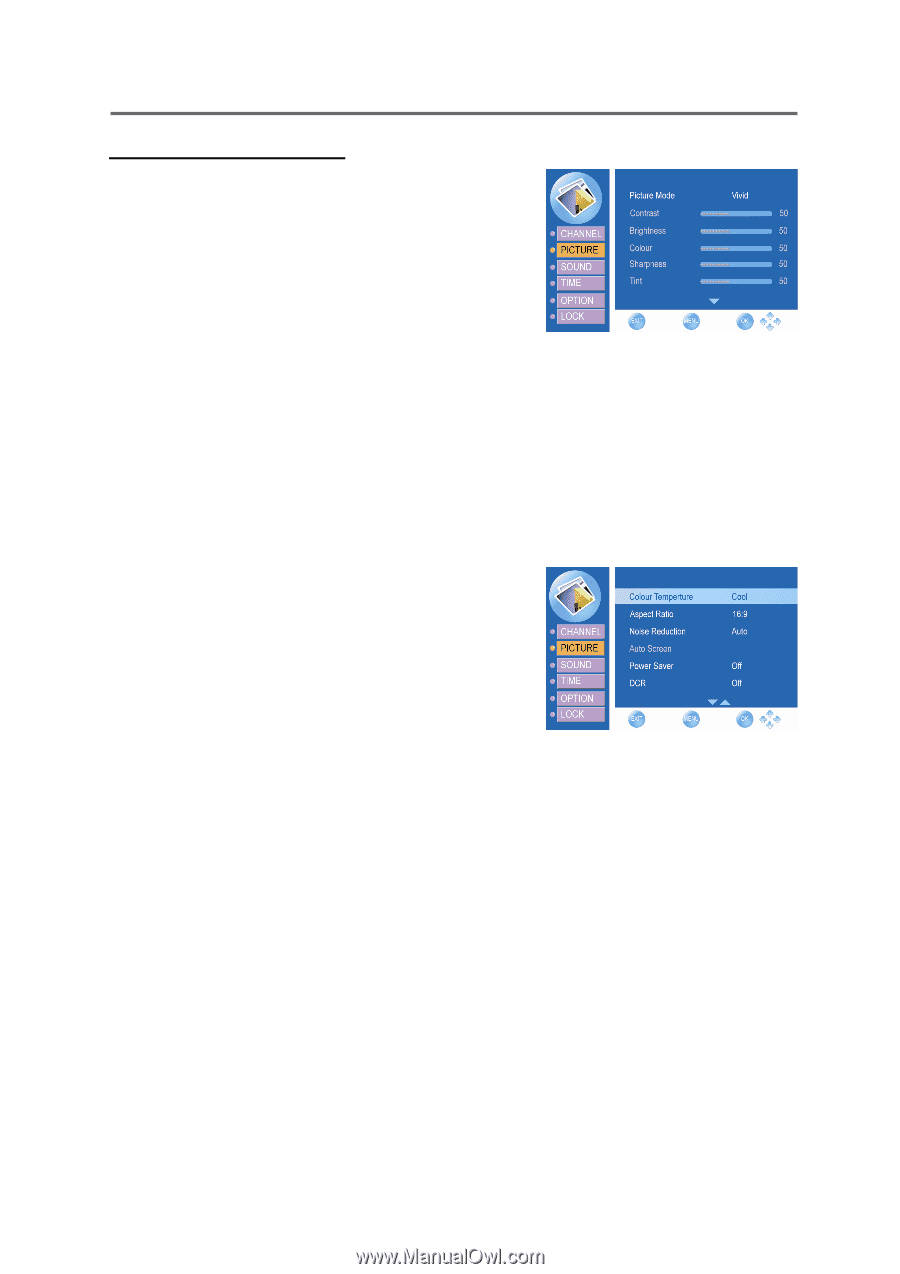
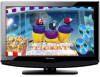
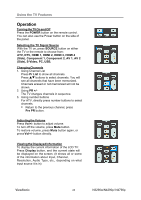
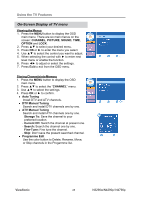
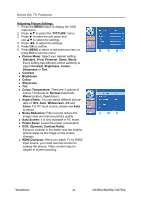
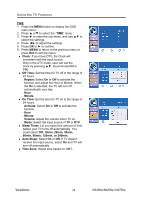
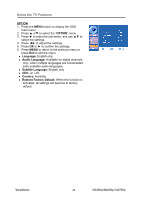
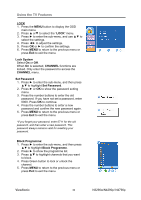
Using the TV Features Adjusting Picture Settings 1. Press the MENU button to display the OSD main menu. 2. Press ▲▼ to select the "PICTURE" menu. 3. Press ► to enter the sub-menu and use ▲▼ to select the settings. 4. Press ◄► to adjust the settings. 5. Press OK to confirm. 6. Press MENU to return to the previous menu or press Exit to exit the menu. z Picture Mode: Select your desired setting. Standard, Vivid, Personal, Game, Movie. Every setting has different control authority to adjust Contrast, Brightness, Colour, Sharpness or Tint. z Contrast z Brightness z Colour z Sharpness z Tint z Colour Temperature: There are 3 options of Colour Temperature: Normal (balanced), Warm (redder), Cool (bluer). z Aspect Ratio: You can select different picture ratio of 16:9, Auto, Widescreen, 4:3 and Zoom. For PC input source, please use Auto to adjust. z Noise Reduction: Filter out and reduce the image noise and improve picture quality. z Auto Screen: It is only available in PC mode. z Power Saver: Lower the power consumption. z DCR: (Dynamic Contrast Ratio) Enhance contrast in the darker and the brighter picture areas as the image on the screen changes. z HDMI Overscan: When you watch TV by HDMI input source, you could use this function to enlarge the picture. Video content may be clipped of screen boarding. ViewSonic 26 N3290w/N4290p/ N4790p
-
 1
1 -
2
-
3
-
4
-
5
-
6
-
7
-
8
-
9
-
10
-
11
-
12
-
13
-
14
-
15
-
16
-
17
-
18
-
19
-
20
-
21
-
22
-
23
-
24
-
25
-
 26
26 -
 27
27 -
 28
28 -
 29
29 -
 30
30 -
 31
31 -
 32
32 -
 33
33 -
 34
34 -
 35
35 -
 36
36 -
37
-
38
-
39
-
40
-
41
-
42
-
43
 |
 |