Yamaha POCKETRAK 2G Reference Manual - Page 37
Selecting the Windows action, Always do the selected action]
 |
UPC - 086792884912
View all Yamaha POCKETRAK 2G manuals
Add to My Manuals
Save this manual to your list of manuals |
Page 37 highlights
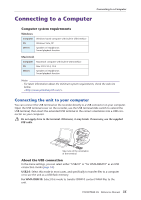
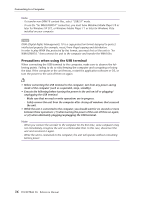
Connecting to a Computer Selecting the Windows action When you connect the unit to a computer, the system displays the following window: Note: · The following description applies to the "USB2.0" mode (normal USB connection). · The screens, the menu items and buttons displayed on your computer may not exactly match those shown in this manual, depending on the OS version or manufacturer of your computer. (The screens shown in this manual are of Windows XP.) 1) Select 2) Check 3) Click Select an option that would suit your computer's environment. In this example, [Take no action] is selected, [Always do the selected action] is checked, and [OK] is clicked. This completes the connection to the computer. When connected to the computer, the unit will display the following indicators, and all buttons will be disabled. Connected to PC Transmitting to/from PC Before disconnecting the unit from the computer, be sure to follow the steps on the next page. Do not disconnect the unit from the computer during data transfer. POCKETRAK 2G Reference Manual 37
-
 1
1 -
2
-
3
-
4
-
5
-
6
-
7
-
8
-
9
-
10
-
11
-
12
-
13
-
14
-
15
-
16
-
17
-
18
-
19
-
20
-
21
-
22
-
23
-
24
-
25
-
26
-
27
-
28
-
29
-
30
-
31
-
 32
32 -
 33
33 -
 34
34 -
 35
35 -
 36
36 -
 37
37 -
 38
38 -
 39
39 -
 40
40 -
 41
41 -
 42
42 -
43
-
44
-
45
-
46
-
47
-
48
-
49
-
50
-
51
-
52
-
53
-
54
 |
 |
