1994 Chevrolet Lumina Owner's Manual - Page 101
1994 Chevrolet Lumina Manual

Page 101 highlights
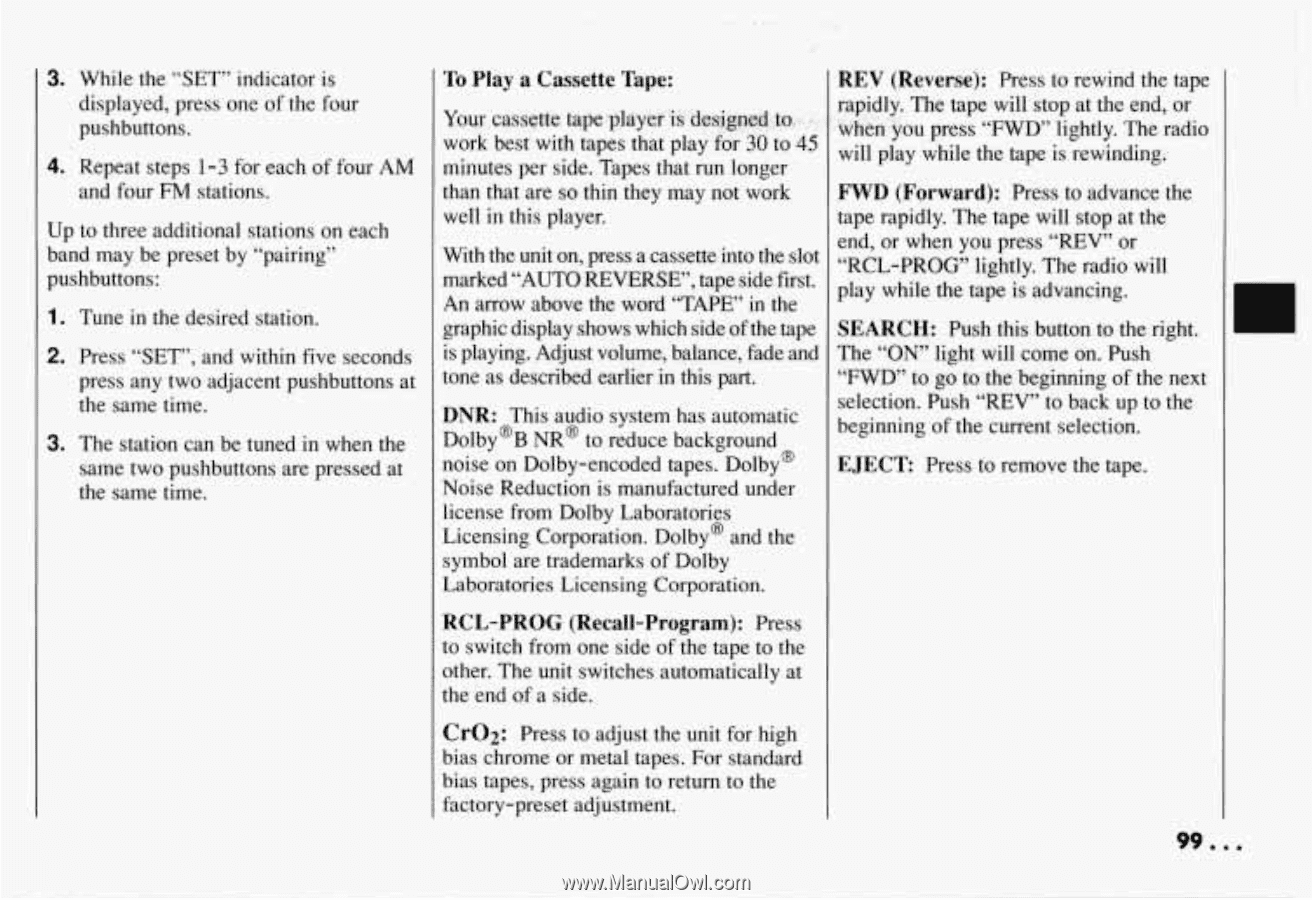
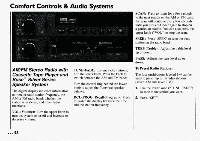
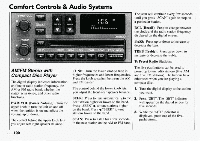
3. While the "SET" indicator is displayed, press one of the four pushbuttons. 4. Repeat steps 1-3 for each of four AM and four FM stations. Up to three additional stations on each band may be preset by "pairing" pushbuttons: 1. Tune in the desired station. 2. Press "SET", and within five seconds press any two adjacent pushbuttons at the same time. 3. The station can be tuned in when the same two pushbuttons are pressed at the same time. REV (Reverse): Press to rewind the tape rapidly. The tape will stop at the end, or Yo,ur cassette tape 'playerii &s:igped to,.-: whkn')ou press "FWD"lightly. The radio . work best'withtapes that play for 30 to 45 will play while the tape is rewinding. minutes per side. Tapes that run longer than that are so thin they may not work FWD (Forward): Press to advance the well in this player. tape rapidly. The tape will stop at the end, or when you press "REV" or With the unit on, press a cassette into the slot "RCL-PROG" lightly. The radio will marked "AUTO REVERSE', tape side first. play while the tape is advancing. An arrow above the word "TAPE" in the graphic display shows which of the tape SEARCH: Push this button to the right. side is playing. Adjust volume, balance, and The "ON" light will come on. Push fade tone as described earlier in this part. "FWD" to go to beginning of the next the selection. Push "REV" to back up to the DNR: This audio system has automatic beginning of the current selection. Dolby'B NR@to reduce background noise on Dolby-encoded tapes. Dolby@ EJECT Press to remove the tape. Noise Reduction is manufactured under license from Dolby Laboratories Licensing Corporation. Dolby@and the symbol are trademarks of Dolby Laboratories Licensing Corporation. RCL-PROG (Recall-Program): Press to switch from one side of the tape to the other. The unit switches automatically at the end of a side. C1-02: Press to adjust the unit for high To Play a Cassette Tape: bias chrome or metal tapes. For standard bias tapes, press again to return to the factory-preset adjustment. 99D..
-
 1
1 -
2
-
3
-
4
-
5
-
6
-
7
-
8
-
9
-
10
-
11
-
12
-
13
-
14
-
15
-
16
-
17
-
18
-
19
-
20
-
21
-
22
-
23
-
24
-
25
-
26
-
27
-
28
-
29
-
30
-
31
-
32
-
33
-
34
-
35
-
36
-
37
-
38
-
39
-
40
-
41
-
42
-
43
-
44
-
45
-
46
-
47
-
48
-
49
-
50
-
51
-
52
-
53
-
54
-
55
-
56
-
57
-
58
-
59
-
60
-
61
-
62
-
63
-
64
-
65
-
66
-
67
-
68
-
69
-
70
-
71
-
72
-
73
-
74
-
75
-
76
-
77
-
78
-
79
-
80
-
81
-
82
-
83
-
84
-
85
-
86
-
87
-
88
-
89
-
90
-
91
-
92
-
93
-
94
-
95
-
 96
96 -
 97
97 -
 98
98 -
 99
99 -
 100
100 -
 101
101 -
 102
102 -
 103
103 -
 104
104 -
 105
105 -
 106
106 -
107
-
108
-
109
-
110
-
111
-
112
-
113
-
114
-
115
-
116
-
117
-
118
-
119
-
120
-
121
-
122
-
123
-
124
-
125
-
126
-
127
-
128
-
129
-
130
-
131
-
132
-
133
-
134
-
135
-
136
-
137
-
138
-
139
-
140
-
141
-
142
-
143
-
144
-
145
-
146
-
147
-
148
-
149
-
150
-
151
-
152
-
153
-
154
-
155
-
156
-
157
-
158
-
159
-
160
-
161
-
162
-
163
-
164
-
165
-
166
-
167
-
168
-
169
-
170
-
171
-
172
-
173
-
174
-
175
-
176
-
177
-
178
-
179
-
180
-
181
-
182
-
183
-
184
-
185
-
186
-
187
-
188
-
189
-
190
-
191
-
192
-
193
-
194
-
195
-
196
-
197
-
198
-
199
-
200
-
201
-
202
-
203
-
204
-
205
-
206
-
207
-
208
-
209
-
210
-
211
-
212
-
213
-
214
-
215
-
216
-
217
-
218
-
219
-
220
-
221
-
222
-
223
-
224
-
225
-
226
-
227
-
228
-
229
-
230
-
231
-
232
-
233
-
234
-
235
-
236
-
237
-
238
-
239
-
240
-
241
-
242
-
243
-
244
-
245
-
246
-
247
-
248
-
249
-
250
-
251
-
252
-
253
-
254
-
255
-
256
-
257
-
258
-
259
-
260
 |
 |