Brother International BE-1204B Stand Alone Type Instruction Manual - English - Page 51
Switches at Machine Heads, STEP BACK/FWD switch
 |
View all Brother International BE-1204B manuals
Add to My Manuals
Save this manual to your list of manuals |
Page 51 highlights
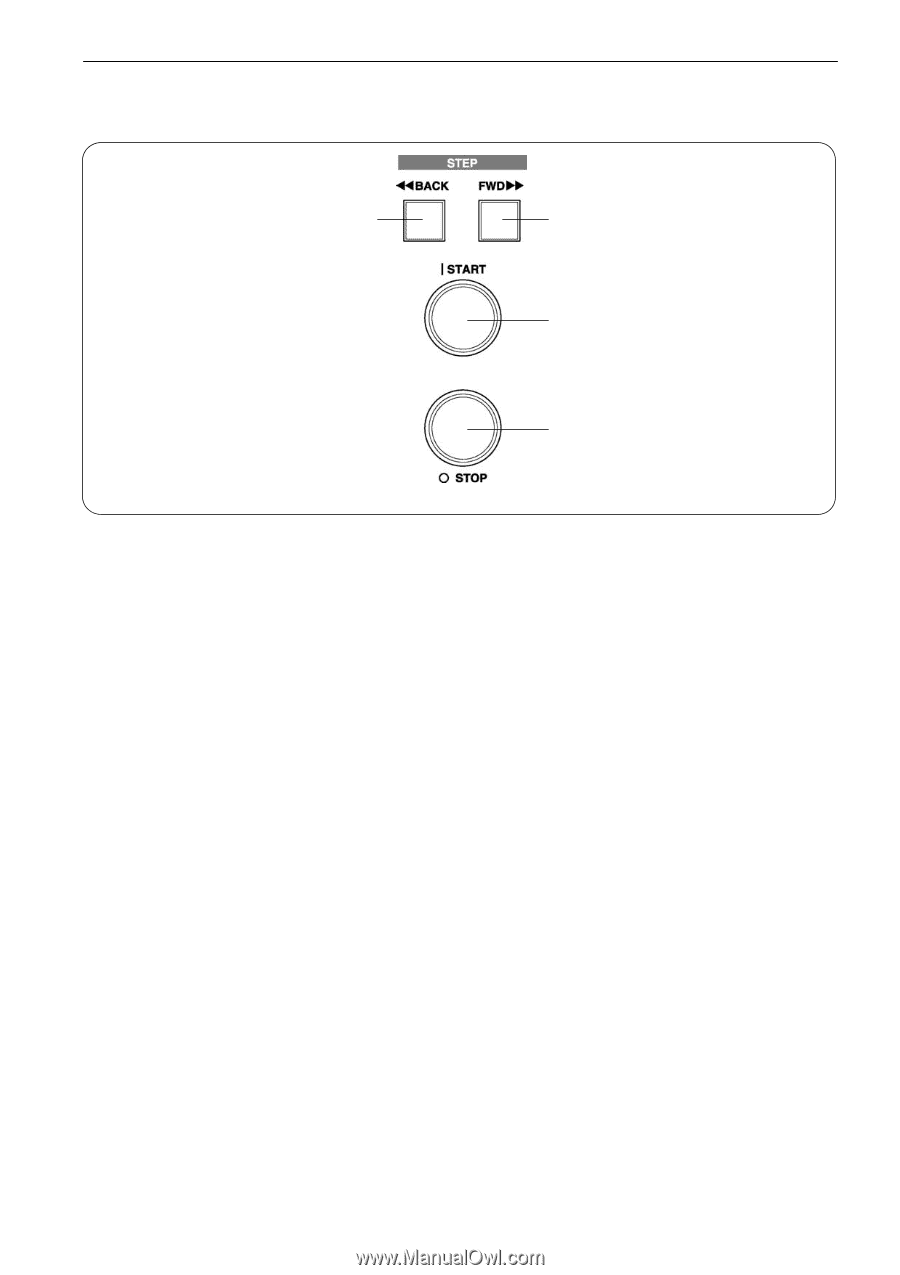
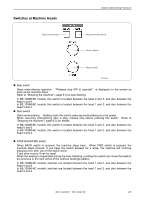
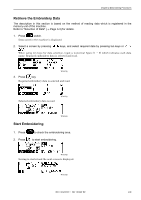
Switches at Machine Heads Step back switch Chapter 2 Embroidering Procedures Step forward switch Start switch Stop switch W1257Q ! Stop switch Stops embroidering operation. "Release stop SW to operate!" is displayed on the screen as soon as the machine stops. Refer to "Stopping the machine" ( page 6-3) to stop flashing. In BE-1206B-BC models, this switch is located between the head 2 and 3, and also between the head 5 and 6. In BE-1204B-BC models, this switch is located between the head 1 and 2, and also between the head 3 and 4. ! Start switch Starts embroidering. Holding down this switch executes embroidering at a low speed. When resuming embroidering after a stop, release stop before pressing this switch. Refer to "Stopping the machine" ( page 6-3) for details. In BE-1206B-BC models, this switch is located between the head 2 and 3, and also between the head 5 and 6. In BE-1204B-BC models, this switch is located between the head 1 and 2, and also between the head 3 and 4. ! STEP BACK/FWD switch When BACK switch is pressed, the machine steps back. When FWD switch is pressed, the machine steps forward. If you keep the switch pressed for a while, the machine will continue stepping even after you let the switch alone. If any error occurs, it can be reset. When the sewing is suspended during the area checking, pushing this switch can move the head to the previous or the next vertex of the outlined rectangle pattern. In BE-1206B-BC models, switches are located between the head 1 and 2, and also between the head 5 and 6. In BE-1204B-BC models, switches are located between the head 1 and 2, and also between the head 3 and 4. BE-1204B-BC • BE-1206B-BC 2-5
-
 1
1 -
2
-
3
-
4
-
5
-
6
-
7
-
8
-
9
-
10
-
11
-
12
-
13
-
14
-
15
-
16
-
17
-
18
-
19
-
20
-
21
-
22
-
23
-
24
-
25
-
26
-
27
-
28
-
29
-
30
-
31
-
32
-
33
-
34
-
35
-
36
-
37
-
38
-
39
-
40
-
41
-
42
-
43
-
44
-
45
-
 46
46 -
 47
47 -
 48
48 -
 49
49 -
 50
50 -
 51
51 -
 52
52 -
 53
53 -
 54
54 -
 55
55 -
 56
56 -
57
-
58
-
59
-
60
-
61
-
62
-
63
-
64
-
65
-
66
-
67
-
68
-
69
-
70
-
71
-
72
-
73
-
74
-
75
-
76
-
77
-
78
-
79
-
80
-
81
-
82
-
83
-
84
-
85
-
86
-
87
-
88
-
89
-
90
-
91
-
92
-
93
-
94
-
95
-
96
-
97
-
98
-
99
-
100
-
101
-
102
-
103
-
104
-
105
-
106
-
107
-
108
-
109
-
110
-
111
-
112
-
113
-
114
-
115
-
116
-
117
-
118
-
119
-
120
-
121
-
122
-
123
-
124
-
125
-
126
-
127
-
128
-
129
-
130
-
131
-
132
-
133
-
134
-
135
-
136
-
137
-
138
-
139
-
140
-
141
-
142
-
143
-
144
-
145
-
146
-
147
-
148
-
149
-
150
-
151
-
152
-
153
-
154
-
155
-
156
-
157
-
158
-
159
-
160
-
161
-
162
-
163
-
164
-
165
-
166
-
167
-
168
-
169
-
170
-
171
-
172
-
173
-
174
-
175
-
176
-
177
-
178
-
179
-
180
-
181
-
182
-
183
-
184
-
185
-
186
 |
 |