Brother International BE-1204B Stand Alone Type Instruction Manual - English - Page 73
Sewing Operation, Before Starting Sewing, Starting Sewing Operation
 |
View all Brother International BE-1204B manuals
Add to My Manuals
Save this manual to your list of manuals |
Page 73 highlights
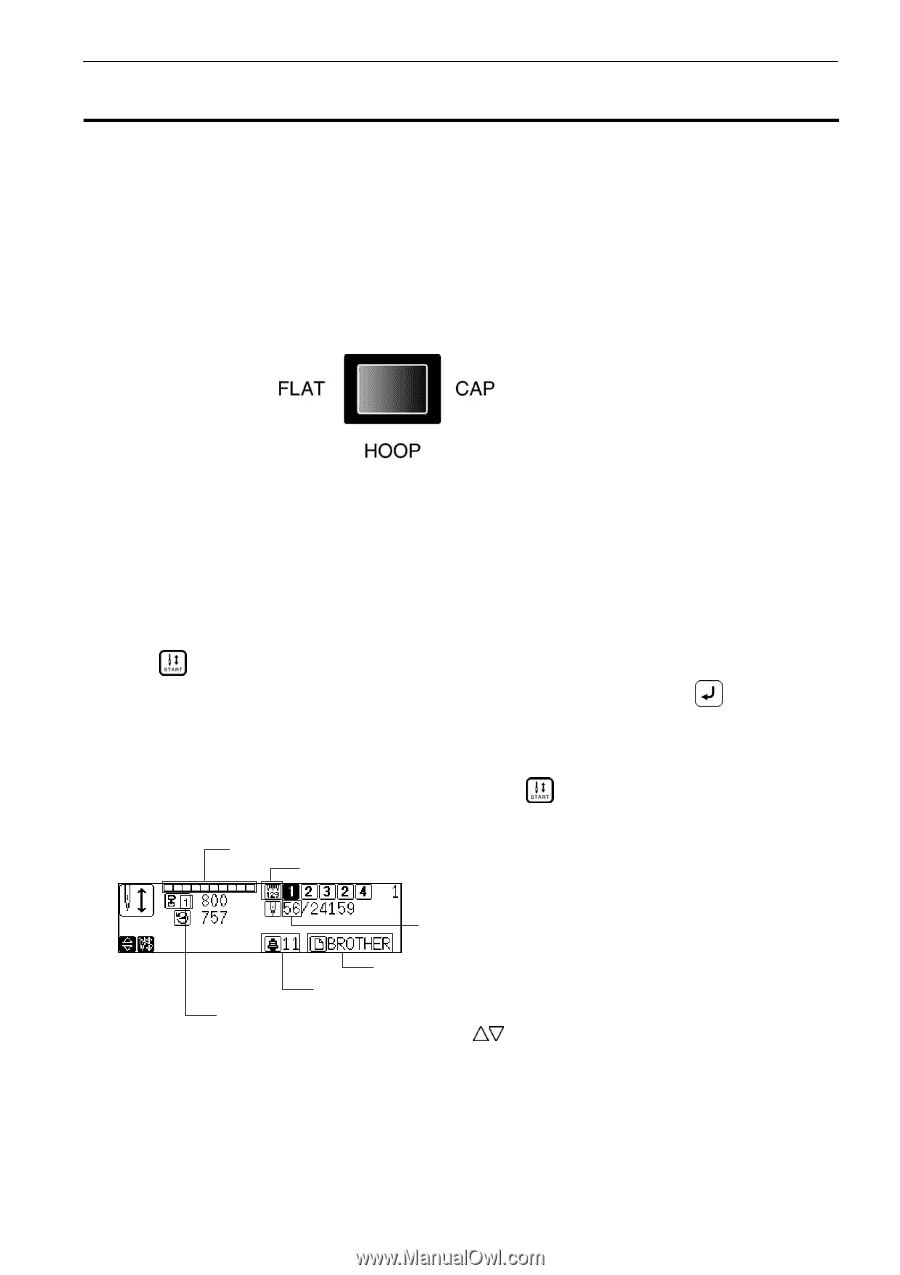
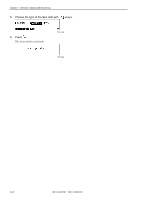
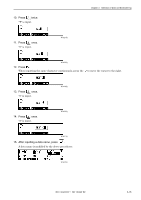
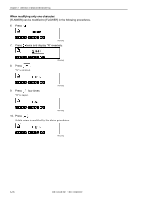
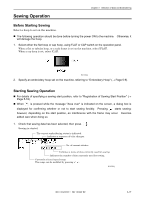
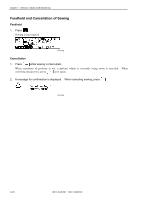
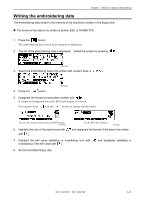
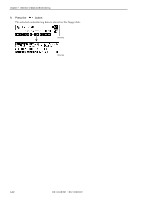
Sewing Operation Chapter 3 Selection of Data and Embroidering Before Starting Sewing Select a hoop to set on the machine. ! The following operation should be done before turning the power ON to the machine. Otherwise, it will damage the hoop. 1. Select either the flat hoop or cap hoop, using FLAT or CAP switch on the operation panel. When a flat or tabular hoop, or a sash frame is set on the machine, select [FLAT]. When a cap hoop is set, select [CAP]. W0438Q 2. Specify an embroidery hoop set on the machine, referring to "Embroidery Hoop" (→ Page 5-9). Starting Sewing Operation ! For details of specifying a sewing start position, refer to "Registration of Sewing Start Position" (→ Page 5-18). ! When is pressed while the message "Area over" is indicated on the screen, a dialog box is displayed for confirming whether or not to start sewing forcibly. Pressing starts sewing; however, depending on the start position, an interference with the frame may occur. Exercise added care when doing so. 1. Check that sewing data has been selected, then press . Sewing is started. The current embroidering status is indicated. Indicates a sequence of color changes. No. of current stitches Indicates a name of data currently used for sewing. Indicates the number of data currently used for sewing. Currently selected speed range The range can be modified by pressing . W0439Q BE-1204B-BC • BE-1206B-BC 3-17
-
 1
1 -
2
-
3
-
4
-
5
-
6
-
7
-
8
-
9
-
10
-
11
-
12
-
13
-
14
-
15
-
16
-
17
-
18
-
19
-
20
-
21
-
22
-
23
-
24
-
25
-
26
-
27
-
28
-
29
-
30
-
31
-
32
-
33
-
34
-
35
-
36
-
37
-
38
-
39
-
40
-
41
-
42
-
43
-
44
-
45
-
46
-
47
-
48
-
49
-
50
-
51
-
52
-
53
-
54
-
55
-
56
-
57
-
58
-
59
-
60
-
61
-
62
-
63
-
64
-
65
-
66
-
67
-
 68
68 -
 69
69 -
 70
70 -
 71
71 -
 72
72 -
 73
73 -
 74
74 -
 75
75 -
 76
76 -
 77
77 -
 78
78 -
79
-
80
-
81
-
82
-
83
-
84
-
85
-
86
-
87
-
88
-
89
-
90
-
91
-
92
-
93
-
94
-
95
-
96
-
97
-
98
-
99
-
100
-
101
-
102
-
103
-
104
-
105
-
106
-
107
-
108
-
109
-
110
-
111
-
112
-
113
-
114
-
115
-
116
-
117
-
118
-
119
-
120
-
121
-
122
-
123
-
124
-
125
-
126
-
127
-
128
-
129
-
130
-
131
-
132
-
133
-
134
-
135
-
136
-
137
-
138
-
139
-
140
-
141
-
142
-
143
-
144
-
145
-
146
-
147
-
148
-
149
-
150
-
151
-
152
-
153
-
154
-
155
-
156
-
157
-
158
-
159
-
160
-
161
-
162
-
163
-
164
-
165
-
166
-
167
-
168
-
169
-
170
-
171
-
172
-
173
-
174
-
175
-
176
-
177
-
178
-
179
-
180
-
181
-
182
-
183
-
184
-
185
-
186
 |
 |