Brother International PEDESIGN 6.0 Users Manual - English - Page 39
Step 2, Step 3
 |
View all Brother International PEDESIGN 6.0 manuals
Add to My Manuals
Save this manual to your list of manuals |
Page 39 highlights
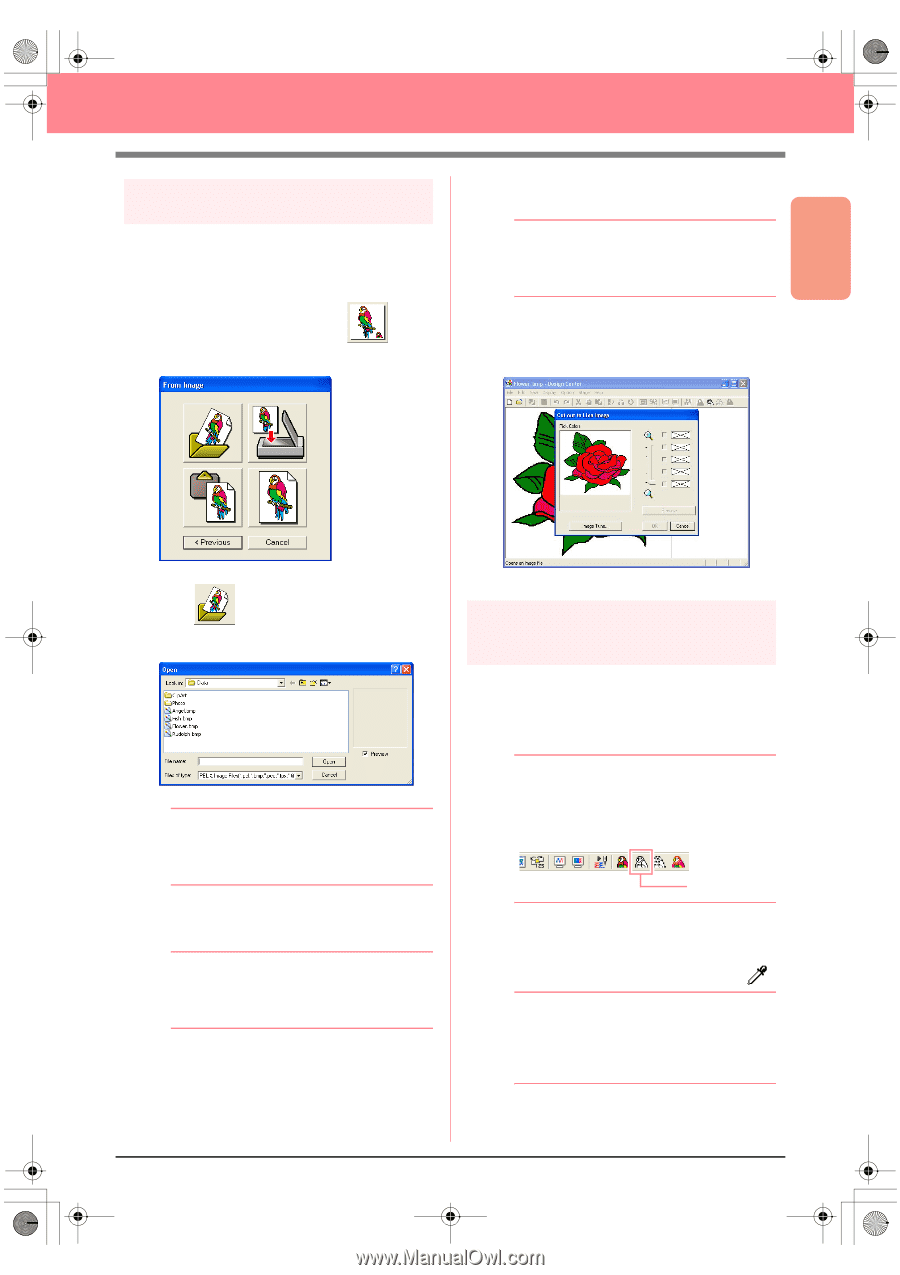
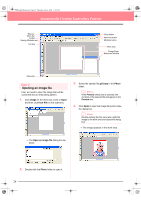
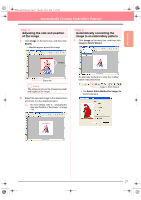
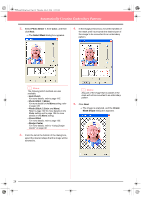
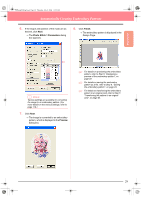
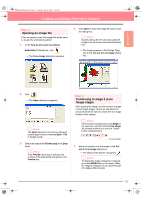
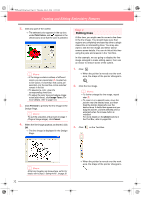
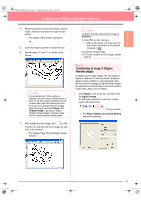
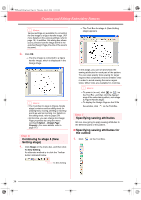
Basic Operation PeDesignV6Eng.book Page 31 Thursday, July 8, 2004 11:59 AM Creating and Editing Embroidery Patterns Step 2 Opening an image file First, we need to open the image that will be used to create the embroidery pattern. 1. In the How do you want to produce embroidery? dialog box, click . → The From Image dialog box appears. 4. Click Open to open the image file and to close the dialog box. b Memo: Double-clicking the file name also adds the image to the work area and closes the dialog box. → The image appears in the Design Page and in the Cut out to Line Image dialog box. 2. Click . → The Open dialog box appears. b Memo: The Open dialog box can also be displayed by selecting the menu command Open - File in Design Center. 3. Select the sample file Flower.bmp in the Data folder. b Memo: If the Preview check box is selected, the contents of the selected file will appear in the Preview box. Step 3 Continuing to stage 2 (Line Image stage) After opening the image, we will continue to stage 2 (Line Image stage), where we will select the color(s) that will be used to create the line image (outline of the image). b Memo: If the wizard is not being used, click Stage on the menu bar, and then click To Line Image. An alternate method is to click the Toolbar button indicated below. To Line Image 1. Move the pointer over the image in the Cut out to Line Image dialog box. → The shape of the pointer changes to . b Memo: To display the image enlarged (or reduced), move the ZOOM slider up (or down). When the image is enlarged, you can scroll through it to display different parts. 31
-
 1
1 -
2
-
3
-
4
-
5
-
6
-
7
-
8
-
9
-
10
-
11
-
12
-
13
-
14
-
15
-
16
-
17
-
18
-
19
-
20
-
21
-
22
-
23
-
24
-
25
-
26
-
27
-
28
-
29
-
30
-
31
-
32
-
33
-
 34
34 -
 35
35 -
 36
36 -
 37
37 -
 38
38 -
 39
39 -
 40
40 -
 41
41 -
 42
42 -
 43
43 -
 44
44 -
45
-
46
-
47
-
48
-
49
-
50
-
51
-
52
-
53
-
54
-
55
-
56
-
57
-
58
-
59
-
60
-
61
-
62
-
63
-
64
-
65
-
66
-
67
-
68
-
69
-
70
-
71
-
72
-
73
-
74
-
75
-
76
-
77
-
78
-
79
-
80
-
81
-
82
-
83
-
84
-
85
-
86
-
87
-
88
-
89
-
90
-
91
-
92
-
93
-
94
-
95
-
96
-
97
-
98
-
99
-
100
-
101
-
102
-
103
-
104
-
105
-
106
-
107
-
108
-
109
-
110
-
111
-
112
-
113
-
114
-
115
-
116
-
117
-
118
-
119
-
120
-
121
-
122
-
123
-
124
-
125
-
126
-
127
-
128
-
129
-
130
-
131
-
132
-
133
-
134
-
135
-
136
-
137
-
138
-
139
-
140
-
141
-
142
-
143
-
144
-
145
-
146
-
147
-
148
-
149
-
150
-
151
-
152
-
153
-
154
-
155
-
156
-
157
-
158
-
159
-
160
-
161
-
162
-
163
-
164
-
165
-
166
-
167
-
168
-
169
-
170
-
171
-
172
-
173
-
174
-
175
-
176
-
177
-
178
-
179
-
180
-
181
-
182
-
183
-
184
-
185
-
186
-
187
-
188
-
189
-
190
-
191
-
192
-
193
-
194
-
195
-
196
-
197
-
198
-
199
-
200
-
201
-
202
-
203
-
204
-
205
-
206
-
207
-
208
-
209
-
210
-
211
-
212
-
213
-
214
-
215
-
216
-
217
-
218
-
219
-
220
-
221
-
222
-
223
-
224
-
225
-
226
-
227
-
228
-
229
-
230
-
231
-
232
-
233
-
234
-
235
-
236
-
237
-
238
-
239
-
240
-
241
-
242
-
243
-
244
-
245
-
246
-
247
-
248
-
249
-
250
-
251
-
252
-
253
-
254
-
255
-
256
-
257
-
258
-
259
-
260
-
261
-
262
-
263
-
264
-
265
-
266
-
267
-
268
-
269
-
270
-
271
-
272
 |
 |