Brother International PEDESIGN 6.0 Users Manual - English - Page 66
Saving the edited stitch pattern, Quitting Programmable Stitch, Creator
 |
View all Brother International PEDESIGN 6.0 manuals
Add to My Manuals
Save this manual to your list of manuals |
Page 66 highlights
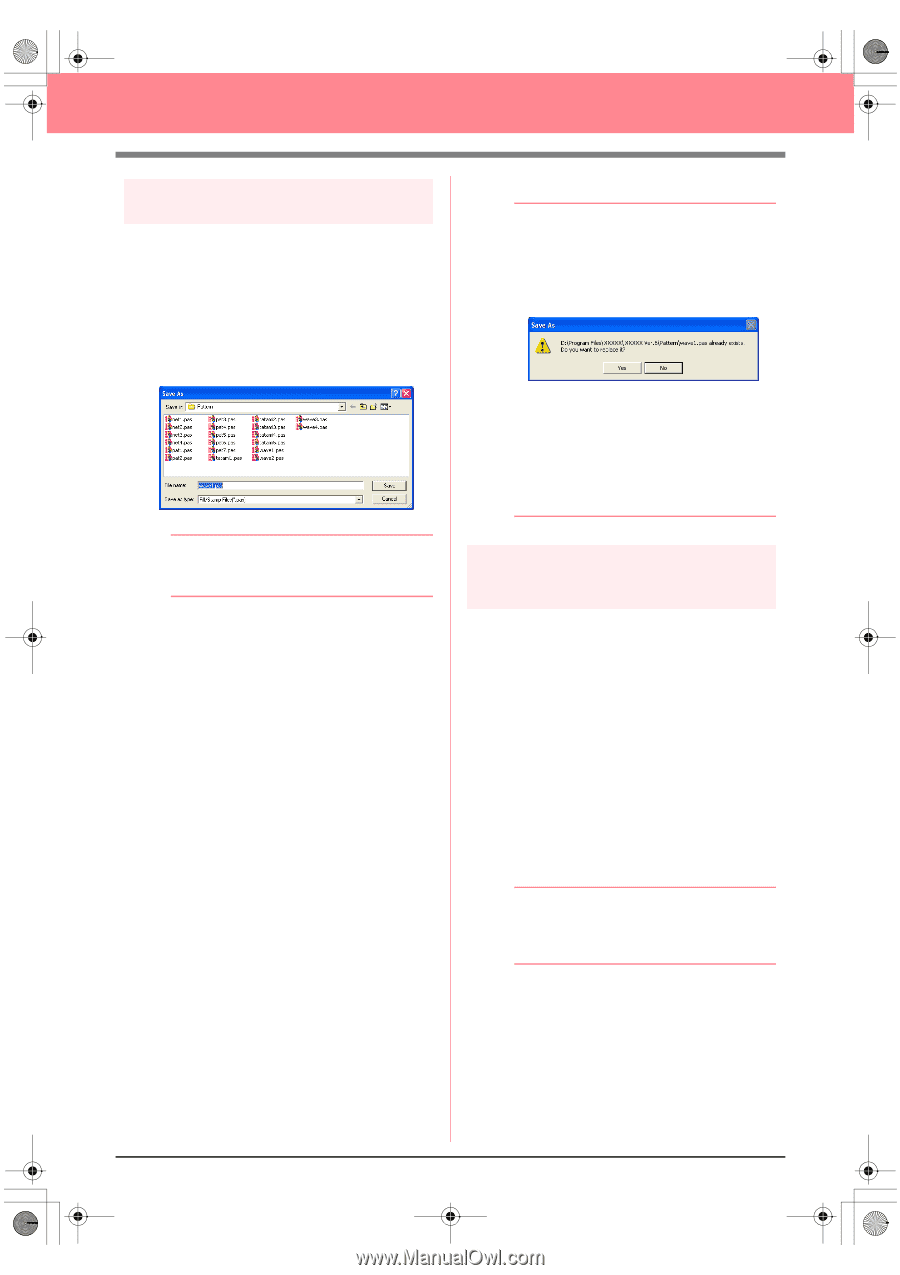
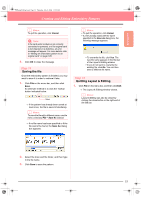
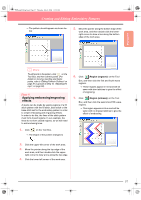
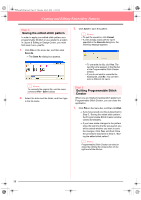
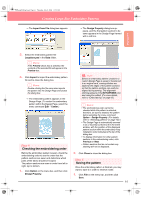
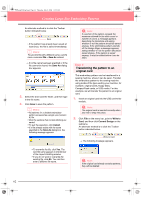
PeDesignV6Eng.book Page 58 Thursday, July 8, 2004 11:59 AM Creating and Editing Embroidery Patterns Step 5 Saving the edited stitch pattern In order to apply your edited stitch pattern as a programmable fill stitch or as a stamp to a region in Layout & Editing or Design Center, you must first save it as a .pas file. 1. Click File on the menu bar, and then click Save As. → The Save As dialog box appears. 3. Click Save to save the pattern. b Memo: • To quit the operation, click Cancel. • If a file already exists with the name specified in the Save As dialog box, the following message appears. b Memo: To overwrite the original file, use the menu command File - Save instead. 2. Select the drive and the folder, and then type in the file name. • To overwrite the file, click Yes. The new file name appears in the title bar of the Programmable Stitch Creator window. • If you do not want to overwrite the existing file, click No. You can then enter a different file name. Step 6 Quitting Programmable Stitch Creator When you are finished creating stitch patterns in Programmable Stitch Creator, you can close the application. 1. Click File on the menu bar, and then click Exit. → If you have saved your file as described in Step 5, "Saving the edited stitch pattern", the Programmable Stitch Creator window closes immediately. → If you have made changes to the pattern since the last time the file was saved, you will be asked whether you want to save the changes. Click Yes, and then follow the procedure described in Step 5, "Saving the edited stitch pattern". b Memo: Programmable Stitch Creator can also be closed by clicking the close button on the right end of the title bar. 58
-
 1
1 -
2
-
3
-
4
-
5
-
6
-
7
-
8
-
9
-
10
-
11
-
12
-
13
-
14
-
15
-
16
-
17
-
18
-
19
-
20
-
21
-
22
-
23
-
24
-
25
-
26
-
27
-
28
-
29
-
30
-
31
-
32
-
33
-
34
-
35
-
36
-
37
-
38
-
39
-
40
-
41
-
42
-
43
-
44
-
45
-
46
-
47
-
48
-
49
-
50
-
51
-
52
-
53
-
54
-
55
-
56
-
57
-
58
-
59
-
60
-
 61
61 -
 62
62 -
 63
63 -
 64
64 -
 65
65 -
 66
66 -
 67
67 -
 68
68 -
 69
69 -
 70
70 -
 71
71 -
72
-
73
-
74
-
75
-
76
-
77
-
78
-
79
-
80
-
81
-
82
-
83
-
84
-
85
-
86
-
87
-
88
-
89
-
90
-
91
-
92
-
93
-
94
-
95
-
96
-
97
-
98
-
99
-
100
-
101
-
102
-
103
-
104
-
105
-
106
-
107
-
108
-
109
-
110
-
111
-
112
-
113
-
114
-
115
-
116
-
117
-
118
-
119
-
120
-
121
-
122
-
123
-
124
-
125
-
126
-
127
-
128
-
129
-
130
-
131
-
132
-
133
-
134
-
135
-
136
-
137
-
138
-
139
-
140
-
141
-
142
-
143
-
144
-
145
-
146
-
147
-
148
-
149
-
150
-
151
-
152
-
153
-
154
-
155
-
156
-
157
-
158
-
159
-
160
-
161
-
162
-
163
-
164
-
165
-
166
-
167
-
168
-
169
-
170
-
171
-
172
-
173
-
174
-
175
-
176
-
177
-
178
-
179
-
180
-
181
-
182
-
183
-
184
-
185
-
186
-
187
-
188
-
189
-
190
-
191
-
192
-
193
-
194
-
195
-
196
-
197
-
198
-
199
-
200
-
201
-
202
-
203
-
204
-
205
-
206
-
207
-
208
-
209
-
210
-
211
-
212
-
213
-
214
-
215
-
216
-
217
-
218
-
219
-
220
-
221
-
222
-
223
-
224
-
225
-
226
-
227
-
228
-
229
-
230
-
231
-
232
-
233
-
234
-
235
-
236
-
237
-
238
-
239
-
240
-
241
-
242
-
243
-
244
-
245
-
246
-
247
-
248
-
249
-
250
-
251
-
252
-
253
-
254
-
255
-
256
-
257
-
258
-
259
-
260
-
261
-
262
-
263
-
264
-
265
-
266
-
267
-
268
-
269
-
270
-
271
-
272
 |
 |