Brother International PEDESIGN 6.0 Users Manual - English - Page 73
Hooping the fabric, Embroidering
 |
View all Brother International PEDESIGN 6.0 manuals
Add to My Manuals
Save this manual to your list of manuals |
Page 73 highlights
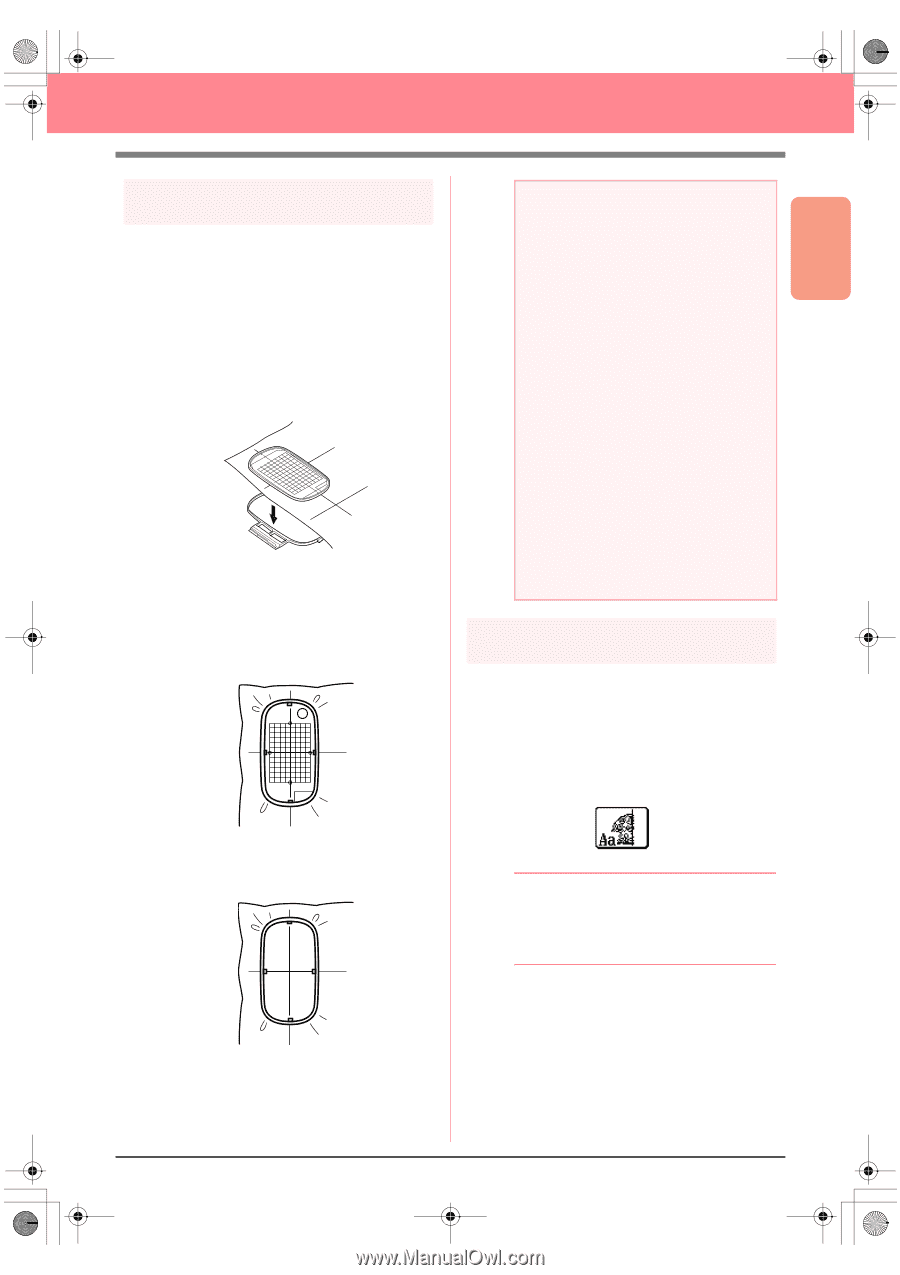
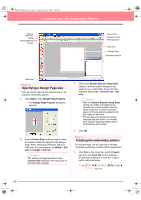
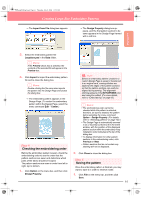
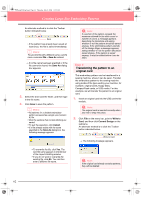
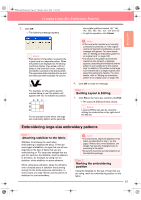
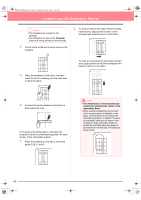
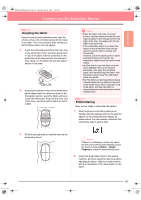
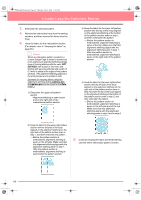
Basic Operation PeDesignV6Eng.book Page 65 Thursday, July 8, 2004 11:59 AM Creating Large-Size Embroidery Patterns Step 3 Hooping the fabric Using the hoop's plastic embroidery sheet, align the reference lines on the embroidery sheet with the marks on the fabric. Then, hoop the fabric while making sure that the fabric remains correctly aligned. 1. Insert the embroidery sheet into the inner ring of the embroidery hoop, and then place them on top of the fabric with the centerline on the embroidery sheet aligned with the reference lines (drawn on the fabric) for the first pattern section to be sewn. 2. Keeping the reference lines on the embroidery sheet aligned with the reference lines for the first pattern section, place the fabric and inner ring of the embroidery hoop into the outer ring of the hoop, and then pull the fabric so that it is tight. a Note: • Place the fabric and hoop on a level surface, and then make sure that the inner ring is pressed in well enough that the top edge of the inner ring aligns with the top edge of the outer ring. • If the embroidery sheet is not used, the marks on the embroidery hoop can be used to hoop the fabric vertically and horizontally. However, since the center point on some sewing machines is off center, the embroidery sheet should be used for best results. • Another way to hoop the fabric is to use sticky stabilizer that can be hooped separately, tear away the protective paper, then carefully align the fabric onto the sticky surface using the embroidery sheet as a guide. • Tip: The fabric can be hooped more easily if double-sided tape is affixed to the back of the inside frame, which is placed on top of the fabric, and then the fabric is clamped between the inside frame and the outside frame. Step 4 Embroidering Now, we are ready to embroider the pattern. 1. When large-size embroidery patterns are transferred to the sewing machine, the patterns appear on the sewing machine display as shown below. For this example, select the first embroidery pattern section (Aa). 3. Finish hooping the fabric, and then remove the embroidery sheet. b Memo: If there is no stitching in section Aa, select the first section that contains stitching. Select the menu command Option - Design Property to check the embroidering order. 2. Attach the embroidery hoop to the sewing machine, and then using the machine's layout adjusting functions, align the needle position with the intersection of the lines drawn on the fabric. 65
-
 1
1 -
2
-
3
-
4
-
5
-
6
-
7
-
8
-
9
-
10
-
11
-
12
-
13
-
14
-
15
-
16
-
17
-
18
-
19
-
20
-
21
-
22
-
23
-
24
-
25
-
26
-
27
-
28
-
29
-
30
-
31
-
32
-
33
-
34
-
35
-
36
-
37
-
38
-
39
-
40
-
41
-
42
-
43
-
44
-
45
-
46
-
47
-
48
-
49
-
50
-
51
-
52
-
53
-
54
-
55
-
56
-
57
-
58
-
59
-
60
-
61
-
62
-
63
-
64
-
65
-
66
-
67
-
 68
68 -
 69
69 -
 70
70 -
 71
71 -
 72
72 -
 73
73 -
 74
74 -
 75
75 -
 76
76 -
 77
77 -
 78
78 -
79
-
80
-
81
-
82
-
83
-
84
-
85
-
86
-
87
-
88
-
89
-
90
-
91
-
92
-
93
-
94
-
95
-
96
-
97
-
98
-
99
-
100
-
101
-
102
-
103
-
104
-
105
-
106
-
107
-
108
-
109
-
110
-
111
-
112
-
113
-
114
-
115
-
116
-
117
-
118
-
119
-
120
-
121
-
122
-
123
-
124
-
125
-
126
-
127
-
128
-
129
-
130
-
131
-
132
-
133
-
134
-
135
-
136
-
137
-
138
-
139
-
140
-
141
-
142
-
143
-
144
-
145
-
146
-
147
-
148
-
149
-
150
-
151
-
152
-
153
-
154
-
155
-
156
-
157
-
158
-
159
-
160
-
161
-
162
-
163
-
164
-
165
-
166
-
167
-
168
-
169
-
170
-
171
-
172
-
173
-
174
-
175
-
176
-
177
-
178
-
179
-
180
-
181
-
182
-
183
-
184
-
185
-
186
-
187
-
188
-
189
-
190
-
191
-
192
-
193
-
194
-
195
-
196
-
197
-
198
-
199
-
200
-
201
-
202
-
203
-
204
-
205
-
206
-
207
-
208
-
209
-
210
-
211
-
212
-
213
-
214
-
215
-
216
-
217
-
218
-
219
-
220
-
221
-
222
-
223
-
224
-
225
-
226
-
227
-
228
-
229
-
230
-
231
-
232
-
233
-
234
-
235
-
236
-
237
-
238
-
239
-
240
-
241
-
242
-
243
-
244
-
245
-
246
-
247
-
248
-
249
-
250
-
251
-
252
-
253
-
254
-
255
-
256
-
257
-
258
-
259
-
260
-
261
-
262
-
263
-
264
-
265
-
266
-
267
-
268
-
269
-
270
-
271
-
272
 |
 |