Canon GL1 GL1 Instruction Manual - Page 54
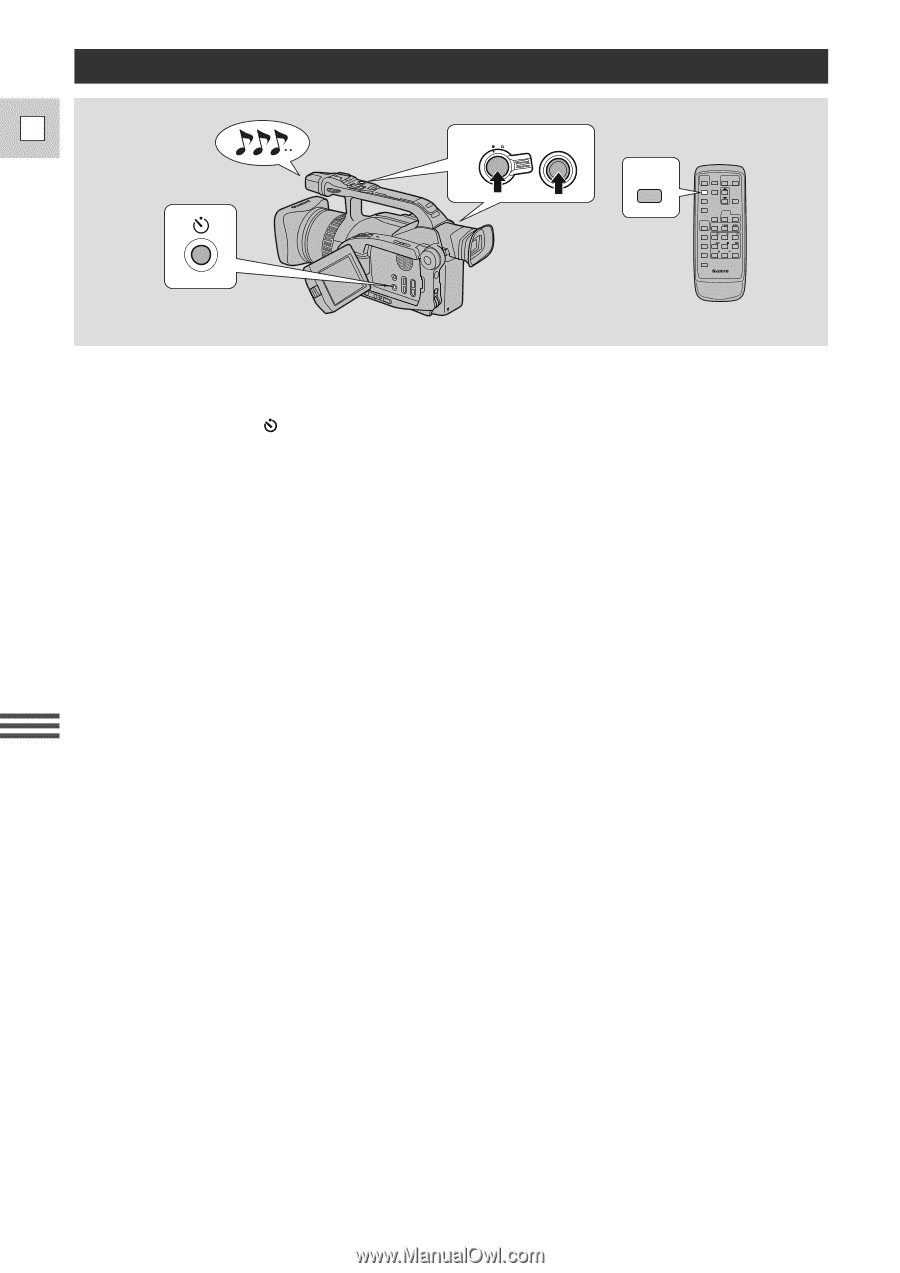
Setting the Self-Timer
 |
View all Canon GL1 manuals
Add to My Manuals
Save this manual to your list of manuals |
Page 54 highlights
Setting the Self-Timer E STANDBY LOCK START /STOP SELF TIMER This is useful when you want to include yourself in the picture when recording. 1. Set the camera to record pause mode. 2. Press the self-timer button on the body of the camera or the SELF TIMER button on the wireless controller. • SELF T. appears in the display. • To have the subject monitor recording, rotate the LCD panel 180° (p. 26). 3. Press the start/stop button. • The camera starts to record after a 10-second countdown period (or after two seconds when you use the wireless controller). The time remaining counts down in the display (e.g. "5 SEC"). • SELF T. disappears from the display when recording begins. • The tally lamp starts flashing. 4. Press the start/stop button to end recording. • After recording a still picture for about six seconds, the camera automatically goes into record pause mode. Notes: • Initially the tally lamp flashes once a second, then just before recording it starts flashing more quickly for a few seconds before the camera starts to record. • If you have the beep turned on, it sounds each time the tally lamp flashes before recording. • To cancel the self-timer before the countdown has begun, press the self-timer button again. • To cancel the self-timer once the countdown has begun, press start/stop or the self-timer button on the wireless controller or the body of the camera. • When taking a still photo, set the self-timer and press a PHOTO button on the camera body or the wireless controller. The camera automatically adjusts the focus two seconds before the countdown is complete. The F mark flashes white then turns green after the focus and exposure are set. If you are using the wireless controller, the F mark starts flashing immediately after you press the photo button. The camcorder takes the picture for approximately six seconds. Using the Full Range of Features 54
-
 1
1 -
2
-
3
-
4
-
5
-
6
-
7
-
8
-
9
-
10
-
11
-
12
-
13
-
14
-
15
-
16
-
17
-
18
-
19
-
20
-
21
-
22
-
23
-
24
-
25
-
26
-
27
-
28
-
29
-
30
-
31
-
32
-
33
-
34
-
35
-
36
-
37
-
38
-
39
-
40
-
41
-
42
-
43
-
44
-
45
-
46
-
47
-
48
-
 49
49 -
 50
50 -
 51
51 -
 52
52 -
 53
53 -
 54
54 -
 55
55 -
 56
56 -
 57
57 -
 58
58 -
 59
59 -
60
-
61
-
62
-
63
-
64
-
65
-
66
-
67
-
68
-
69
-
70
-
71
-
72
-
73
-
74
-
75
-
76
-
77
-
78
-
79
-
80
-
81
-
82
-
83
-
84
-
85
-
86
-
87
-
88
-
89
-
90
-
91
-
92
-
93
-
94
-
95
-
96
-
97
-
98
-
99
-
100
-
101
-
102
-
103
-
104
 |
 |