Canon GL1 GL1 Instruction Manual - Page 63
Adjusting the White Balance
 |
View all Canon GL1 manuals
Add to My Manuals
Save this manual to your list of manuals |
Page 63 highlights
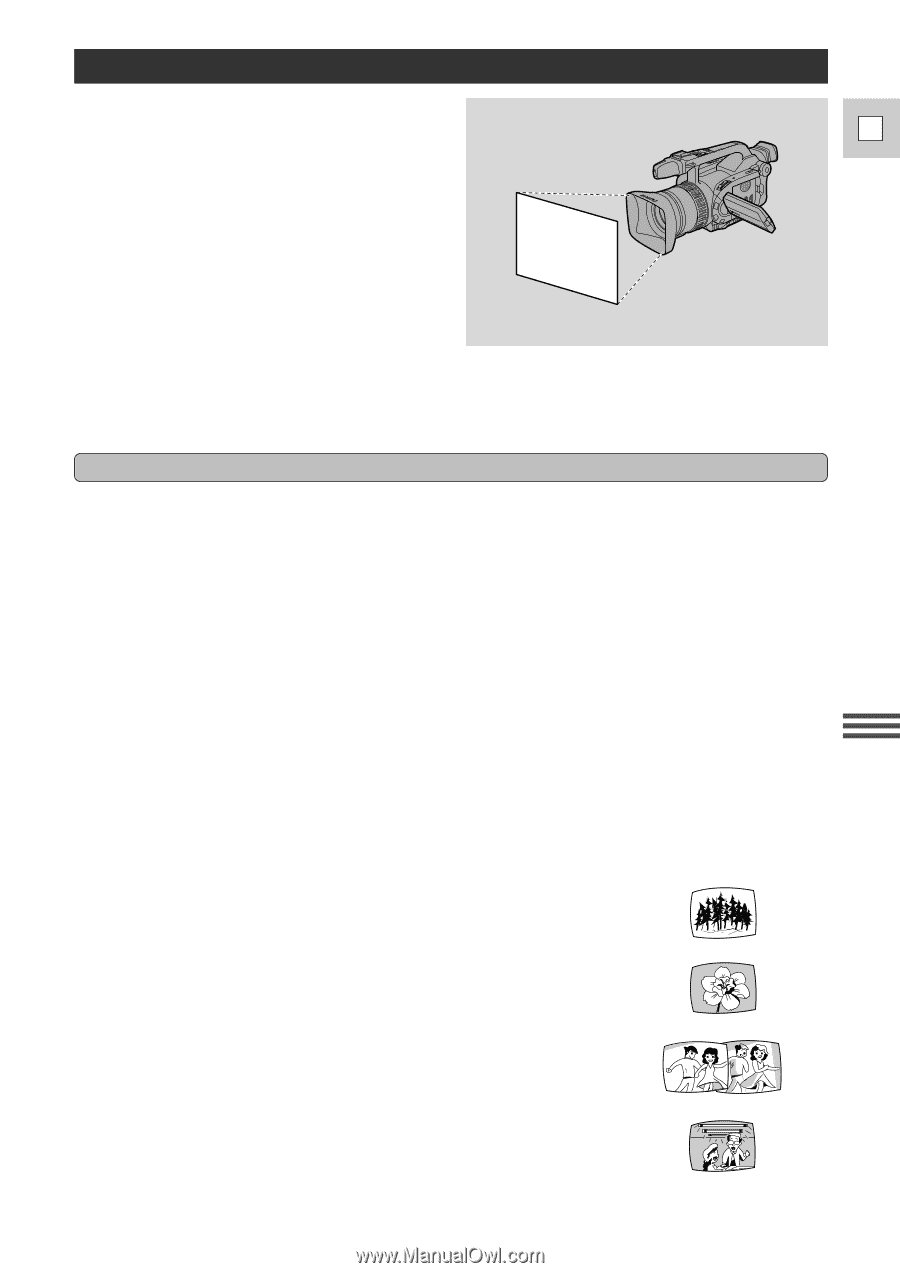
Adjusting the White Balance The camera's auto white balance system compensates for a wide range of lighting E conditions. Although slight variations are unavoidable, colors will appear natural in virtually every situation. In some cases, you will get better results by setting the white balance yourself, or using one of the two preset modes: T Indoor Mode • Under halogen or studio/video lighting • Subject is of one dominant color • Close ups U Outdoor mode • In daylight, especially for close-ups and where the subject is of one dominant color Setting the white balance 1. Turn the program selector to any recording program (except the [ Easy Recording program). 2. a) For auto white balance, indoor lighting or outdoor lighting, press the WHITE BALANCE SELECT button. • T/U appears in the display when you set the white balance to the indoor/outdoor modes. b) To set the white balance manually: q Point the camera at a white object (such as a sheet of paper) and zoom in until it fills the display. w Press the WHITE BALANCE SELECT button. • W appears in the display. e Press the WHITE BALANCE W set button. • W flashes quickly in the display and then remains lit, to show that the camera has set the white balance. • Depending on the light source, the flashing may at times change to a slower speed, rather than remaining lit. The result will remain better than with the auto setting, and you can continue recording. Setting the white balance manually will probably work better than auto white balance when shooting: Subjects with one dominant color, such as sky, sea or forest Using the Full Range of Features Close-ups In rapidly changing lighting conditions In places lit by certain types of fluorescent or mercury vapor lights 63
-
 1
1 -
2
-
3
-
4
-
5
-
6
-
7
-
8
-
9
-
10
-
11
-
12
-
13
-
14
-
15
-
16
-
17
-
18
-
19
-
20
-
21
-
22
-
23
-
24
-
25
-
26
-
27
-
28
-
29
-
30
-
31
-
32
-
33
-
34
-
35
-
36
-
37
-
38
-
39
-
40
-
41
-
42
-
43
-
44
-
45
-
46
-
47
-
48
-
49
-
50
-
51
-
52
-
53
-
54
-
55
-
56
-
57
-
 58
58 -
 59
59 -
 60
60 -
 61
61 -
 62
62 -
 63
63 -
 64
64 -
 65
65 -
 66
66 -
 67
67 -
 68
68 -
69
-
70
-
71
-
72
-
73
-
74
-
75
-
76
-
77
-
78
-
79
-
80
-
81
-
82
-
83
-
84
-
85
-
86
-
87
-
88
-
89
-
90
-
91
-
92
-
93
-
94
-
95
-
96
-
97
-
98
-
99
-
100
-
101
-
102
-
103
-
104
 |
 |