Dell 944 All In One Inkjet Printer Owner's Manual - Page 51
Arrow, Scan Mode, Select, Start, proceed to the next field.
 |
View all Dell 944 All In One Inkjet Printer manuals
Add to My Manuals
Save this manual to your list of manuals |
Page 51 highlights
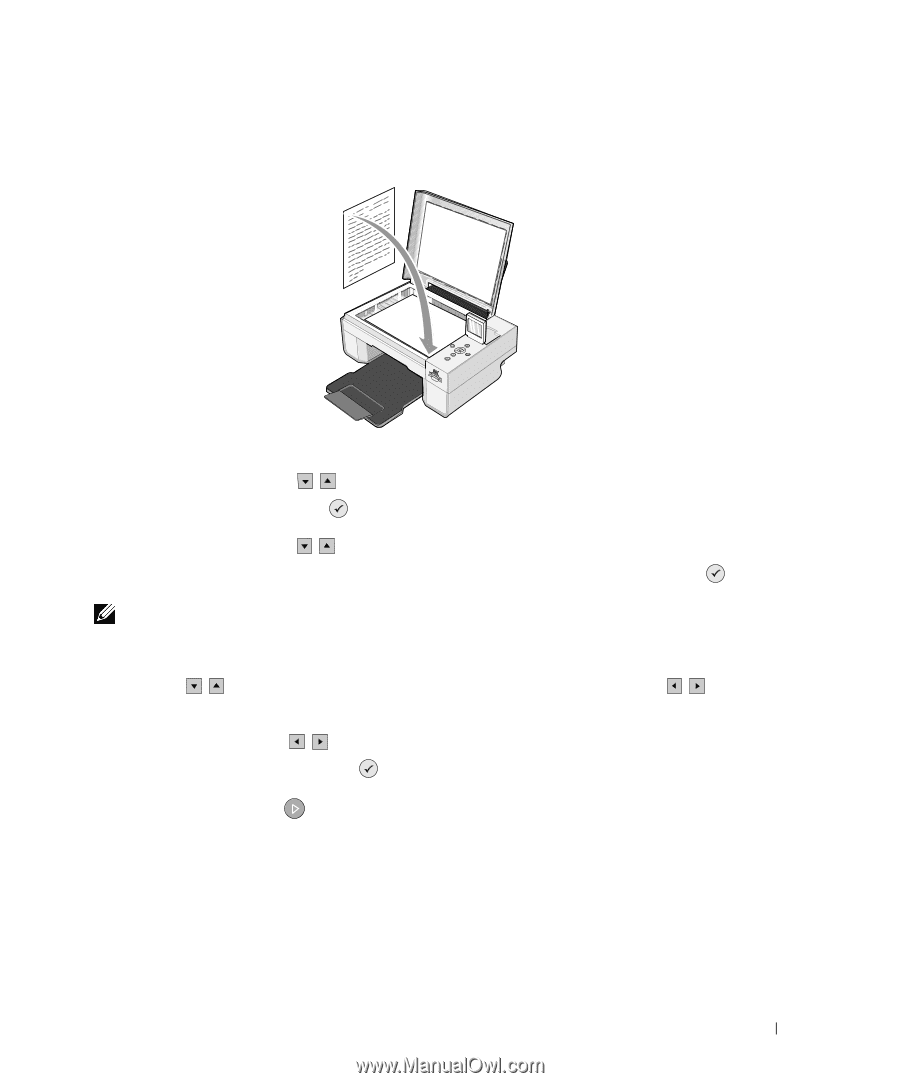
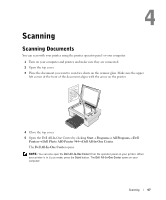
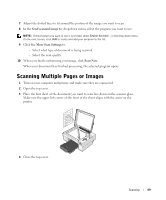
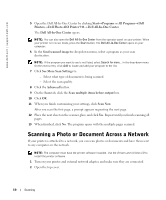
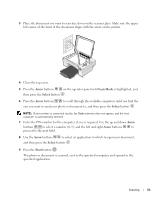
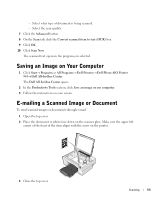
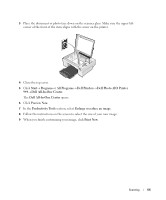
3 Place the document you want to scan face down on the scanner glass. Make sure the upper left corner of the front of the document aligns with the arrow on the printer. 4 Close the top cover. 5 Press the Arrow buttons on the operator panel until Scan Mode is highlighted, and then press the Select button . 6 Press the Arrow buttons to scroll through the available computers until you find the one you want to send your photo or document to, and then press the Select button . NOTE: If your printer is connected locally, the Scan submenu does not appear, and the host computer is automatically selected. 7 Enter the PIN number for the computer, if one is required. Use the up and down Arrow buttons to select a number (0-9), and the left and right Arrow buttons to proceed to the next field. 8 Use the Arrow buttons to select an application in which to open your document, and then press the Select button . 9 Press the Start button . The photo or document is scanned, sent to the specified computer, and opened in the specified application. Scanning 51
-
 1
1 -
2
-
3
-
4
-
5
-
6
-
7
-
8
-
9
-
10
-
11
-
12
-
13
-
14
-
15
-
16
-
17
-
18
-
19
-
20
-
21
-
22
-
23
-
24
-
25
-
26
-
27
-
28
-
29
-
30
-
31
-
32
-
33
-
34
-
35
-
36
-
37
-
38
-
39
-
40
-
41
-
42
-
43
-
44
-
45
-
 46
46 -
 47
47 -
 48
48 -
 49
49 -
 50
50 -
 51
51 -
 52
52 -
 53
53 -
 54
54 -
 55
55 -
 56
56 -
57
-
58
-
59
-
60
-
61
-
62
-
63
-
64
-
65
-
66
-
67
-
68
-
69
-
70
-
71
-
72
-
73
-
74
-
75
-
76
-
77
-
78
-
79
-
80
-
81
-
82
-
83
-
84
-
85
-
86
-
87
-
88
-
89
-
90
-
91
-
92
-
93
-
94
-
95
-
96
-
97
-
98
-
99
-
100
-
101
-
102
-
103
-
104
-
105
-
106
-
107
-
108
-
109
-
110
-
111
-
112
-
113
-
114
-
115
-
116
-
117
-
118
 |
 |