Kyocera ECOSYS FS-4100DN FS-2100DN/4100DN/4200DN/4300DN Driver Guide Rev-15.12 - Page 86
Selecting s for Security Watermark, Status Monitor, Selecting Status Monitor Options
 |
View all Kyocera ECOSYS FS-4100DN manuals
Add to My Manuals
Save this manual to your list of manuals |
Page 86 highlights
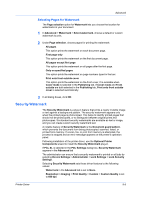
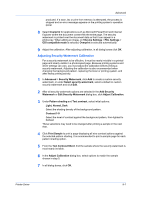
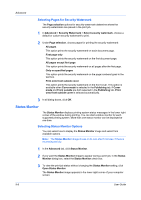
Advanced Selecting Pages for Security Watermark The Page selection options for security watermark determine where the security watermarks are placed in the print job. 1 In Advanced > Security Watermark > Select security watermark, choose a default or custom security watermark to print. 2 Under Page selection, choose pages for printing the security watermark: All pages This option prints the security watermark on each document page. First page only This option prints the security watermark on the first document page. All pages except first page This option prints the security watermark on all pages after the first page. Only on specified pages This option prints the security watermark on the page numbers typed in the text box. Print onto front outside cover This option prints the security watermark on the front cover. This option is available when Cover mode is selected in the Publishing tab. If Cover mode and Front outside are both selected in the Publishing tab, Print onto front outside cover is selected automatically. 3 In all dialog boxes, click OK. Status Monitor The Status Monitor displays printing system status messages in the lower right corner of the window during printing. You can start a status monitor for each supported printing system. More than one status monitor can be displayed at one time. Selecting Status Monitor Options You can select how to display the Status Monitor image and select from available options. Note: The Status Monitor image closes on its own after 5 minutes, if there is no printing activity. 1 In the Advanced tab, click Status Monitor. 2 If you want the Status Monitor image to appear during a print job, in the Status Monitor dialog box, select the Status Monitor check box. 3 To view the print job status without changing the Status Monitor setting, click Open Status Monitor. The Status Monitor image appears in the lower right corner of your computer screen. 9-8 User Guide
-
 1
1 -
2
-
3
-
4
-
5
-
6
-
7
-
8
-
9
-
10
-
11
-
12
-
13
-
14
-
15
-
16
-
17
-
18
-
19
-
20
-
21
-
22
-
23
-
24
-
25
-
26
-
27
-
28
-
29
-
30
-
31
-
32
-
33
-
34
-
35
-
36
-
37
-
38
-
39
-
40
-
41
-
42
-
43
-
44
-
45
-
46
-
47
-
48
-
49
-
50
-
51
-
52
-
53
-
54
-
55
-
56
-
57
-
58
-
59
-
60
-
61
-
62
-
63
-
64
-
65
-
66
-
67
-
68
-
69
-
70
-
71
-
72
-
73
-
74
-
75
-
76
-
77
-
78
-
79
-
80
-
 81
81 -
 82
82 -
 83
83 -
 84
84 -
 85
85 -
 86
86 -
 87
87 -
 88
88 -
 89
89 -
 90
90 -
 91
91 -
92
-
93
-
94
-
95
-
96
 |
 |
