Lexmark MX810 Quick Reference - Page 4
Setting up Card Copy, Using MyShortcut, Setting up Multi Send
 |
View all Lexmark MX810 manuals
Add to My Manuals
Save this manual to your list of manuals |
Page 4 highlights
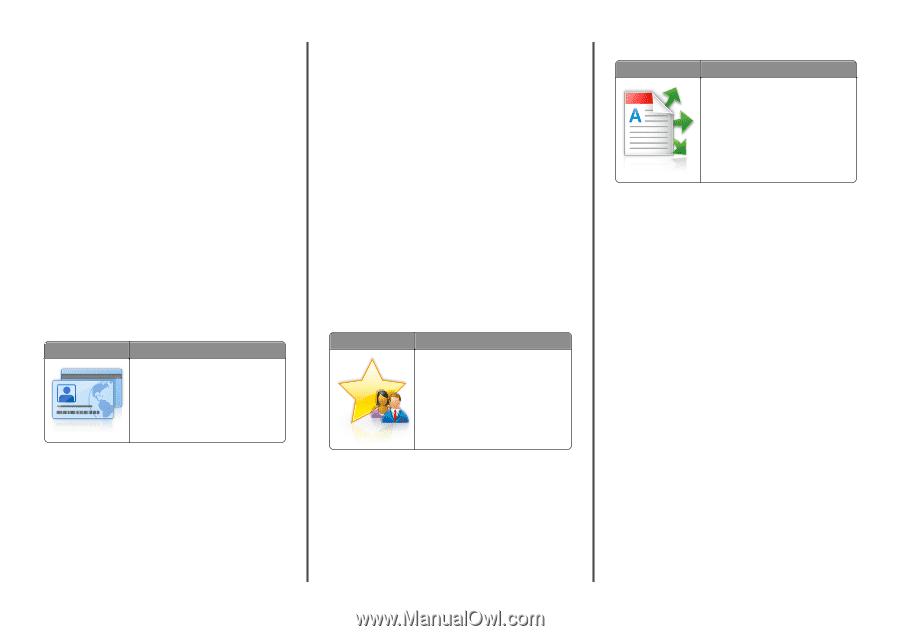
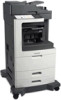
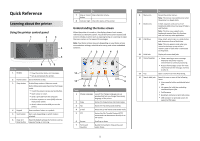
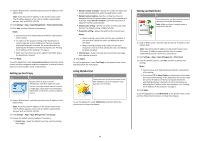
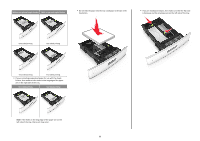
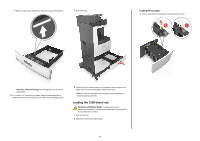
1 Open a Web browser, and then type the printer IP address in the address field. Note: View the printer IP address on the printer home screen. The IP address appears as four sets of numbers separated by periods, such as 123.123.123.123. 2 Click Settings > Apps > Apps Management > Forms and Favorites. 3 Click Add, and then customize the settings. Notes: • See the mouse-over help beside each field for a description of the setting. • To make sure the location settings of the bookmark are correct, type the correct IP address of the host computer where the bookmark is located. For more information on obtaining the IP address of the host computer, see "Finding the IP address of the computer" on page 2. • Make sure the printer has access rights to the folder where the bookmark is located. 4 Click Apply. To use the application, touch Forms and Favorites on the printer home screen, and then navigate through form categories, or search for forms based on a form number, name, or description. Setting up Card Copy Use To Quickly and easily copy insurance, identification, and other wallet‑size cards. You can scan and print both sides of a card on a single page, saving paper and showing the information on the card in a more convenient manner. 1 Open a Web browser, and then type the printer IP address in the address field. Note: View the printer IP address on the printer home screen. The IP address appears as four sets of numbers separated by periods, such as 123.123.123.123. 2 Click Settings > Apps > Apps Management > Card Copy. 3 Change the default scanning options, if necessary. • Default tray-Select the default tray to be used for printing scan images. • Default number of copies-Specify the number of copies that should automatically print when the application is used. • Default contrast setting-Specify a setting to increase or decrease the level of contrast when a copy of the scanned card is printed. Select Best for Content if you want the printer to adjust the contrast automatically. • Default scale setting-Set the size of the scanned card when printed. The default setting is 100% (full size). • Resolution setting-Adjust the quality of the scanned card. Notes: - When scanning a card, make sure the scan resolution is not more than 200 dpi for color, and 400 dpi for black and white. - When scanning multiple cards, make sure the scan resolution is not more than 150 dpi for color, and 300 dpi for black and white. • Print Borders-Select the check box to print the scan image with a border around it. 4 Click Apply. To use the application, touch Card Copy on the printer home screen, and then follow the instructions. Using MyShortcut Use To Create shortcuts on the printer home screen, with settings for up to 25 frequently used copy, fax, or e-mail jobs. To use the application, touch MyShortcut, and then follow the instructions on the printer display. Setting up Multi Send Use To Scan a document, and then send the scanned document to multiple destinations. Note: Make sure there is enough space in the printer hard disk. 1 Open a Web browser, and then type the printer IP address in the address field. Note: View the printer IP address on the printer home screen. The printer IP address appears as four sets of numbers separated by periods, such as 123.123.123.123. 2 Click Settings > Apps > Apps Management > Multi Send. 3 From the Profiles section, click Add, and then customize the settings. Notes: • See the mouse‑over help beside each field for a description of the setting. • If you select FTP or Share Folder as a destination, then make sure the location settings of the destination are correct. Type the correct IP address of the host computer where the specified destination is located. For more information on obtaining the IP address of the host computer, see "Finding the IP address of the computer" on page 2. 4 Click Apply. To use the application, touch Multi Send on the printer home screen, and then follow the instructions on the printer display. 4
-
 1
1 -
 2
2 -
 3
3 -
 4
4 -
 5
5 -
 6
6 -
 7
7 -
 8
8 -
 9
9 -
 10
10 -
11
-
12
-
13
-
14
-
15
-
16
-
17
-
18
-
19
-
20
-
21
-
22
-
23
-
24
-
25
-
26
-
27
-
28
-
29
-
30
-
31
-
32
-
33
 |
 |