Pfaff creative 7550 Owner's Manual - Page 140
vF1[1r1r1
 |
View all Pfaff creative 7550 manuals
Add to My Manuals
Save this manual to your list of manuals |
Page 140 highlights
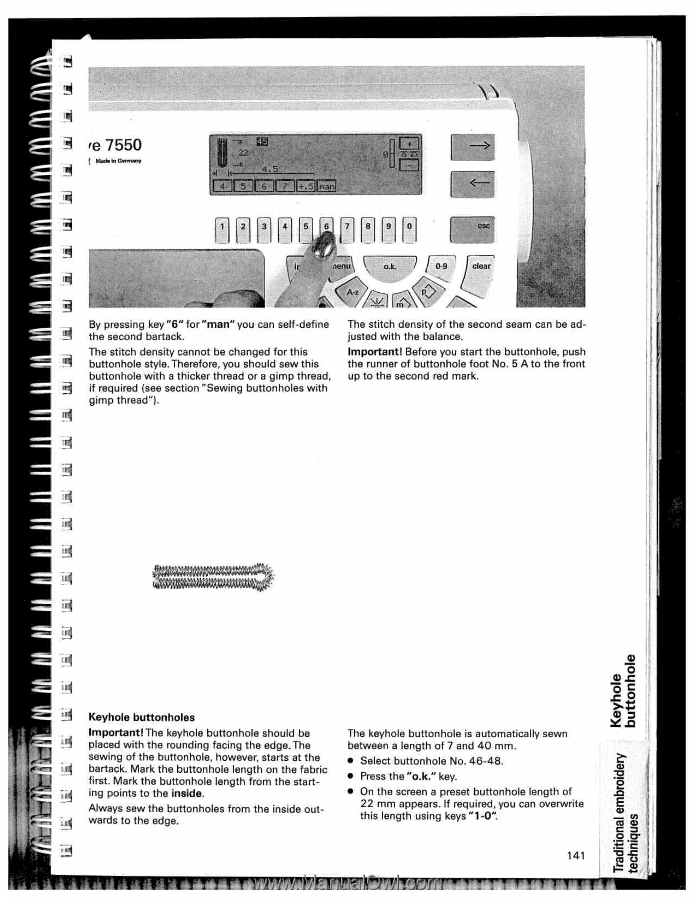
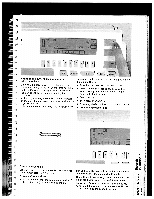
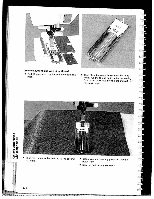
'e7550 MdeinGmoy : LEE vF1[1r1r1 [esc' Efl T ;F jj By pressing key "6" for "man" you can self-define the second bartack. The stitch density cannot be changed for this buttonhole style. Therefore, you should sew this buttonhole with a thicker thread or a gimp thread, if required (see section "Sewing buttonholes with gimp thread"). The stitch density of the second seam can be ad justed with the balance. Importantl Before you start the buttonhole, push the runner of buttonhole foot No. 5 A to the front up to the second red mark. a, 0 Keyhole buttonholes Important' The keyhole buttonhole should be 4 placed with the rounding facing the edge. The sewing of the buttonhole, however, starts at the i bartack. Mark the buttonhole length on the fabric first. Mark the buttonhole length from the start ; ing points to the inside. Always sew the buttonholes from the inside out wards to the edge. The keyhole buttonhole is automatically sewn between a length of 7 and 40 mm. • Select buttonhole No. 46-48. • Press the "o.k." key. • On the screen a preset buttonhole length of 22 mm appears. If required, you can overwrite this length using keys "1-O' IAI II a) -Q Ea, _Q) ocu 1a)
-
 1
1 -
2
-
3
-
4
-
5
-
6
-
7
-
8
-
9
-
10
-
11
-
12
-
13
-
14
-
15
-
16
-
17
-
18
-
19
-
20
-
21
-
22
-
23
-
24
-
25
-
26
-
27
-
28
-
29
-
30
-
31
-
32
-
33
-
34
-
35
-
36
-
37
-
38
-
39
-
40
-
41
-
42
-
43
-
44
-
45
-
46
-
47
-
48
-
49
-
50
-
51
-
52
-
53
-
54
-
55
-
56
-
57
-
58
-
59
-
60
-
61
-
62
-
63
-
64
-
65
-
66
-
67
-
68
-
69
-
70
-
71
-
72
-
73
-
74
-
75
-
76
-
77
-
78
-
79
-
80
-
81
-
82
-
83
-
84
-
85
-
86
-
87
-
88
-
89
-
90
-
91
-
92
-
93
-
94
-
95
-
96
-
97
-
98
-
99
-
100
-
101
-
102
-
103
-
104
-
105
-
106
-
107
-
108
-
109
-
110
-
111
-
112
-
113
-
114
-
115
-
116
-
117
-
118
-
119
-
120
-
121
-
122
-
123
-
124
-
125
-
126
-
127
-
128
-
129
-
130
-
131
-
132
-
133
-
134
-
 135
135 -
 136
136 -
 137
137 -
 138
138 -
 139
139 -
 140
140 -
 141
141 -
 142
142 -
 143
143 -
 144
144 -
 145
145 -
146
-
147
-
148
-
149
-
150
-
151
-
152
-
153
-
154
-
155
-
156
-
157
-
158
-
159
-
160
-
161
-
162
-
163
-
164
-
165
-
166
-
167
-
168
-
169
-
170
-
171
-
172
-
173
-
174
-
175
-
176
-
177
-
178
-
179
-
180
-
181
-
182
-
183
 |
 |