Ricoh Aficio MP 2500 Printer Reference - Page 31
Windows Vista - Accessing the Printer Properties, Control Panel, Start, Hardware and Sound, Print - pcl 6 drivers
 |
View all Ricoh Aficio MP 2500 manuals
Add to My Manuals
Save this manual to your list of manuals |
Page 31 highlights
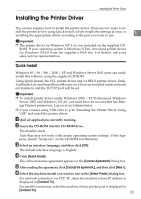
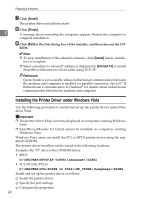
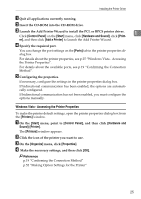
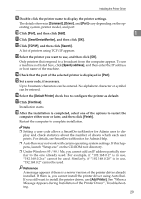
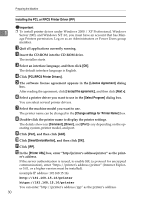
Installing the Printer Driver A Quit all applications currently running. B Insert the CD-ROM into the CD-ROM drive. C Launch the Add Printer Wizard to install the PCL or RPCS printer driver. 1 Click [Control Panel] on the [Start] menu, click [Hardware and Sound], click [Print- er], and then click [Add a Printer] to launch the Add Printer Wizard. D Specify the required port. You can change the port settings on the [Ports] tab in the printer properties dialog box. For details about the printer properties, see p.25 "Windows Vista - Accessing the Printer Properties". For details about the available ports, see p.19 "Confirming the Connection Method". E Configuring the properties. If necessary, configure the settings in the printer properties dialog box. If bidirectional communication has been enabled, the options are automatically configured. If bidirectional communication has not been enabled, you must configure the options manually. Windows Vista - Accessing the Printer Properties To make the printer default settings, open the printer properties dialog box from the [Printers] window. A On the [Start] menu, point to [Control Panel], and then click [Hardware and Sound]-[Printer]. The [Printers] window appears. B Click the icon of the printer you want to use. C On the [Organize] menu, click [Properties]. D Make the necessary settings, and then click [OK]. Reference p.19 "Confirming the Connection Method" p.52 "Making Option Settings for the Printer" 25
-
 1
1 -
2
-
3
-
4
-
5
-
6
-
7
-
8
-
9
-
10
-
11
-
12
-
13
-
14
-
15
-
16
-
17
-
18
-
19
-
20
-
21
-
22
-
23
-
24
-
25
-
 26
26 -
 27
27 -
 28
28 -
 29
29 -
 30
30 -
 31
31 -
 32
32 -
 33
33 -
 34
34 -
 35
35 -
 36
36 -
37
-
38
-
39
-
40
-
41
-
42
-
43
-
44
-
45
-
46
-
47
-
48
-
49
-
50
-
51
-
52
-
53
-
54
-
55
-
56
-
57
-
58
-
59
-
60
-
61
-
62
-
63
-
64
-
65
-
66
-
67
-
68
-
69
-
70
-
71
-
72
-
73
-
74
-
75
-
76
-
77
-
78
-
79
-
80
-
81
-
82
-
83
-
84
-
85
-
86
-
87
-
88
-
89
-
90
-
91
-
92
-
93
-
94
-
95
-
96
-
97
-
98
-
99
-
100
-
101
-
102
-
103
-
104
-
105
-
106
 |
 |