Samsung SCH a950 User Manual (ENGLISH) - Page 136
PIX Gallery, Resolution, White Balance, Color Effects, Metering, Settings, Camcorder, Erase - camera review
 |
UPC - 842740015575
View all Samsung SCH a950 manuals
Add to My Manuals
Save this manual to your list of manuals |
Page 136 highlights
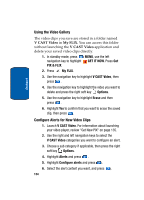
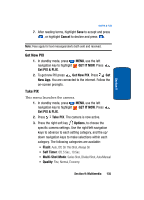
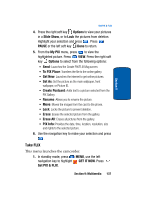
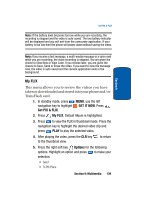
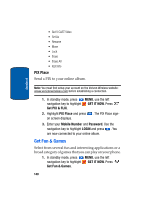
Section 9 • Resolution: (1280X960), (640X480), (320X240), (160X120) and Picture ID Note: Resolution must be set to Picture ID or a size smaller than 320x240 to attach a picture to a Contact in the phone. • White Balance: Auto, Sunny, Cloudy, Tungsten, Fluorescent, and Manual • ISO: Auto, ISO 100, ISO 200, ISO 400 • Color Effects: Normal, Black & White, Antique, Solarize, Posterize, Negative • Metering: Average, Center, Spot • Settings: Memory (store PIX to phone or TransFlash card), Auto Save, Icon Display, Ready Sound, Shutter Sound • Camcorder: Switches from Camera to Camcorder 4. Press and hold TAKE to capture a picture. Press the right soft key Erase to delete it or press the left soft key Save. The picture is now saved to the Gallery. 5. To exit the camera, press the key. PIX Gallery 1. In standby mode, press MENU, use the left navigation key to highlight GET IT NOW. Press Get PIX & FLIX. 2. Press Take PIX. The camera is now active. 3. Press the left soft key My PIX to review the albums. The My PIX menu displays with Default Album highlighted. 136
-
 1
1 -
2
-
3
-
4
-
5
-
6
-
7
-
8
-
9
-
10
-
11
-
12
-
13
-
14
-
15
-
16
-
17
-
18
-
19
-
20
-
21
-
22
-
23
-
24
-
25
-
26
-
27
-
28
-
29
-
30
-
31
-
32
-
33
-
34
-
35
-
36
-
37
-
38
-
39
-
40
-
41
-
42
-
43
-
44
-
45
-
46
-
47
-
48
-
49
-
50
-
51
-
52
-
53
-
54
-
55
-
56
-
57
-
58
-
59
-
60
-
61
-
62
-
63
-
64
-
65
-
66
-
67
-
68
-
69
-
70
-
71
-
72
-
73
-
74
-
75
-
76
-
77
-
78
-
79
-
80
-
81
-
82
-
83
-
84
-
85
-
86
-
87
-
88
-
89
-
90
-
91
-
92
-
93
-
94
-
95
-
96
-
97
-
98
-
99
-
100
-
101
-
102
-
103
-
104
-
105
-
106
-
107
-
108
-
109
-
110
-
111
-
112
-
113
-
114
-
115
-
116
-
117
-
118
-
119
-
120
-
121
-
122
-
123
-
124
-
125
-
126
-
127
-
128
-
129
-
130
-
 131
131 -
 132
132 -
 133
133 -
 134
134 -
 135
135 -
 136
136 -
 137
137 -
 138
138 -
 139
139 -
 140
140 -
 141
141 -
142
-
143
-
144
-
145
-
146
-
147
-
148
-
149
-
150
-
151
-
152
-
153
-
154
-
155
-
156
-
157
-
158
-
159
-
160
-
161
-
162
-
163
-
164
-
165
-
166
-
167
-
168
-
169
-
170
-
171
-
172
-
173
-
174
-
175
-
176
-
177
-
178
-
179
-
180
-
181
-
182
-
183
-
184
-
185
-
186
-
187
-
188
-
189
-
190
-
191
-
192
-
193
-
194
-
195
-
196
-
197
-
198
-
199
-
200
 |
 |