Sharp XE A302 XE-A302 Operation Manual in English and Spanish - Page 73
Removing a Paper Jam, 6. Cleaning the Printer (Print Head / Sensor / Roller)
 |
UPC - 074000048294
View all Sharp XE A302 manuals
Add to My Manuals
Save this manual to your list of manuals |
Page 73 highlights
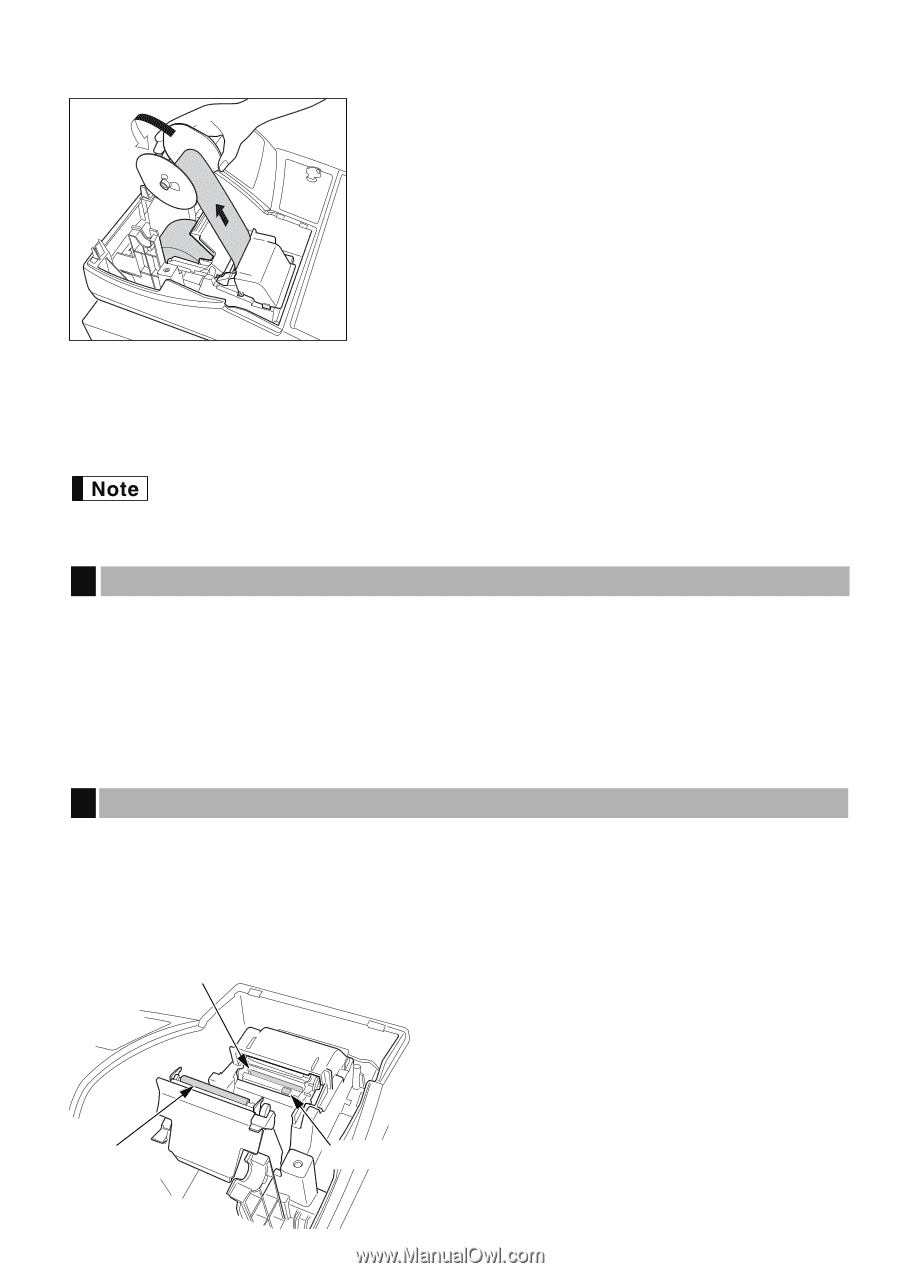
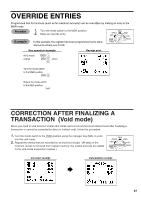
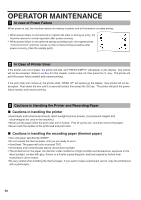
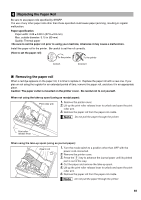
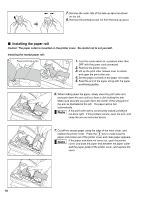
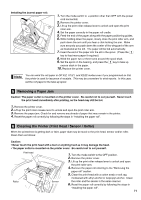
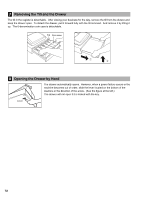
Installing the journal paper roll: 1. Turn the mode switch to a position other than OFF with the power cord connected. 2. Remove the printer cover. 3. Lift up the print roller release lever to unlock and open the print roller arm. 4. Set the paper correctly in the paper roll cradle. 5. Feed the end of the paper along with the paper positioning guides. 6. While holding down the paper, slowly close the print roller arm, and push down the arm until you hear a click locking the arm. Make sure securely you push down the center of the wing part of the arm as illustrated at the left. The paper will be fed automatically. F 7. Insert the end of the paper into the slit in the spool. (Press the key to feed more paper if required.) 8. Wind the paper two or three turns around the spool shaft. F 9. Set the spool on the bearing, and press the key to take up excess slack in the paper. 10. Replace the printer cover. You can wind the roll paper in OP X/Z, X1/Z1, and X2/Z2 modes even if you programmed so that the printer is used for issuance of receipts. This may be convenient to wind reports. In this case, set the roll paper to the take-up spool. 5 Removing a Paper Jam Caution: The paper cutter is mounted on the printer cover. Be careful not to cut yourself. Never touch the print head immediately after printing, as the head may still be hot. 1. Remove the printer cover. 2. Lift up the print roller release lever to unlock and open the print roller arm. 3. Remove the paper jam. Check for and remove any shreds of paper that may remain in the printer. 4. Reset the paper roll correctly by following the steps in "Installing the paper roll". 6 Cleaning the Printer (Print Head / Sensor / Roller) When the printed text is getting dark or faint, paper dust may be stuck to the print head, sensor and/or roller. Clean them as follows: Caution: • Never touch the print head with a tool or anything hard as it may damage the head. • The paper cutter is mounted on the printer cover. Be careful not to cut yourself. Print head Roller Sensor 1. Turn the mode switch to the OFF position. 2. Remove the printer cover. 3. Lift up the print roller release lever to unlock and open the print roller arm. 4. Remove the paper roll referring to the "Removing the paper roll" section. 5. Clean the print head with a cotton swab or soft rag moistened with ethyl alcohol or isopropyl alcohol. Clean the roller and the sensor in the same manner. 6. Reset the paper roll correctly by following the steps in "Installing the paper roll". 71
-
 1
1 -
2
-
3
-
4
-
5
-
6
-
7
-
8
-
9
-
10
-
11
-
12
-
13
-
14
-
15
-
16
-
17
-
18
-
19
-
20
-
21
-
22
-
23
-
24
-
25
-
26
-
27
-
28
-
29
-
30
-
31
-
32
-
33
-
34
-
35
-
36
-
37
-
38
-
39
-
40
-
41
-
42
-
43
-
44
-
45
-
46
-
47
-
48
-
49
-
50
-
51
-
52
-
53
-
54
-
55
-
56
-
57
-
58
-
59
-
60
-
61
-
62
-
63
-
64
-
65
-
66
-
67
-
 68
68 -
 69
69 -
 70
70 -
 71
71 -
 72
72 -
 73
73 -
 74
74 -
 75
75 -
 76
76 -
 77
77 -
 78
78 -
79
-
80
-
81
-
82
-
83
-
84
-
85
-
86
-
87
-
88
-
89
-
90
-
91
-
92
-
93
-
94
-
95
-
96
-
97
-
98
-
99
-
100
-
101
-
102
-
103
-
104
-
105
-
106
-
107
-
108
-
109
-
110
-
111
-
112
-
113
-
114
-
115
-
116
-
117
-
118
-
119
-
120
-
121
-
122
-
123
-
124
 |
 |