Sony CCD-TRV138 Camera Operations Guide - Page 17
Step 5: Setting the date and time - usb
 |
UPC - 027242666597
View all Sony CCD-TRV138 manuals
Add to My Manuals
Save this manual to your list of manuals |
Page 17 highlights
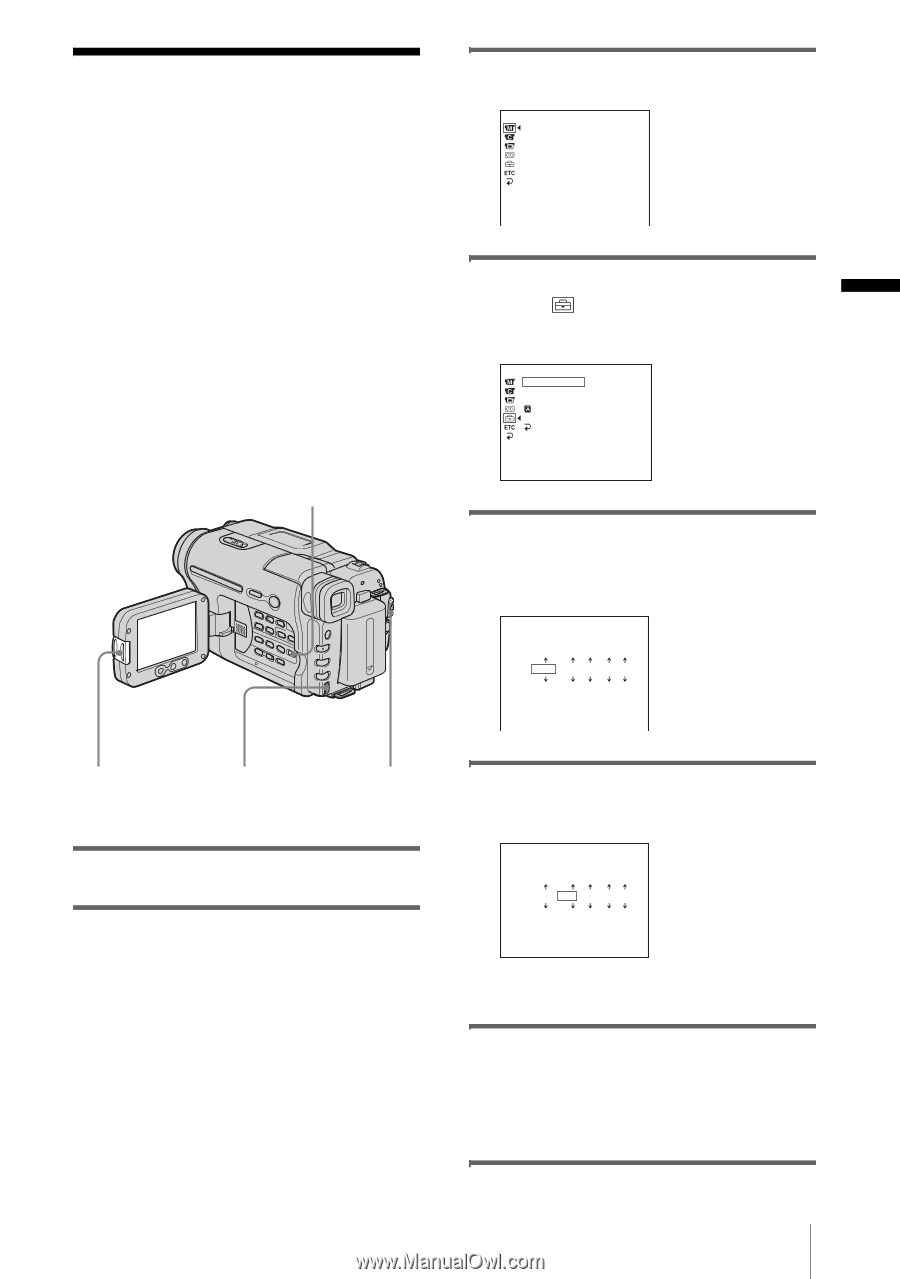
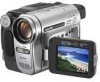
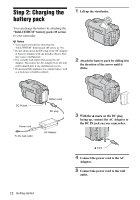
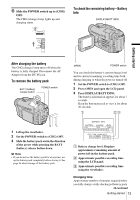
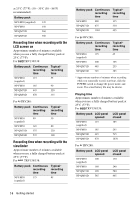
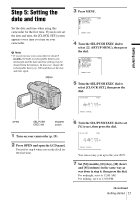
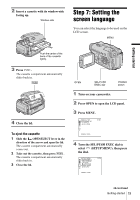
Getting started Step 5: Setting the date and time Set the date and time when using this camcorder for the first time. If you do not set the date and time, the [CLOCK SET] screen appears every time you turn on your camcorder. b Note • If you do not use your camcorder for about 3 months, the built-in rechargeable battery gets discharged and the date and time settings may be cleared from the memory. In that case, charge the rechargeable battery (p. 100) and then set the date and time again. MENU 3 Press MENU. MANUAL SET PROGRAM AE P EFFECT AUTO SHTR STBY [MENU] : END 4 Turn the SEL/PUSH EXEC dial to select (SETUP MENU), then press the dial. SETUP MENU CLOCK SET USB STREAM LTR SIZE LANGUAGE DEMO MODE RETURN STBY --:--:-- [MENU] : END 5 Turn the SEL/PUSH EXEC dial to select [CLOCK SET], then press the dial. CLOCK SET STBY Y MD HM 2005 JAN 1 12 : 0 0 AM [MENU] : CANCEL OPEN SEL/PUSH EXEC dial POWER switch 1 Turn on your camcorder (p. 15). 2 Press OPEN and open the LCD panel. Proceed to step 6 when you set the clock for the first time. 6 Turn the SEL/PUSH EXEC dial to set [Y] (year), then press the dial. CLOCK SET STBY Y MD HM 2005 JAN 1 12 : 0 0 AM [MENU] : CANCEL You can set any year up to the year 2079. 7 Set [M] (month), [D] (day), [H] (hour) and [M] (minute) in the same way as was done in step 6, then press the dial. For midnight, set it to 12:00 AM. For midday, set it to 12:00 PM. ,continued Getting started 17
-
 1
1 -
2
-
3
-
4
-
5
-
6
-
7
-
8
-
9
-
10
-
11
-
 12
12 -
 13
13 -
 14
14 -
 15
15 -
 16
16 -
 17
17 -
 18
18 -
 19
19 -
 20
20 -
 21
21 -
 22
22 -
23
-
24
-
25
-
26
-
27
-
28
-
29
-
30
-
31
-
32
-
33
-
34
-
35
-
36
-
37
-
38
-
39
-
40
-
41
-
42
-
43
-
44
-
45
-
46
-
47
-
48
-
49
-
50
-
51
-
52
-
53
-
54
-
55
-
56
-
57
-
58
-
59
-
60
-
61
-
62
-
63
-
64
-
65
-
66
-
67
-
68
-
69
-
70
-
71
-
72
-
73
-
74
-
75
-
76
-
77
-
78
-
79
-
80
-
81
-
82
-
83
-
84
-
85
-
86
-
87
-
88
-
89
-
90
-
91
-
92
-
93
-
94
-
95
-
96
-
97
-
98
-
99
-
100
-
101
-
102
-
103
-
104
-
105
-
106
-
107
-
108
-
109
-
110
-
111
-
112
 |
 |