2006 BMW M5 Owner's Manual - Page 192
2006 BMW M5 Manual
Page 192 highlights
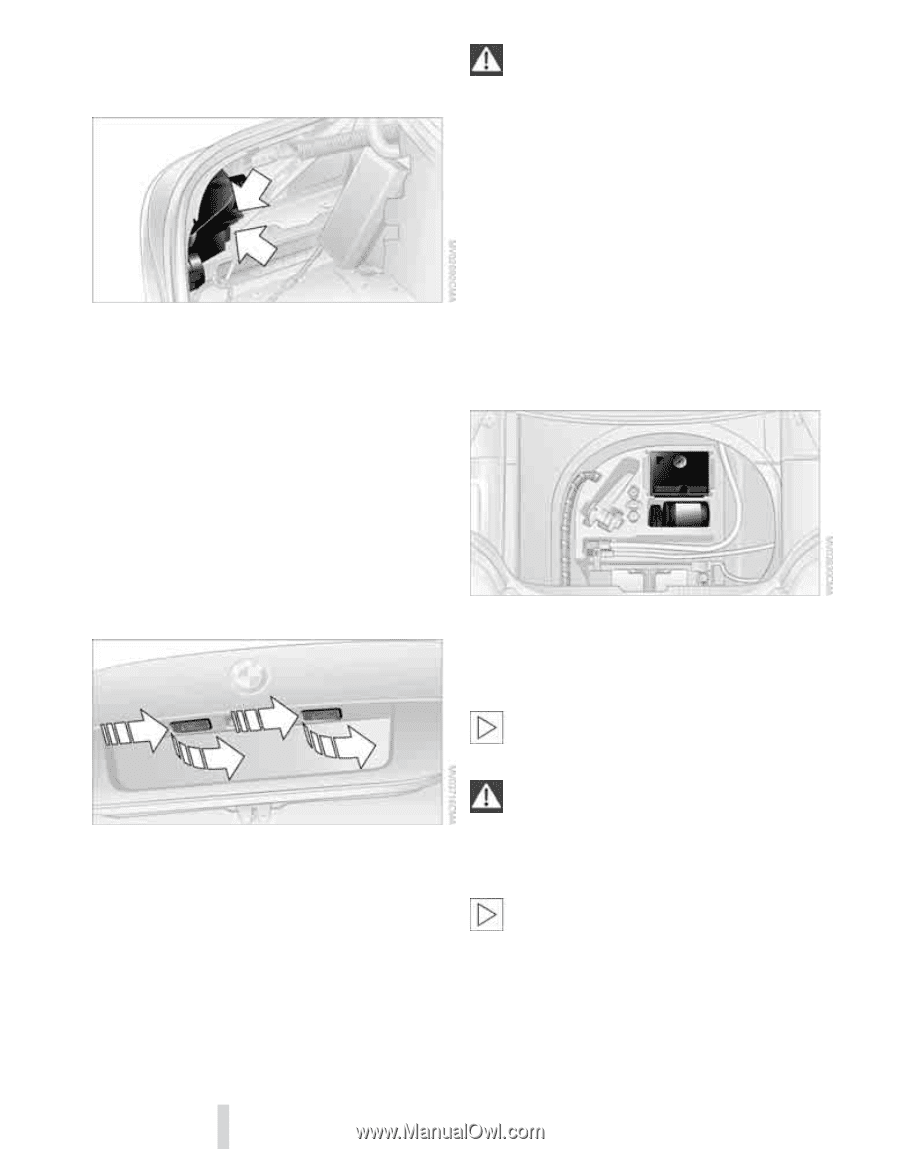
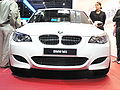
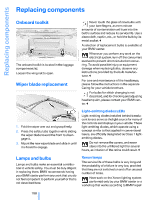
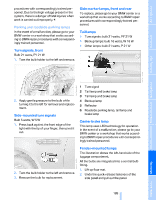
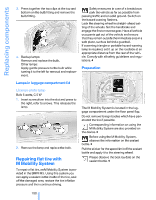
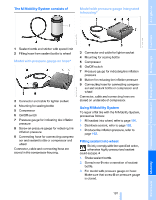
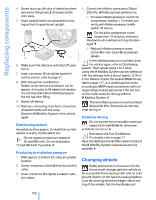
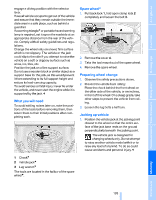
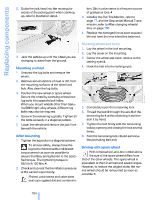
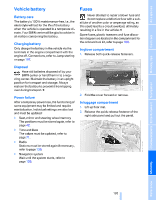
Replacing components 3. Press together the two clips at the top and bottom on the bulb fitting and remove the bulb fitting. 4. Backup lamps: Remove and replace the bulb. Other lamps: Apply gentle pressure to the bulb while turning it to the left for removal and replacement. Safety measures in case of a breakdown: park the vehicle as far as possible from passing traffic and on solid ground. Switch on the hazard warning flashers. Lock the steering wheel in straight-ahead setting of the wheels. Set the handbrake and engage the first or reverse gear. Have all vehicle occupants get out of the vehicle and ensure that they remain outside the immediate area in a safe place, such as behind a guardrail. If a warning triangle or portable hazard warning lamp is required, set it up on the roadside at an appropriate distance from the rear of the vehicle. Comply with all safety guidelines and regulations.< Preparation Lamps in luggage compartment lid License plate lamp Bulb 5 watts, C 5 W 1. Insert screwdriver into the slot and press to the right, refer to arrows. This releases the lamp. The M Mobility System is located in the luggage compartment under the floor panel flap. Do not remove foreign bodies which have penetrated the tire if possible. Corresponding information on using the M Mobility System are also provided on the device.< Before using the M Mobility System, observe the information on the sealant bottle.< 2. Remove the lamp and replace the bulb. Pull the sticker for the speed limit off the sealant bottle and apply it to the steering wheel. Please observe the best-by date on the sealant bottle.< Repairing flat tire with M Mobility System To repair a flat tire, an M Mobility System is provided in the BMW M5. Using this system you can apply a sealant in the inside of the tire, seal off the damaged area, restore the tire inflation pressure and then continue driving. 190 Online Edition for Part No. 01 41 0 012 213 - © 02/06 BMW AG
-
 1
1 -
2
-
3
-
4
-
5
-
6
-
7
-
8
-
9
-
10
-
11
-
12
-
13
-
14
-
15
-
16
-
17
-
18
-
19
-
20
-
21
-
22
-
23
-
24
-
25
-
26
-
27
-
28
-
29
-
30
-
31
-
32
-
33
-
34
-
35
-
36
-
37
-
38
-
39
-
40
-
41
-
42
-
43
-
44
-
45
-
46
-
47
-
48
-
49
-
50
-
51
-
52
-
53
-
54
-
55
-
56
-
57
-
58
-
59
-
60
-
61
-
62
-
63
-
64
-
65
-
66
-
67
-
68
-
69
-
70
-
71
-
72
-
73
-
74
-
75
-
76
-
77
-
78
-
79
-
80
-
81
-
82
-
83
-
84
-
85
-
86
-
87
-
88
-
89
-
90
-
91
-
92
-
93
-
94
-
95
-
96
-
97
-
98
-
99
-
100
-
101
-
102
-
103
-
104
-
105
-
106
-
107
-
108
-
109
-
110
-
111
-
112
-
113
-
114
-
115
-
116
-
117
-
118
-
119
-
120
-
121
-
122
-
123
-
124
-
125
-
126
-
127
-
128
-
129
-
130
-
131
-
132
-
133
-
134
-
135
-
136
-
137
-
138
-
139
-
140
-
141
-
142
-
143
-
144
-
145
-
146
-
147
-
148
-
149
-
150
-
151
-
152
-
153
-
154
-
155
-
156
-
157
-
158
-
159
-
160
-
161
-
162
-
163
-
164
-
165
-
166
-
167
-
168
-
169
-
170
-
171
-
172
-
173
-
174
-
175
-
176
-
177
-
178
-
179
-
180
-
181
-
182
-
183
-
184
-
185
-
186
-
 187
187 -
 188
188 -
 189
189 -
 190
190 -
 191
191 -
 192
192 -
 193
193 -
 194
194 -
 195
195 -
 196
196 -
 197
197 -
198
-
199
-
200
-
201
-
202
-
203
-
204
-
205
-
206
-
207
-
208
-
209
-
210
-
211
-
212
-
213
-
214
-
215
-
216
-
217
-
218
-
219
-
220
-
221
-
222
-
223
-
224
-
225
-
226
-
227
-
228
-
229
-
230
-
231
 |
 |