2006 BMW M5 Owner's Manual - Page 195
2006 BMW M5 Manual

Page 195 highlights
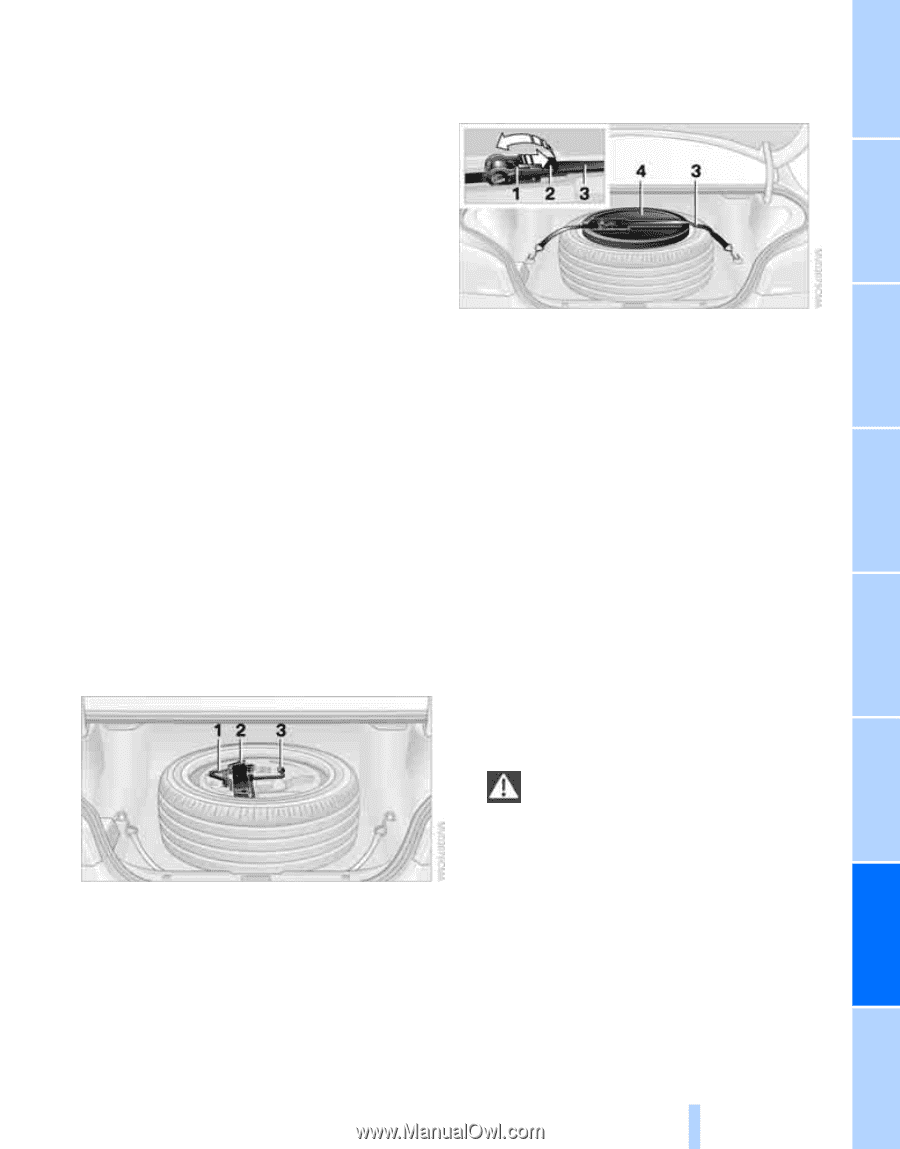
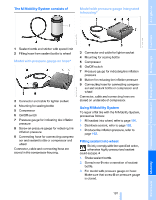
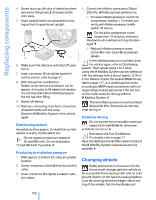
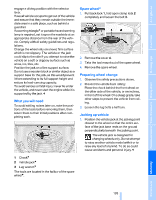
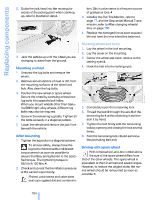
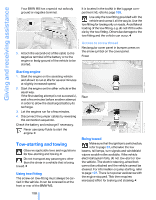
To avoid rattling noises later on, note the positions of the tools before removing them, then return them to their initial positions after completing work. 3. Loosen the lug bolts a half turn. Jacking up vehicle 1. Position the vehicle jack at the jacking point closest to the wheel so that the entire surface of the jack base rests on the ground perpendicularly beneath the jacking point. The vehicle jack is designed for changing wheels only. Do not attempt to raise another vehicle model with it or to raise any load of any kind. To do so could cause accidents and personal injury.< 1 2 3 Chock* Lug wrench* Mobility 193 Online Edition for Part No. 01 41 0 012 213 - © 02/06 BMW AG Vehicle jack* The tools are located in the hollow of the spare wheel*. Reference Communications Entertainment What you will need 2. Prevent the vehicle from rolling: Place the chock behind the front wheel on the other side of the vehicle, or on inclines, in front of this wheel. On a steep grade, take other steps to prevent the vehicle from rolling. Navigation engage a driving position with the selector lever. Have all vehicle occupants get out of the vehicle and ensure that they remain outside the immediate area in a safe place, such as behind a guardrail. If a warning triangle* or portable hazard warning lamp is required, set it up on the roadside at an appropriate distance from the rear of the vehicle. Comply with all safety guidelines and regulations. Change the wheel only on a level, firm surface which is not slippery. The vehicle or the jack could slip to the side if you attempt to raise the vehicle on a soft or slippery surface such as snow, ice, tiles, etc. Position the jack on a firm support surface. Do not use a wooden block or similar object as a support base for the jack, as this would prevent it from extending to its full support height and reduce its load-carrying capacity. To avoid serious or fatal injury: never lie under the vehicle, and never start the engine while it is supported by the jack.< Spare wheel* 1. Pull back lock 1, fold open clamp lock 2 completely and loosen the belt 3. 2. Remove the cover 4. 3. Take the tool mount out of the spare wheel. 4. Remove the spare wheel. Preparing wheel change 1. Observe the safety precautions above. Driving tips Controls At a glance
-
 1
1 -
2
-
3
-
4
-
5
-
6
-
7
-
8
-
9
-
10
-
11
-
12
-
13
-
14
-
15
-
16
-
17
-
18
-
19
-
20
-
21
-
22
-
23
-
24
-
25
-
26
-
27
-
28
-
29
-
30
-
31
-
32
-
33
-
34
-
35
-
36
-
37
-
38
-
39
-
40
-
41
-
42
-
43
-
44
-
45
-
46
-
47
-
48
-
49
-
50
-
51
-
52
-
53
-
54
-
55
-
56
-
57
-
58
-
59
-
60
-
61
-
62
-
63
-
64
-
65
-
66
-
67
-
68
-
69
-
70
-
71
-
72
-
73
-
74
-
75
-
76
-
77
-
78
-
79
-
80
-
81
-
82
-
83
-
84
-
85
-
86
-
87
-
88
-
89
-
90
-
91
-
92
-
93
-
94
-
95
-
96
-
97
-
98
-
99
-
100
-
101
-
102
-
103
-
104
-
105
-
106
-
107
-
108
-
109
-
110
-
111
-
112
-
113
-
114
-
115
-
116
-
117
-
118
-
119
-
120
-
121
-
122
-
123
-
124
-
125
-
126
-
127
-
128
-
129
-
130
-
131
-
132
-
133
-
134
-
135
-
136
-
137
-
138
-
139
-
140
-
141
-
142
-
143
-
144
-
145
-
146
-
147
-
148
-
149
-
150
-
151
-
152
-
153
-
154
-
155
-
156
-
157
-
158
-
159
-
160
-
161
-
162
-
163
-
164
-
165
-
166
-
167
-
168
-
169
-
170
-
171
-
172
-
173
-
174
-
175
-
176
-
177
-
178
-
179
-
180
-
181
-
182
-
183
-
184
-
185
-
186
-
187
-
188
-
189
-
 190
190 -
 191
191 -
 192
192 -
 193
193 -
 194
194 -
 195
195 -
 196
196 -
 197
197 -
 198
198 -
 199
199 -
 200
200 -
201
-
202
-
203
-
204
-
205
-
206
-
207
-
208
-
209
-
210
-
211
-
212
-
213
-
214
-
215
-
216
-
217
-
218
-
219
-
220
-
221
-
222
-
223
-
224
-
225
-
226
-
227
-
228
-
229
-
230
-
231
 |
 |