Alpine PXA-H800 Owners Manual - Page 46
Setting, Standalone
 |
View all Alpine PXA-H800 manuals
Add to My Manuals
Save this manual to your list of manuals |
Page 46 highlights
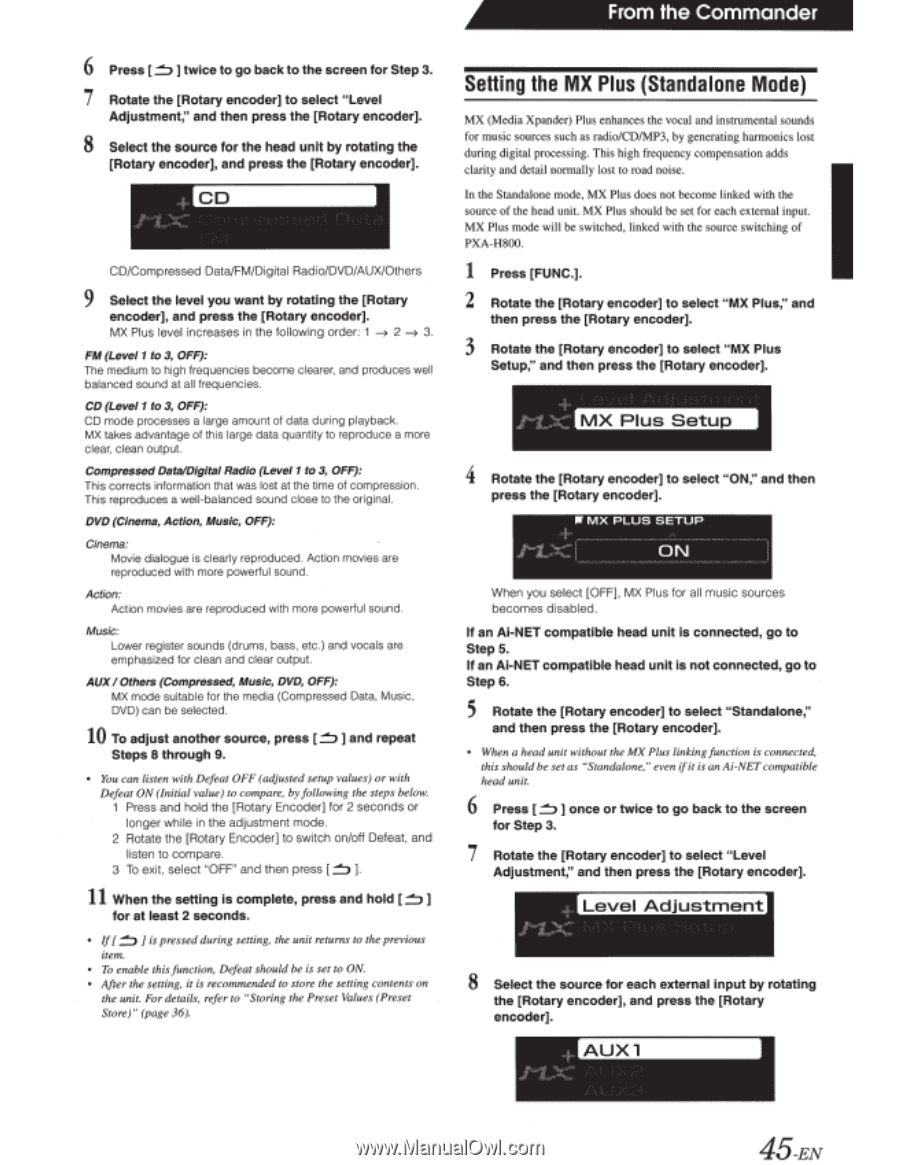
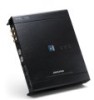
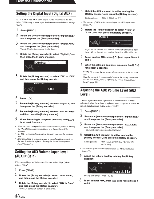
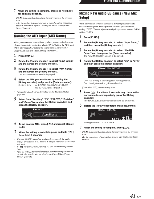
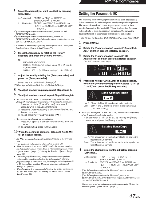
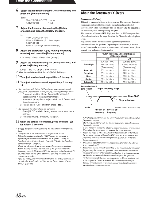
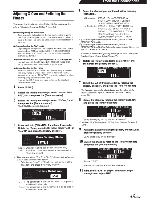
From the Commander 6 Press [ ~ ] twice to go back to the screen for Step 3. 7 Rotate the [Rotary encoder] to select "Level Adjustment," and then press the [Rotary encoder]. 8 Select the source for the head unit by rotating the [Rotary encoder], and press the [Rotary encoder]. ,, ,l''"'l, ~I', I CO/Compressed Data/FM/Digital Radio/DVD/AUX/Others 9 Select the level you want by rotating the [Rotary encoder], and press the [Rotary encoder]. MX Plus level increases in the following order: 1 ~ 2 ~ 3. FM (Level1 to 3, OFF): The medium to high frequencies become clearer, and produces well balanced sound at all frequencies. CD (Level1 to 3, OFF): CD mode processes a large amount of data during playback. MX takes advantage of this large data quantity to reproduce a more clear, clean output. Compressed Data/Digital Radio (Level 1 to 3, OFF): This corrects information that was lost at the time of compression. This reproduces a well-balanced sound close to the original. DVD (Cinema, Action, Music, OFF): Cinema: Movie dialogue is clearly reproduced. Action movies are reproduced with more powerful sound. Action: Action movies are reproduced with more powerful sound. Music: Lower register sounds (drums, bass, etc.) and vocals are emphasized for clean and clear output. AUX I Others (Compressed, Music, DVD, OFF): MX mode suitable for the media (Compressed Data, Music, DVD) can be selected. 10 To adjust another source, press[~] and repeat Steps 8 through 9. • You can listen with Defeat OFF (adjusted setup values) or with Defeat ON (Initial value) to compare, by following the steps below. 1 Press and hold the [Rotary Encoder] for 2 seconds or longer while in the adjustment mode. 2 Rotate the [Rotary Encoder] to switch on/off Defeat, and listen to compare. 3 To exit, select "OFF" and then press [ ~ ] 11 When the setting is complete, press and hold [ ~] for at least 2 seconds. • If [ ~ ] is pressed during setting, the unit returns to the previous item. • To enable this function, Defeat should be is set to ON. • After the setting, it is recommended to store the setting contents on the unit. For details, refer to "Storing the Preset Values (Preset Store)" (page 36). Setting the MX Plus (Standalone Mode) MX (Media Xpander) Plus enhances the vocal and instrumental sounds for music sources such as radio/CD/MP3, by generating harmonics lost during digital processing. This high frequency compensation adds clarity and detail normally lost to road noise. In the Standalone mode, MX Plus does not become linked with the source of the head unit. MX Plus should be set for each external input. MX Plus mode will be switched, linked with the source switching of PXA-H800. 1 Press [FUNC.]. 2 Rotate the [Rotary encoder] to select "MX Plus," and then press the [Rotary encoder]. 3 Rotate the [Rotary encoder] to select "MX Plus Setup," and then press the [Rotary encoder]. + -·'lf iV ¥)7' ~--~-- 4 Rotate the [Rotary encoder] to select "ON," and then press the [Rotary encoder]. IIJ MX PLUS SETUP .g,, A ,~~ ;t -~- --~ 0~- . --- . - When you select [OFF], MX Plus for all music sources becomes disabled. If an Ai-NET compatible head unit is connected, go to Step 5. If an Ai-NET compatible head unit is not connected, go to Step 6. 5 Rotate the [Rotary encoder] to select "Standalone," and then press the [Rotary encoder]. • When a head unit without the MX Plus linking function is connected, this should be set as "Standalone," even if it is an Ai-NET compatible head unit. 6 Press [ ~ ] once or twice to go back to the screen for Step 3. 7 Rotate the [Rotary encoder] to select "Level Adjustment," and then press the [Rotary encoder]. - }~- f _':,x_fQ 8 Select the source for each external input by rotating the [Rotary encoder], and press the [Rotary encoder]. 45-EN
-
 1
1 -
2
-
3
-
4
-
5
-
6
-
7
-
8
-
9
-
10
-
11
-
12
-
13
-
14
-
15
-
16
-
17
-
18
-
19
-
20
-
21
-
22
-
23
-
24
-
25
-
26
-
27
-
28
-
29
-
30
-
31
-
32
-
33
-
34
-
35
-
36
-
37
-
38
-
39
-
40
-
 41
41 -
 42
42 -
 43
43 -
 44
44 -
 45
45 -
 46
46 -
 47
47 -
 48
48 -
 49
49 -
 50
50 -
 51
51 -
52
-
53
-
54
-
55
-
56
-
57
-
58
-
59
-
60
-
61
-
62
-
63
-
64
-
65
-
66
-
67
-
68
-
69
-
70
-
71
-
72
-
73
-
74
-
75
-
76
-
77
-
78
-
79
-
80
-
81
-
82
-
83
-
84
-
85
-
86
-
87
-
88
-
89
-
90
-
91
-
92
-
93
-
94
-
95
-
96
-
97
-
98
 |
 |