Canon Color imageCLASS MF9170c imageCLASS MF9170c/MF9150c/MF8450c Starter Guid - Page 19
Scroll Wheel to select, <Yes> or <No> for setting the default paper
 |
View all Canon Color imageCLASS MF9170c manuals
Add to My Manuals
Save this manual to your list of manuals |
Page 19 highlights
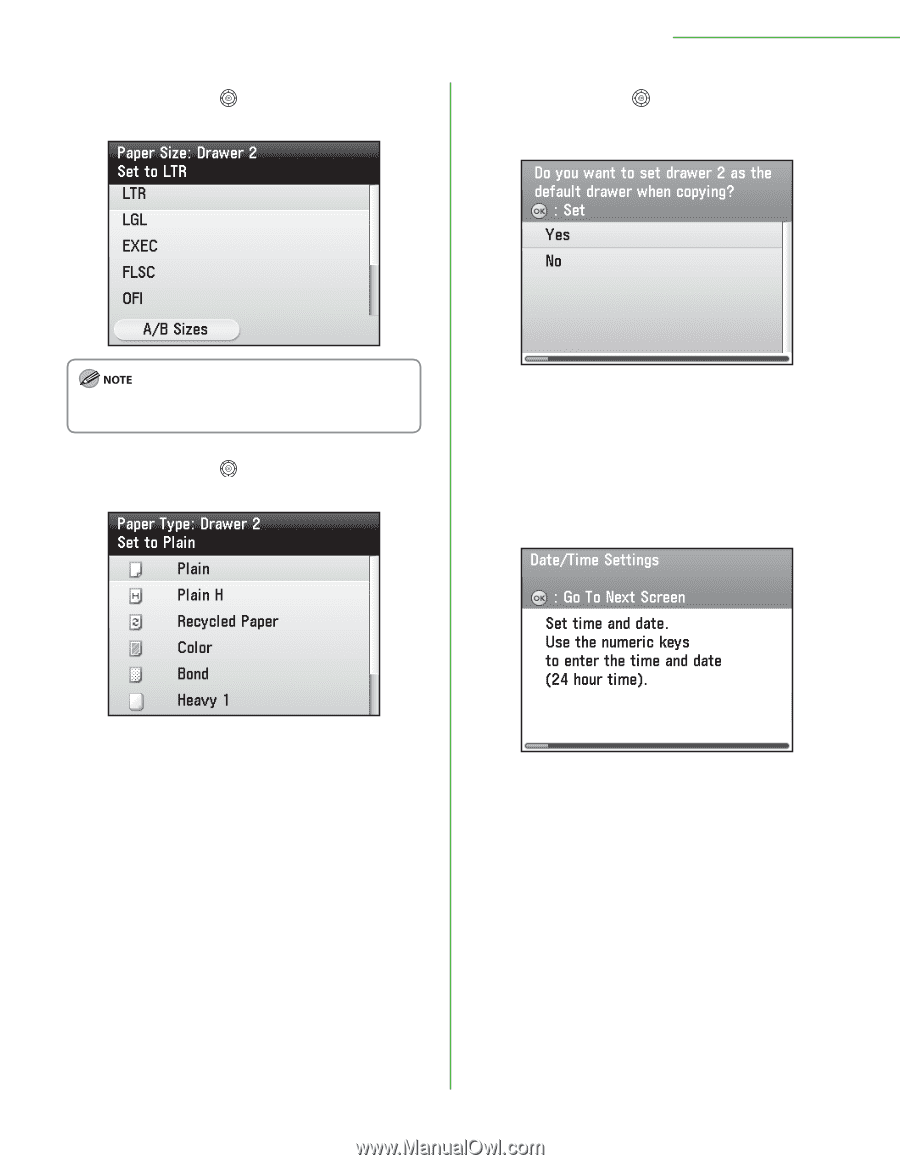
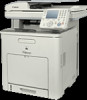
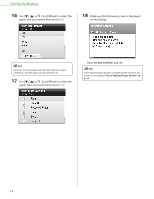
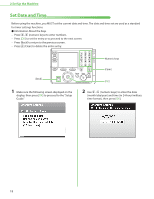
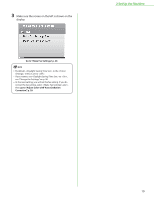
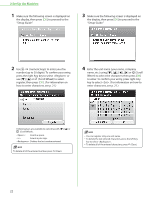
15 Use or (Scroll Wheel) to select the paper size you loaded, then press [OK]. 2 Set Up the Machine 17 Use or (Scroll Wheel) to select or for setting the default paper drawer, then press [OK]. If you use inch size paper, press the left Any key to select and the paper size you want to use. 16 Use or (Scroll Wheel) to select the paper type you loaded, then press [OK]. When you install paper drawer 2 (optional paper drawer) that is usually used for copying, select . If you selected , the default paper drawer (Standard mode of copy) will be the paper drawer 1 (paper drawer). (For details on the standard mode of copy, see "Copy," in the e-Manual.) 18 Make sure the following screen is displayed on the display. Go to "Set Date and Time," on p. 18. 17
-
 1
1 -
2
-
3
-
4
-
5
-
6
-
7
-
8
-
9
-
10
-
11
-
12
-
13
-
 14
14 -
 15
15 -
 16
16 -
 17
17 -
 18
18 -
 19
19 -
 20
20 -
 21
21 -
 22
22 -
 23
23 -
 24
24 -
25
-
26
-
27
-
28
-
29
-
30
-
31
-
32
-
33
-
34
-
35
-
36
-
37
-
38
-
39
-
40
-
41
-
42
-
43
-
44
-
45
-
46
-
47
-
48
-
49
-
50
-
51
-
52
-
53
-
54
-
55
-
56
-
57
-
58
-
59
-
60
 |
 |