Canon FS300 FS30/FS31/FS300 Instruction Manual - Page 73
Authoring DVD Discs and Photo DVDs
 |
View all Canon FS300 manuals
Add to My Manuals
Save this manual to your list of manuals |
Page 73 highlights
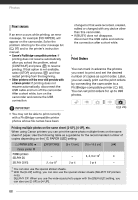
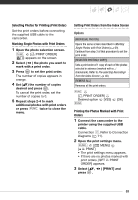
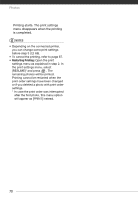
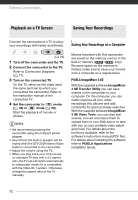
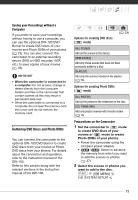
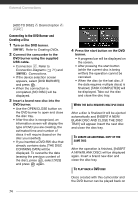
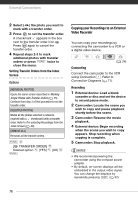
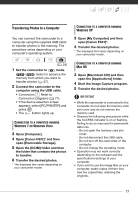
Saving your Recordings without a Computer If you prefer to save your recordings without having to use a computer, you can use the optional DW-100 DVD Burner to create DVD discs of your movies and Photo DVDs of your photos ( 73). You can also connect the camcorder to an external recording device (DVD or HDD recorder, VCR, etc.) to save copies of your movies ( 76). IMPORTANT • When the camcorder is connected to a computer: Do not access, change or delete directly from the computer folders and files in the camcorder that contain scenes as this may result in permanent data loss. • While the camcorder is connected to a computer, do not open the memory card slot cover and do not remove the memory card. Authoring DVD Discs and Photo DVDs You can connect the camcorder to the optional DW-100 DVD Burner to create DVD discs from your movies or Photo DVD discs from your photos. For details about the connection and operation, refer to the instruction manual of the DW-100. Refer to this section along with the relevant sections in the instruction manual of the DW-100. Options for creating DVD discs ( mode) ( 24) [ALL SCENES] Add all the scenes to the disc(s). [REM.SCENES] Add only those scenes that have not been previously added to a disc. [PLAYLIST] Add only the scenes included in the playlist ( 53). Options for creating Photo DVDs ( mode) [ALL PHOTOS] Add all the photos to the slideshow on the disc. [ TRANS.ORD] Add only photos marked with transfer orders ( 75). Preparations on the Camcorder 1 Set the camcorder to mode to create DVD discs of your movies or mode to create Photo DVDs of your photos. • Power the camcorder using the compact power adapter. • / Select in advance the memory from which you want to add the scenes or photos ( 37). 2 Select the scenes or photos you want to add to the disc. FUNC. [ MENU] [ SYSTEM SETUP] 73
-
 1
1 -
2
-
3
-
4
-
5
-
6
-
7
-
8
-
9
-
10
-
11
-
12
-
13
-
14
-
15
-
16
-
17
-
18
-
19
-
20
-
21
-
22
-
23
-
24
-
25
-
26
-
27
-
28
-
29
-
30
-
31
-
32
-
33
-
34
-
35
-
36
-
37
-
38
-
39
-
40
-
41
-
42
-
43
-
44
-
45
-
46
-
47
-
48
-
49
-
50
-
51
-
52
-
53
-
54
-
55
-
56
-
57
-
58
-
59
-
60
-
61
-
62
-
63
-
64
-
65
-
66
-
67
-
 68
68 -
 69
69 -
 70
70 -
 71
71 -
 72
72 -
 73
73 -
 74
74 -
 75
75 -
 76
76 -
 77
77 -
 78
78 -
79
-
80
-
81
-
82
-
83
-
84
-
85
-
86
-
87
-
88
-
89
-
90
-
91
-
92
-
93
-
94
-
95
-
96
-
97
-
98
-
99
-
100
-
101
-
102
-
103
-
104
-
105
-
106
-
107
-
108
-
109
-
110
-
111
-
112
-
113
-
114
-
115
-
116
 |
 |
