Epson 755c Product Information Guide - Page 11
Disabling the Projector’s Buttons, Presenting Over a Wireless Network, Starting EasyMP - powerlite ad hoc
 |
UPC - 010343855366
View all Epson 755c manuals
Add to My Manuals
Save this manual to your list of manuals |
Page 11 highlights
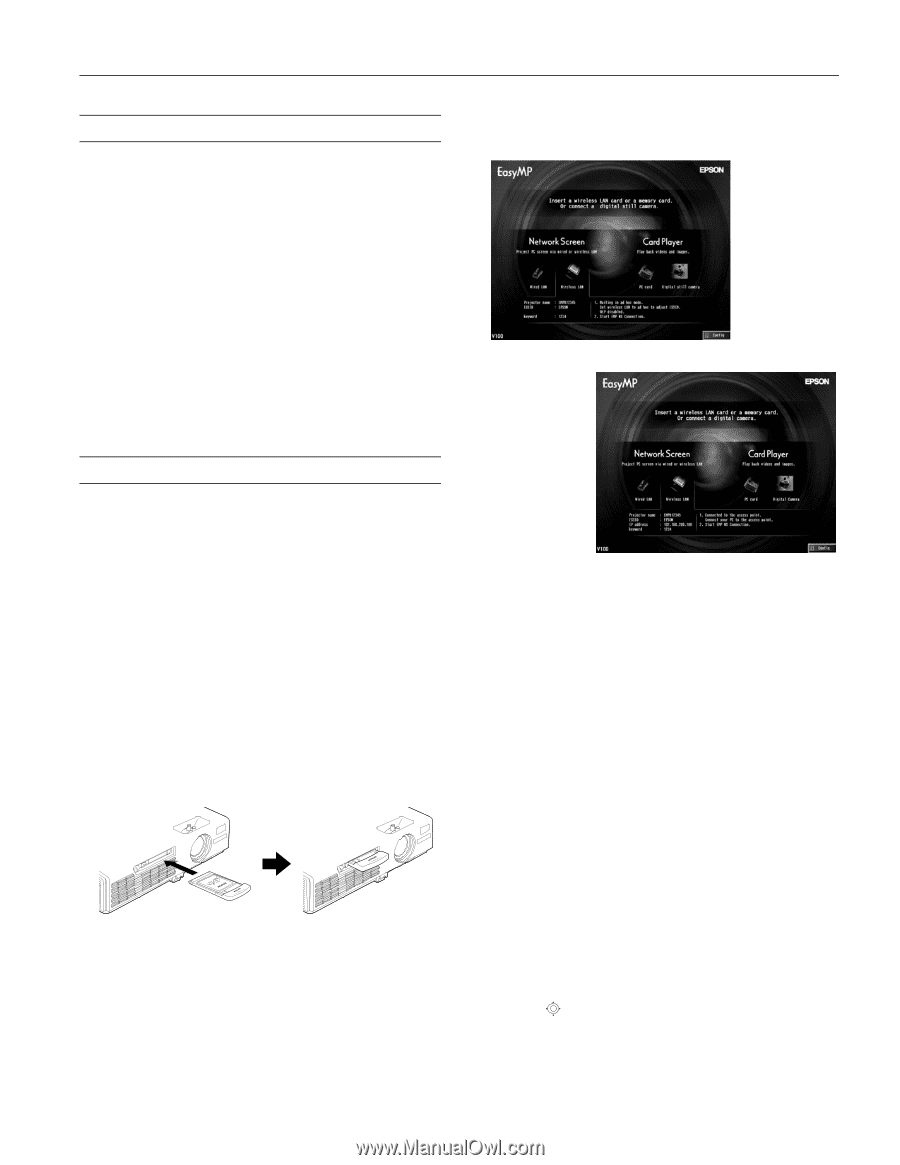
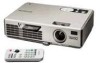
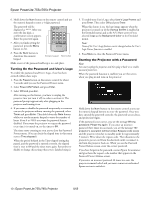
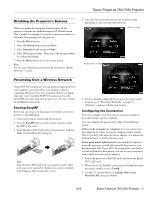
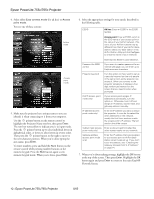
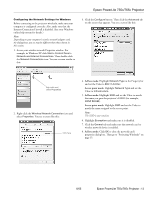
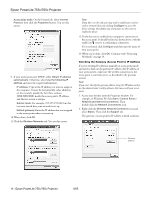
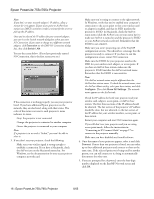
Epson PowerLite 755c/765c Projector Disabling the Projector's Buttons When you enable the Operation Lock function, all the projector's buttons are disabled except the P Power button. This is useful, for example, if you want to prevent students in a classroom from playing with the projector. 1. Press the Menu button. 2. Select the Setting menu and press Enter. 3. Select Operation Lock and press Enter. 4. Select ON and press Enter. Then select Yes and press Enter to confirm the setting. 5. Press the Menu button to exit the menu system. Note: You can cancel Operation Lock by pressing the projector's Enter button for 7 seconds. 4. Once the card is inserted, you see one of these screens, depending on the currently selected mode: Ad Hoc mode Access Point mode Presenting Over a Wireless Network Using EMP NS Connection, you can project images shown on your computer screen directly to your audience without connecting the projector to your computer. Before you begin, make sure you've installed EMP NS Connection from the CD-ROM that came with your projector. See the User's Guide for installation instructions. Starting EasyMP Before you can connect to the projector wirelessly, you have to switch it to EasyMP mode. 1. Turn on the remote control and the projector. 2. Press the EasyMP button on the remote control to select EasyMP as the source. 3. Insert the Epson 802.11g/b card in the projector's card slot. Make sure the label side is facing up. Note: Only the Epson 802.11g/b card is guaranteed to work. Other cards may not be compatible. Replacement cards are available only through an Epson authorized servicer. 5. If you've already configured the projector for your wireless network, go to "Projecting Wirelessly" on page 15. Otherwise, continue with the next section. Configuring the Connection You must configure both the projector and your computer's network settings to project wirelessly. You can configure the projector for either of the following modes: Ad hoc mode (computer to computer): Lets you connect just one computer at a time; you need a computer with a wireless (802.11g or 802.11b) network card or adapter, or a Macintosh with an AirPort® or AirPort Extreme card. Access point mode (infrastructure): Lets multiple computers access the projector, or trade off control of the projector; you need a wireless (802.11g or 802.11b) access point or an AirPort (or AirPort Extreme) base station, and one or more computers with wireless network cards or adapters. 1. Switch the projector to EasyMP mode and insert the Epson 802.11 g/b card. 2. When you see the EasyMP screen, press the Enter button on the remote control to select Config. 3. Use the pointer button to highlight Basic under Wireless LAN, then press Enter. 8/05 Epson PowerLite 755c/765c Projector - 11
-
 1
1 -
2
-
3
-
4
-
5
-
 6
6 -
 7
7 -
 8
8 -
 9
9 -
 10
10 -
 11
11 -
 12
12 -
 13
13 -
 14
14 -
 15
15 -
 16
16 -
17
-
18
-
19
-
20
-
21
-
22
-
23
-
24
-
25
 |
 |