Epson 755c Product Information Guide - Page 6
Correcting Computer Images, Adjusting the Image Shape, Resizing Video images - powerlite manual
 |
UPC - 010343855366
View all Epson 755c manuals
Add to My Manuals
Save this manual to your list of manuals |
Page 6 highlights
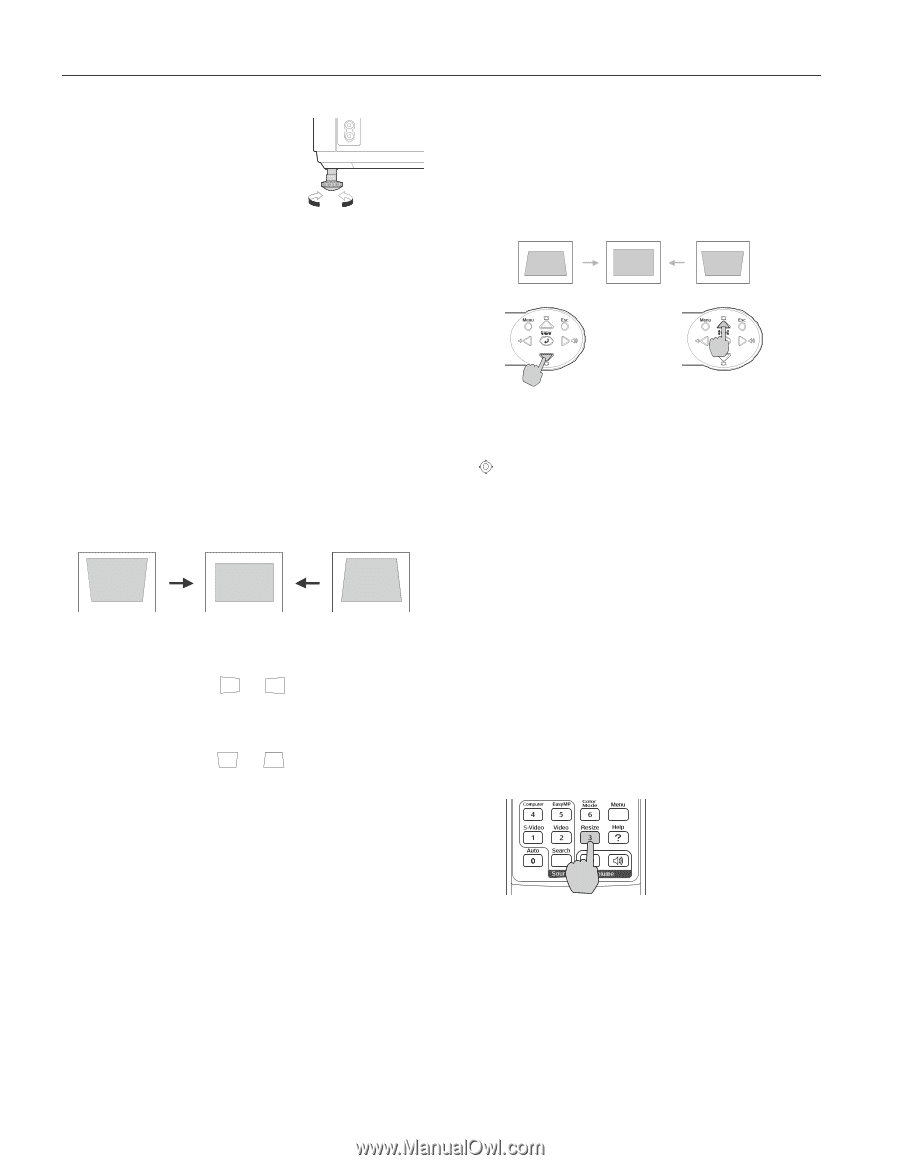
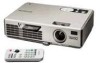
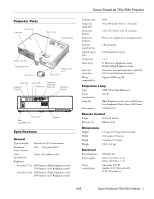
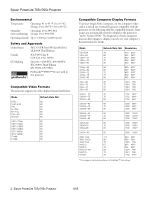
Epson PowerLite 755c/765c Projector 3. If the projector is not level, rotate the foot at the back of the projector. If the image is no longer rectangular after raising it, see the next section. Correcting Computer Images If you've connected a computer and the image doesn't look right, or it doesn't fit properly on the screen, press the Auto button on the remote control or the Enter button on the projector. This automatically resets the projector's tracking, sync, resolution, and position settings. (You must be projecting an image for this button to have any effect.) Note: If the Auto Setup option in the Signal menu is set to OFF, the Auto function will not work. Adjusting the Image Shape The projector automatically corrects images that are distorted when the projector is tilted up or down (up to 30°). The Keystone window appears on the screen while the projector makes the correction. Projector tilted up Corrected image Projector tilted down If the projected image still isn't rectangular, try the following: ❏ If your image looks like or , you've placed the projector off to one side of the screen, at an angle. Move it directly in front of the center of the screen, facing the screen squarely. ❏ If your image looks like or , you may need to manually adjust the keystone correction value. Follow the instructions below. Using Keystone Correction To adjust your image when it is wider on the top or bottom, do one of the following: ❏ Press one of the two triangular buttons on the projector's control panel, as shown below. Continue pressing the button until you are satisfied with the shape of the image. ❏ Or press the Menu button on the remote control or projector, select the Setting menu, and press Enter. From the Setting menu, select Keystone and press Enter. Use the pointer button on the remote control to adjust the keystone setting as needed. The keystone setting is adjustable from -65 to +65. These numbers represent a range of -30° to +30° of angle change; adjustments are made in steps of 0.5°. After correction, your image will be slightly smaller. Note: If the image becomes uneven, try decreasing the Sharpness setting in the Image menu. Resizing Video images You can use the Resize button on the remote control to adjust how an image fits into the display area. For video images, press Resize to switch the aspect ratio between 4:3 and 16:9. This lets you play certain digital video images or movies recorded on certain DVDs in 16:9 widescreen format. 6 - Epson PowerLite 755c/765c Projector For computer images, resizing is normally unnecessary, since the projector automatically resizes the image to make the best use of the display area. If you press the Resize button on the projector or remote control, the projector displays the image at the output resolution of the computer (which makes the image larger or smaller, depending on its resolution). If the resolution of the image is the same as the projector's (1024 × 768), pressing Resize has no effect. 8/05
-
 1
1 -
 2
2 -
 3
3 -
 4
4 -
 5
5 -
 6
6 -
 7
7 -
 8
8 -
 9
9 -
 10
10 -
 11
11 -
 12
12 -
13
-
14
-
15
-
16
-
17
-
18
-
19
-
20
-
21
-
22
-
23
-
24
-
25
 |
 |